The Part 1 blog post of this series shows how to configure the Federation between Oracle Fusion and Microsoft Entra ID.
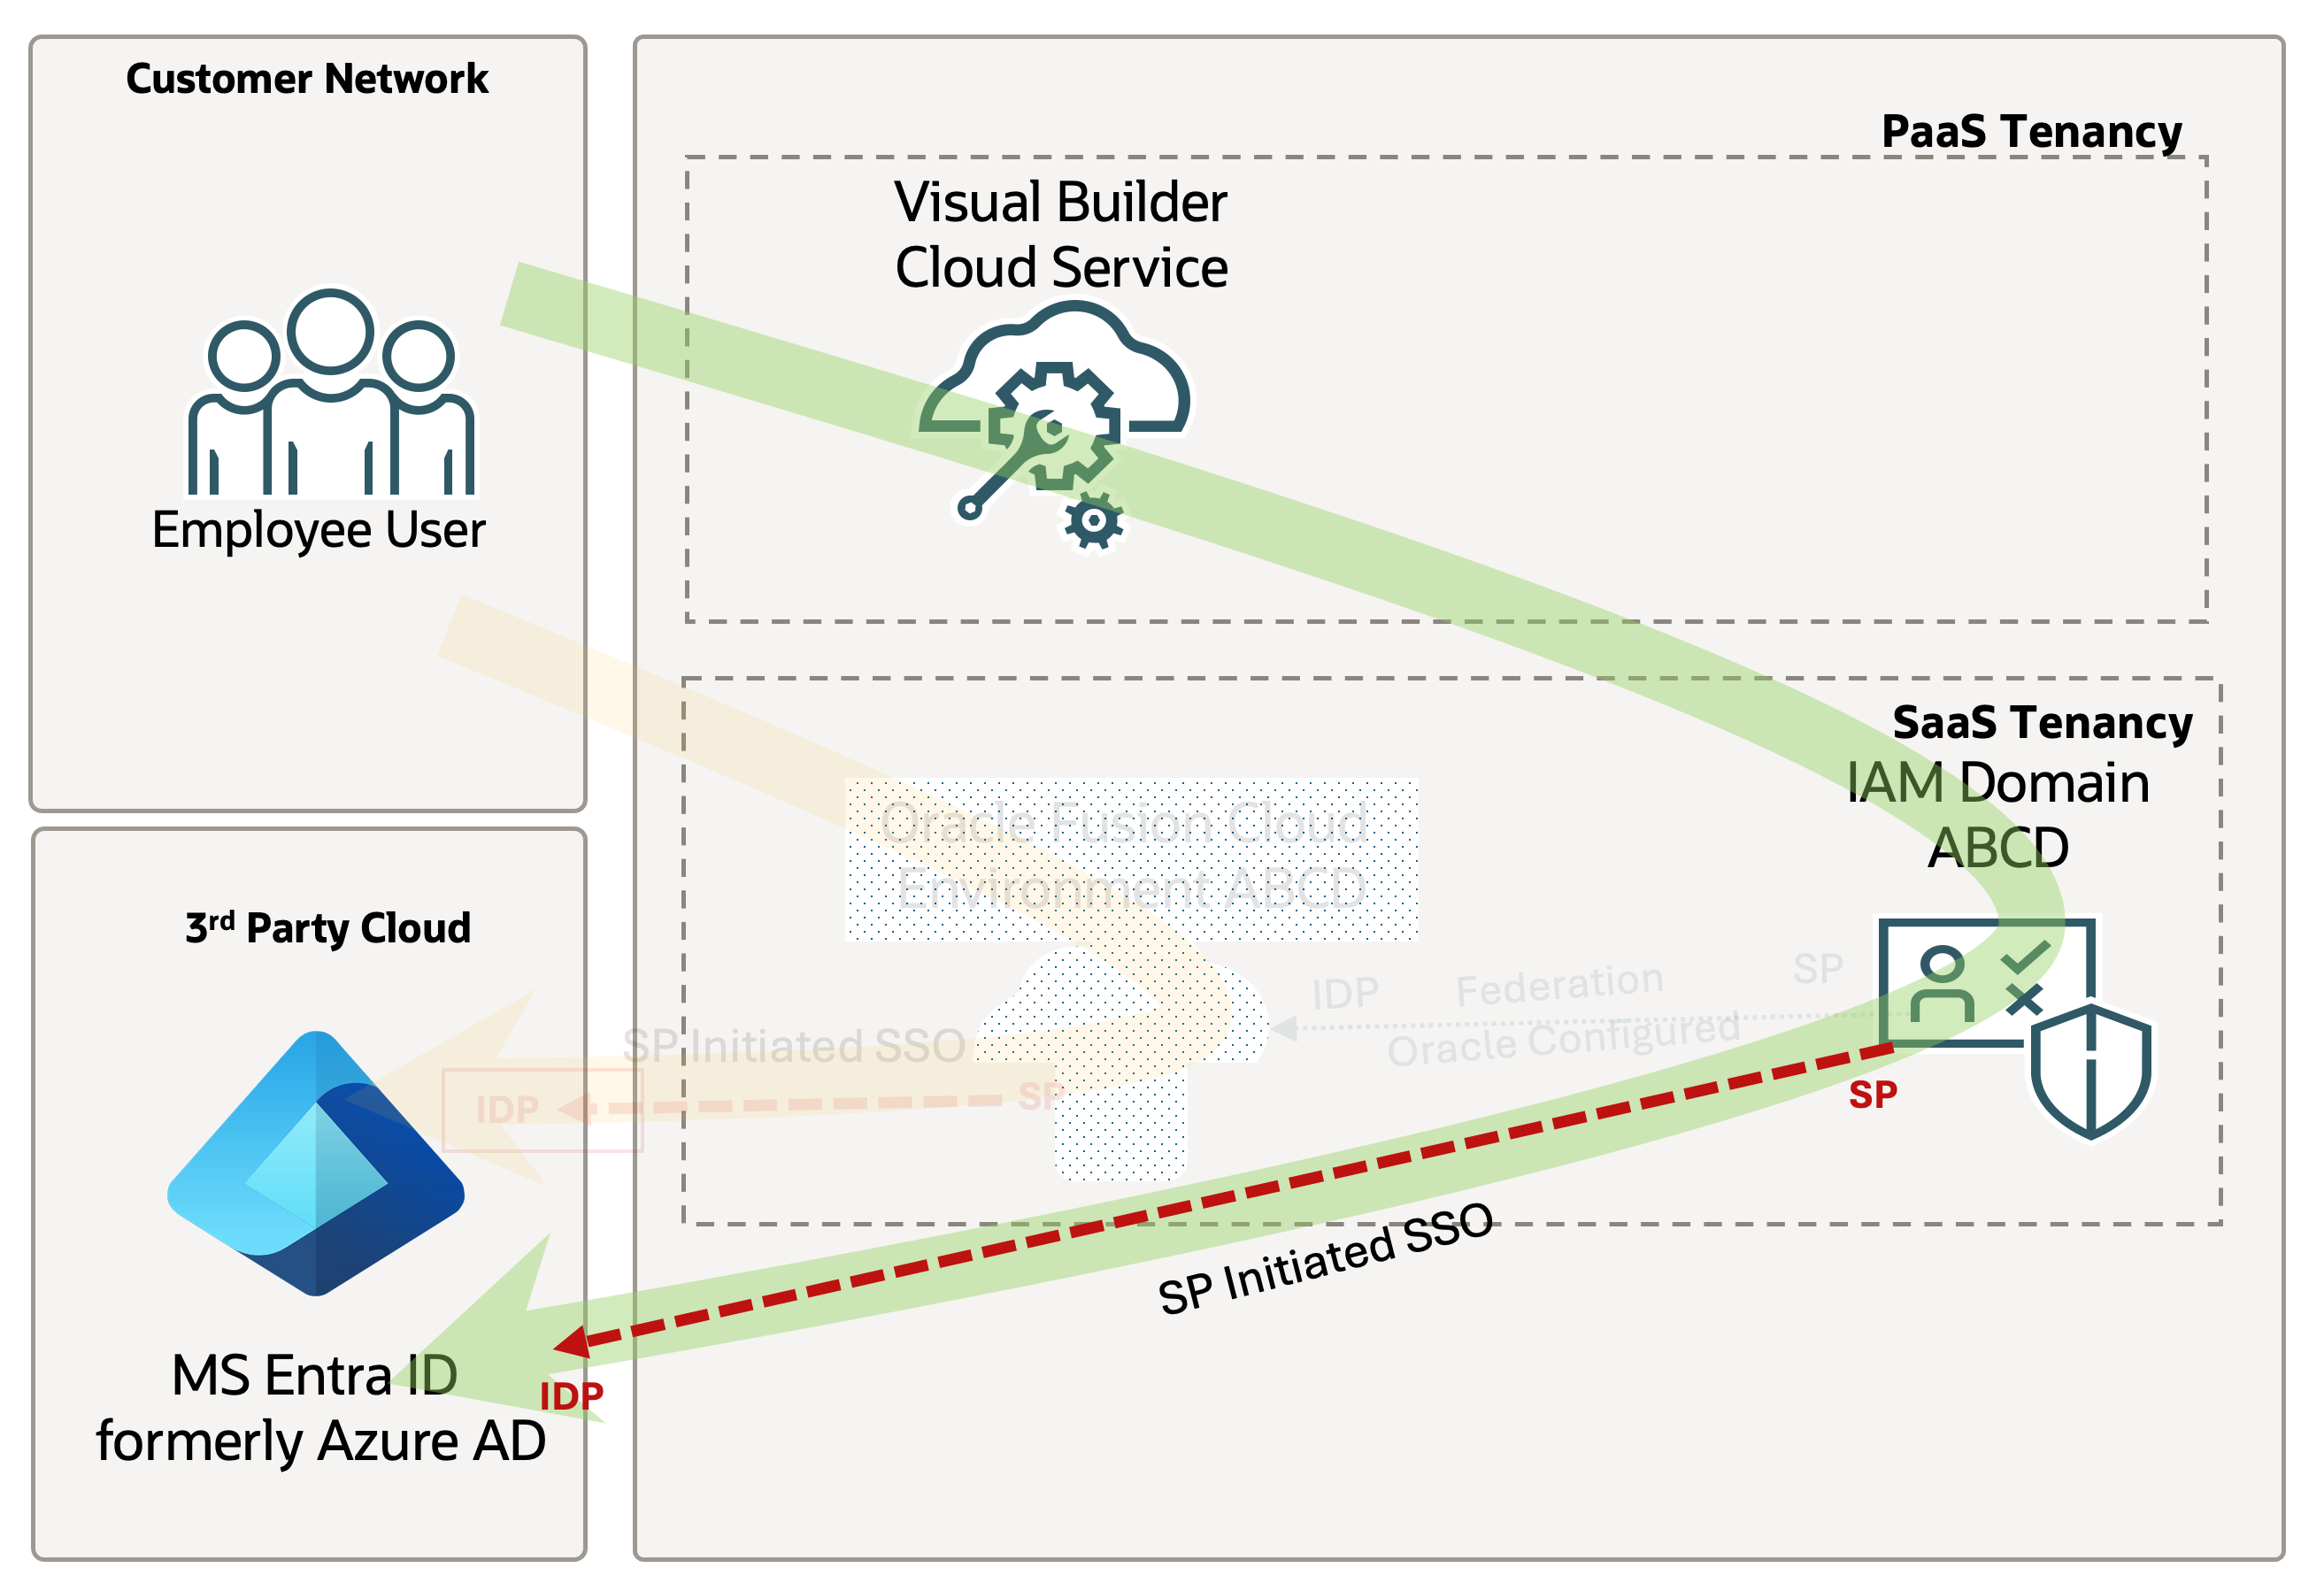
For this blog post, imagine a retail company that uses Microsoft Entra ID as its identity domain. They need to provide Storefront employees with access to a custom portal built using VBCS that retrieves data from Fusion Apps, even though these employees do not have access to Fusion Apps.
In this use case, we need to federate the Fusion Applications identity domain with Microsoft Entra ID as our external IdP and provide users with access to Oracle Visual Builder Cloud Service.This setup ensures seamless integration and streamlined user management across multiple platforms.
Federating Fusion Applications identity domain with Microsoft Entra ID involves configuring both identity providers to trust each other, allowing Microsoft Entra ID to handle authentication requests for users accessing Oracle Visual Builder Cloud Service. This process enhances security by centralizing authentication and simplifies the user experience with single sign-on (SSO) capabilities.
Once federation is established, users authenticated through Microsoft Entra ID can seamlessly access Oracle Visual Builder Cloud Service without needing to log in separately.
Download OCI Federation Metadata
Connect to OCI with a user with access to the Fusion IAM Domain
Go to Identity > Domains and select your Fusion domain
Click on Security then Identity providers
Download and store the SAML metadata file that will be used later.

Setup an OCI Console Enterprise Application in Entra ID
Start your Azure session with a user that has access to edit the desired domain.
Go to Entra ID, select your desired domain and, click on Enterprise Applications.
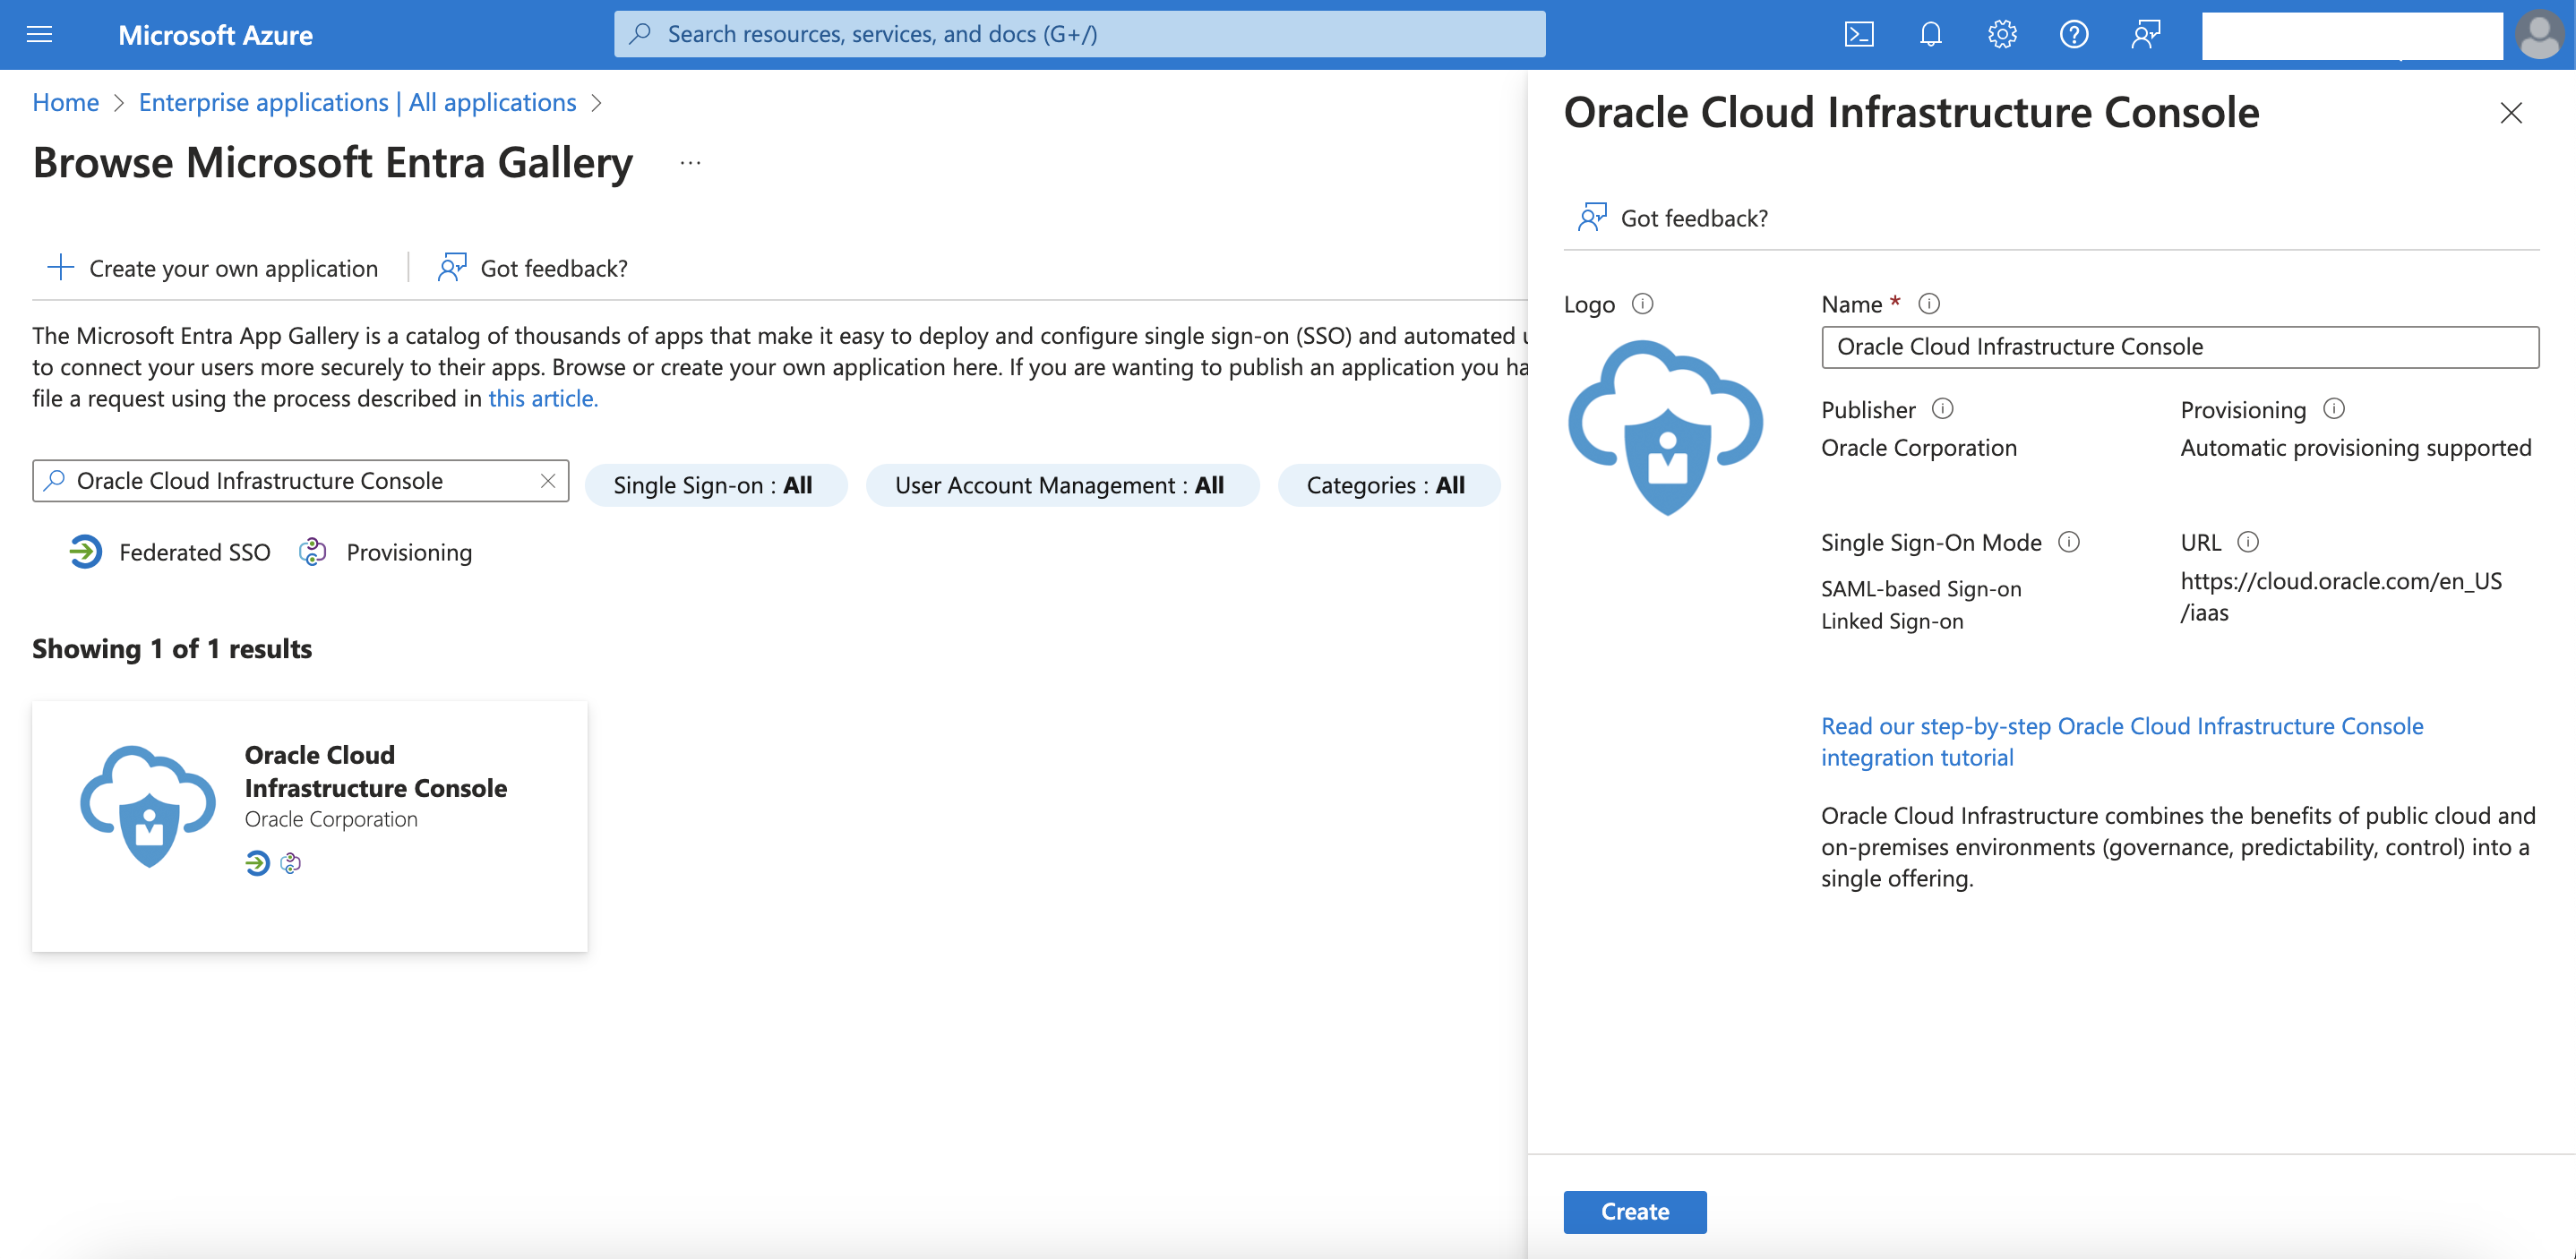
Click on New Application and select “Oracle Cloud Infrastructure Console” from Entra Gallery, provide the name and, click Create.
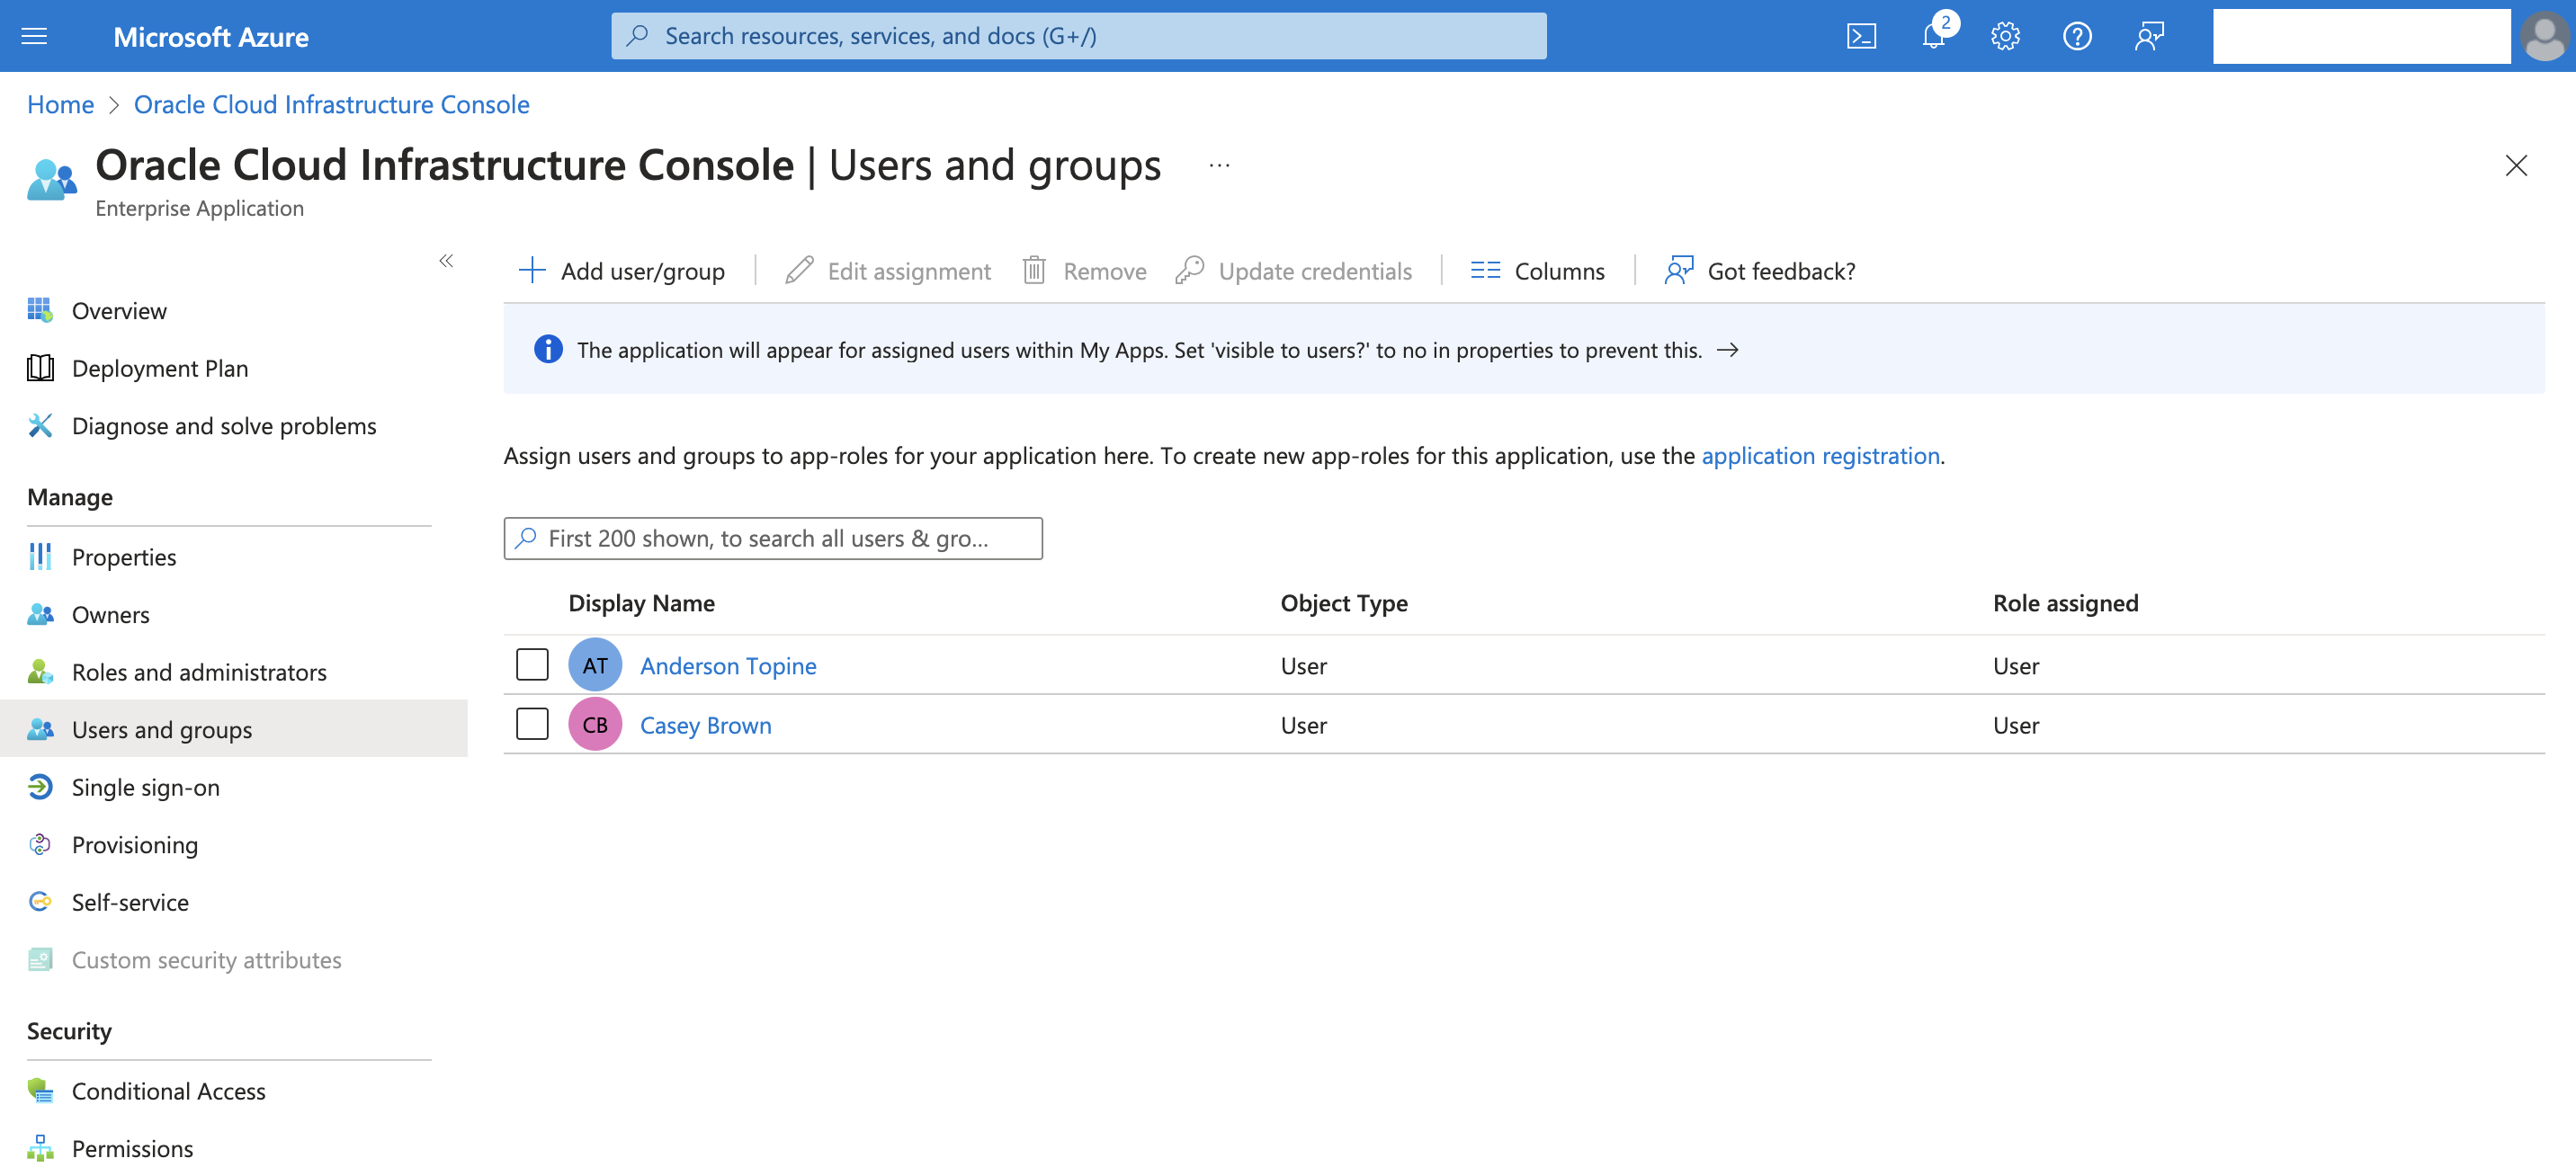
Click on User and Group and Add user/groups

Select the user or groups to be federated in OCI
Setup SSO Federation
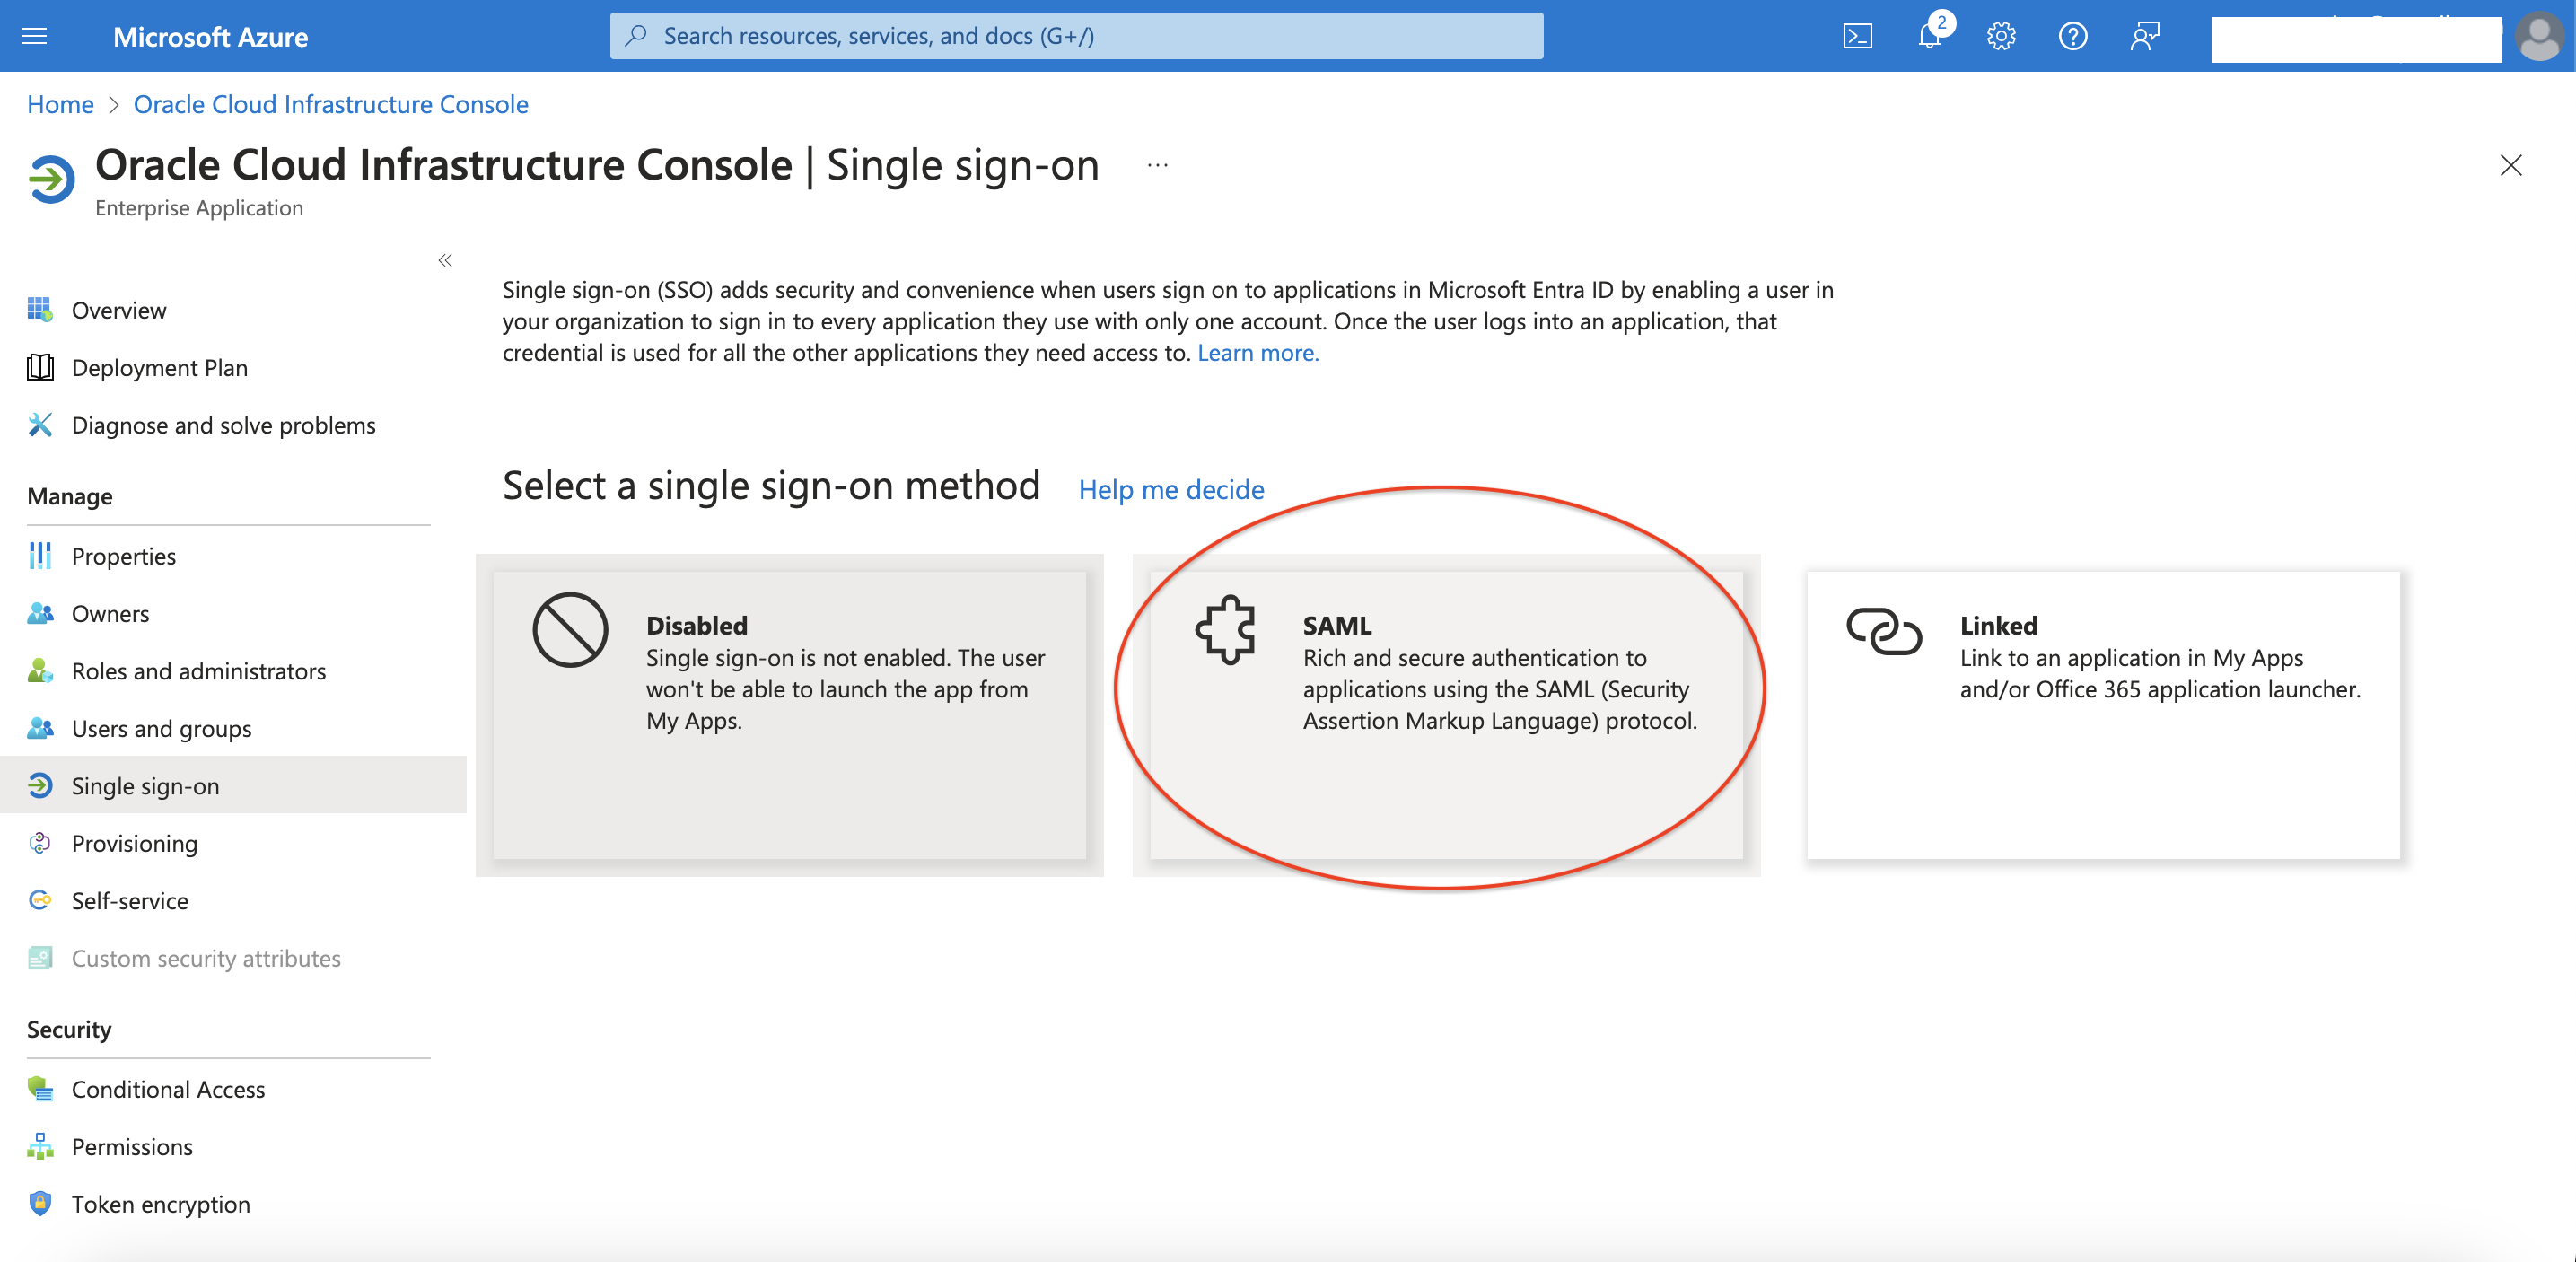
Click on Single sign-on and select SAML method
Upload the OCI SAML Metadata file download in the first step

Identifier and Reply URL will be filled and you need to provide the OCI Console Sign-on URL.
Patterns: https://Console.<REGIONNAME>.oraclecloud.com
Example: https://console.us-phoenix-1.oraclecloud.com/
Click Save

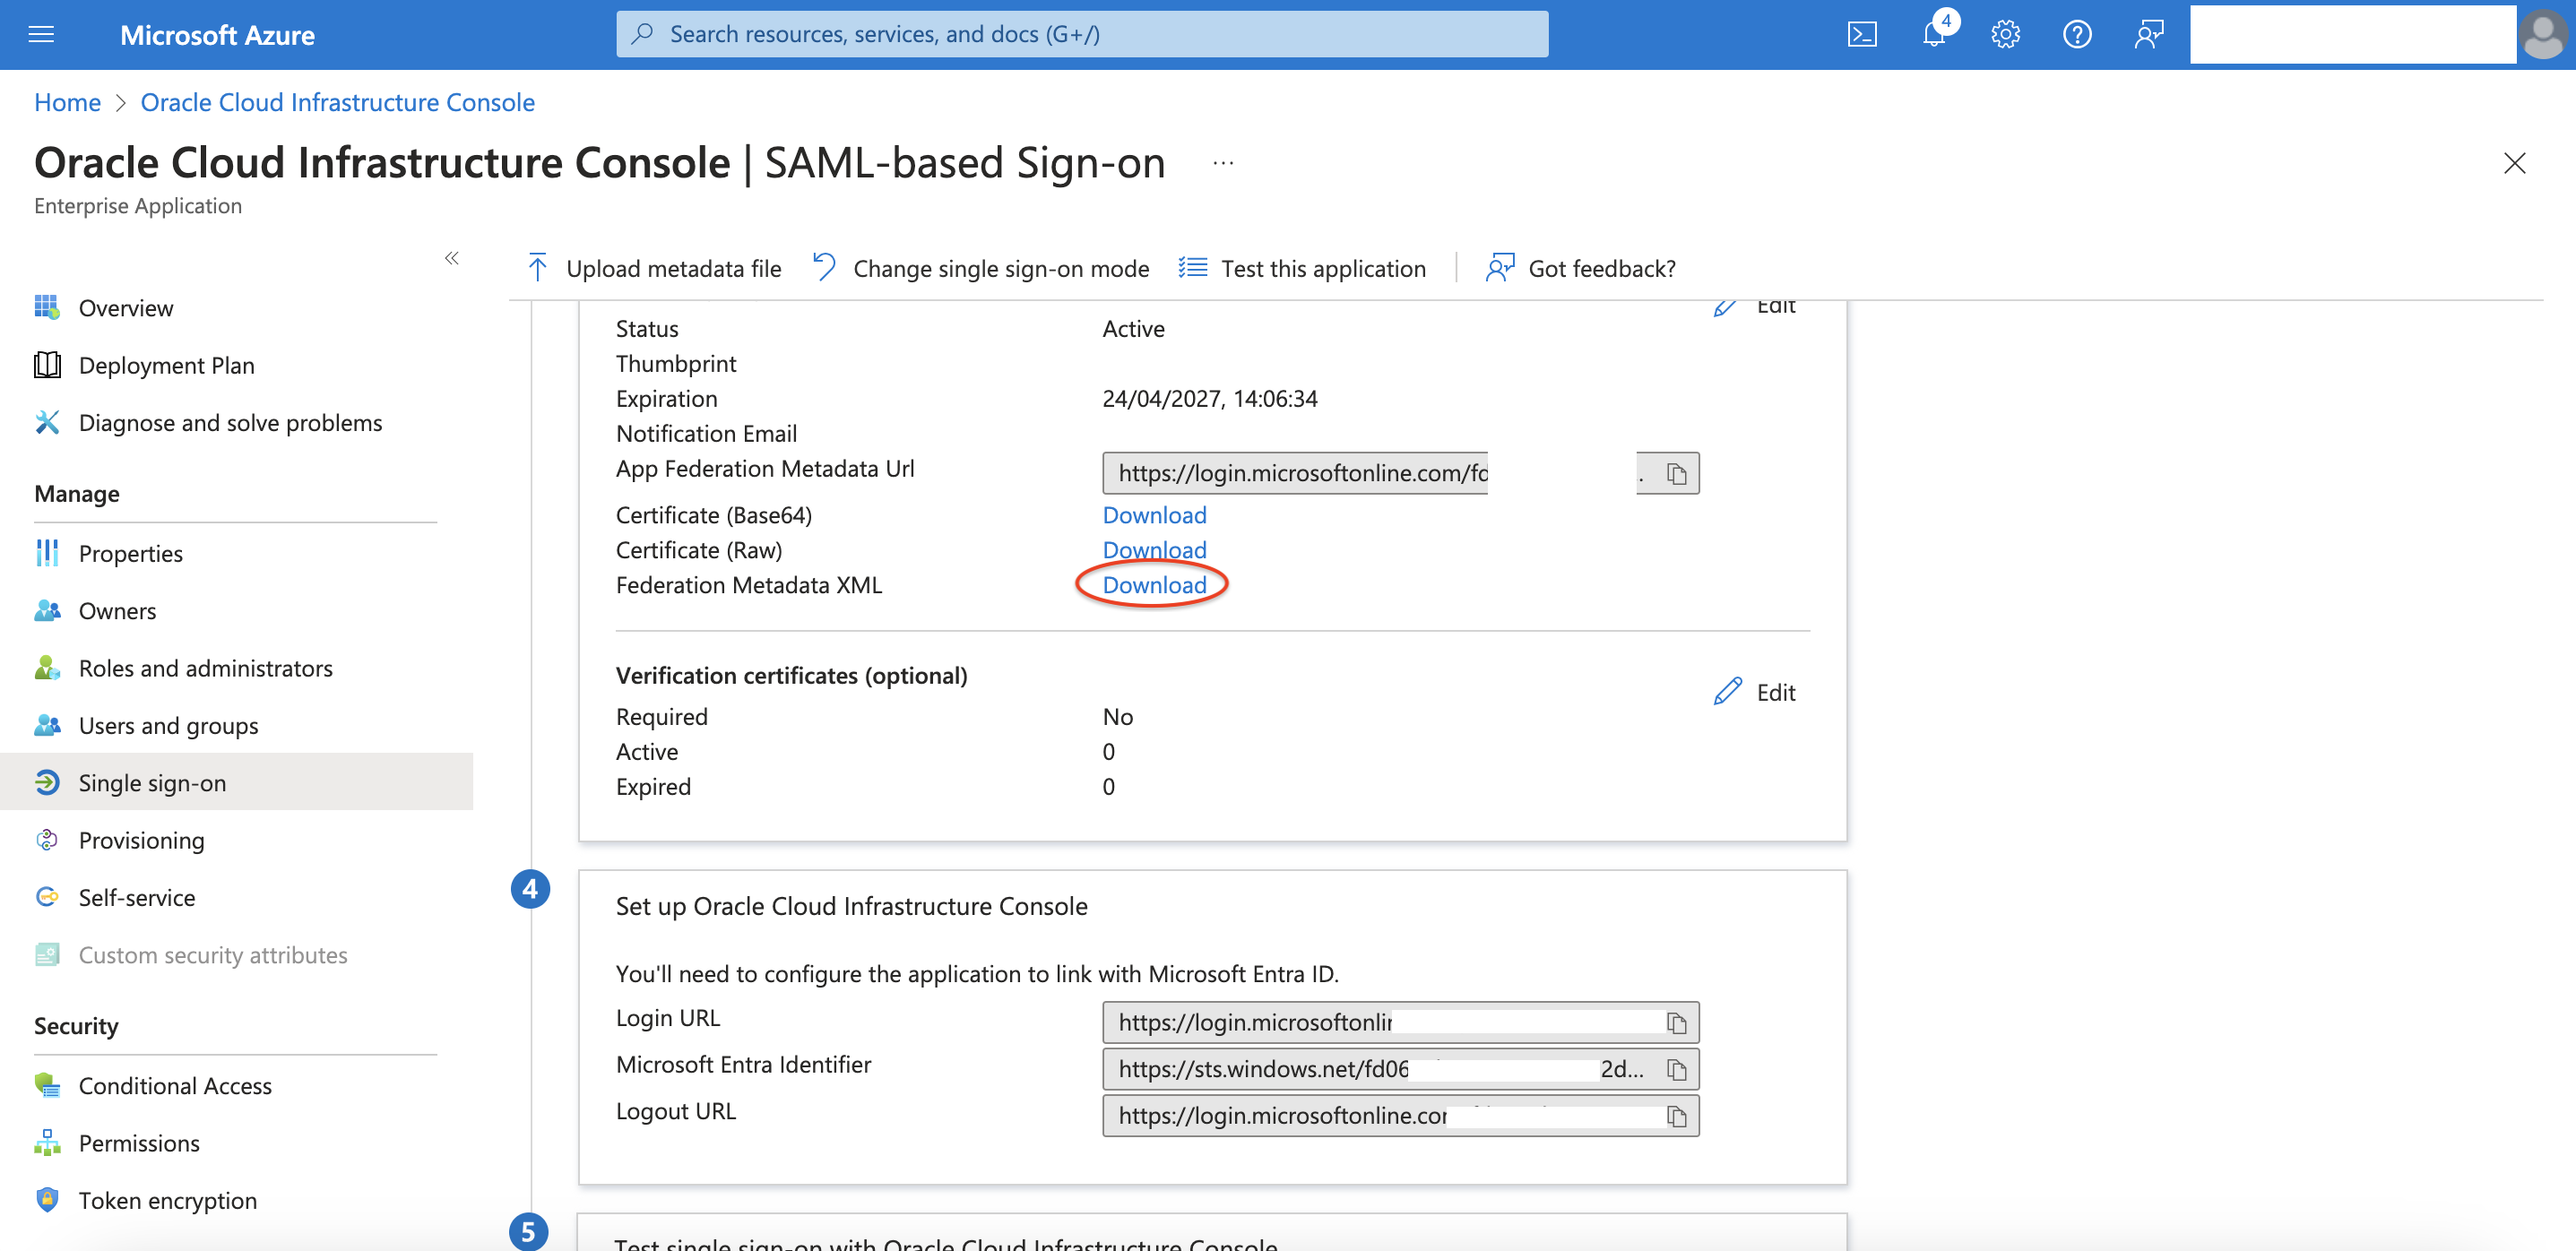
Download and store the Federation Metadata that will be used later
Enable the Provisioning
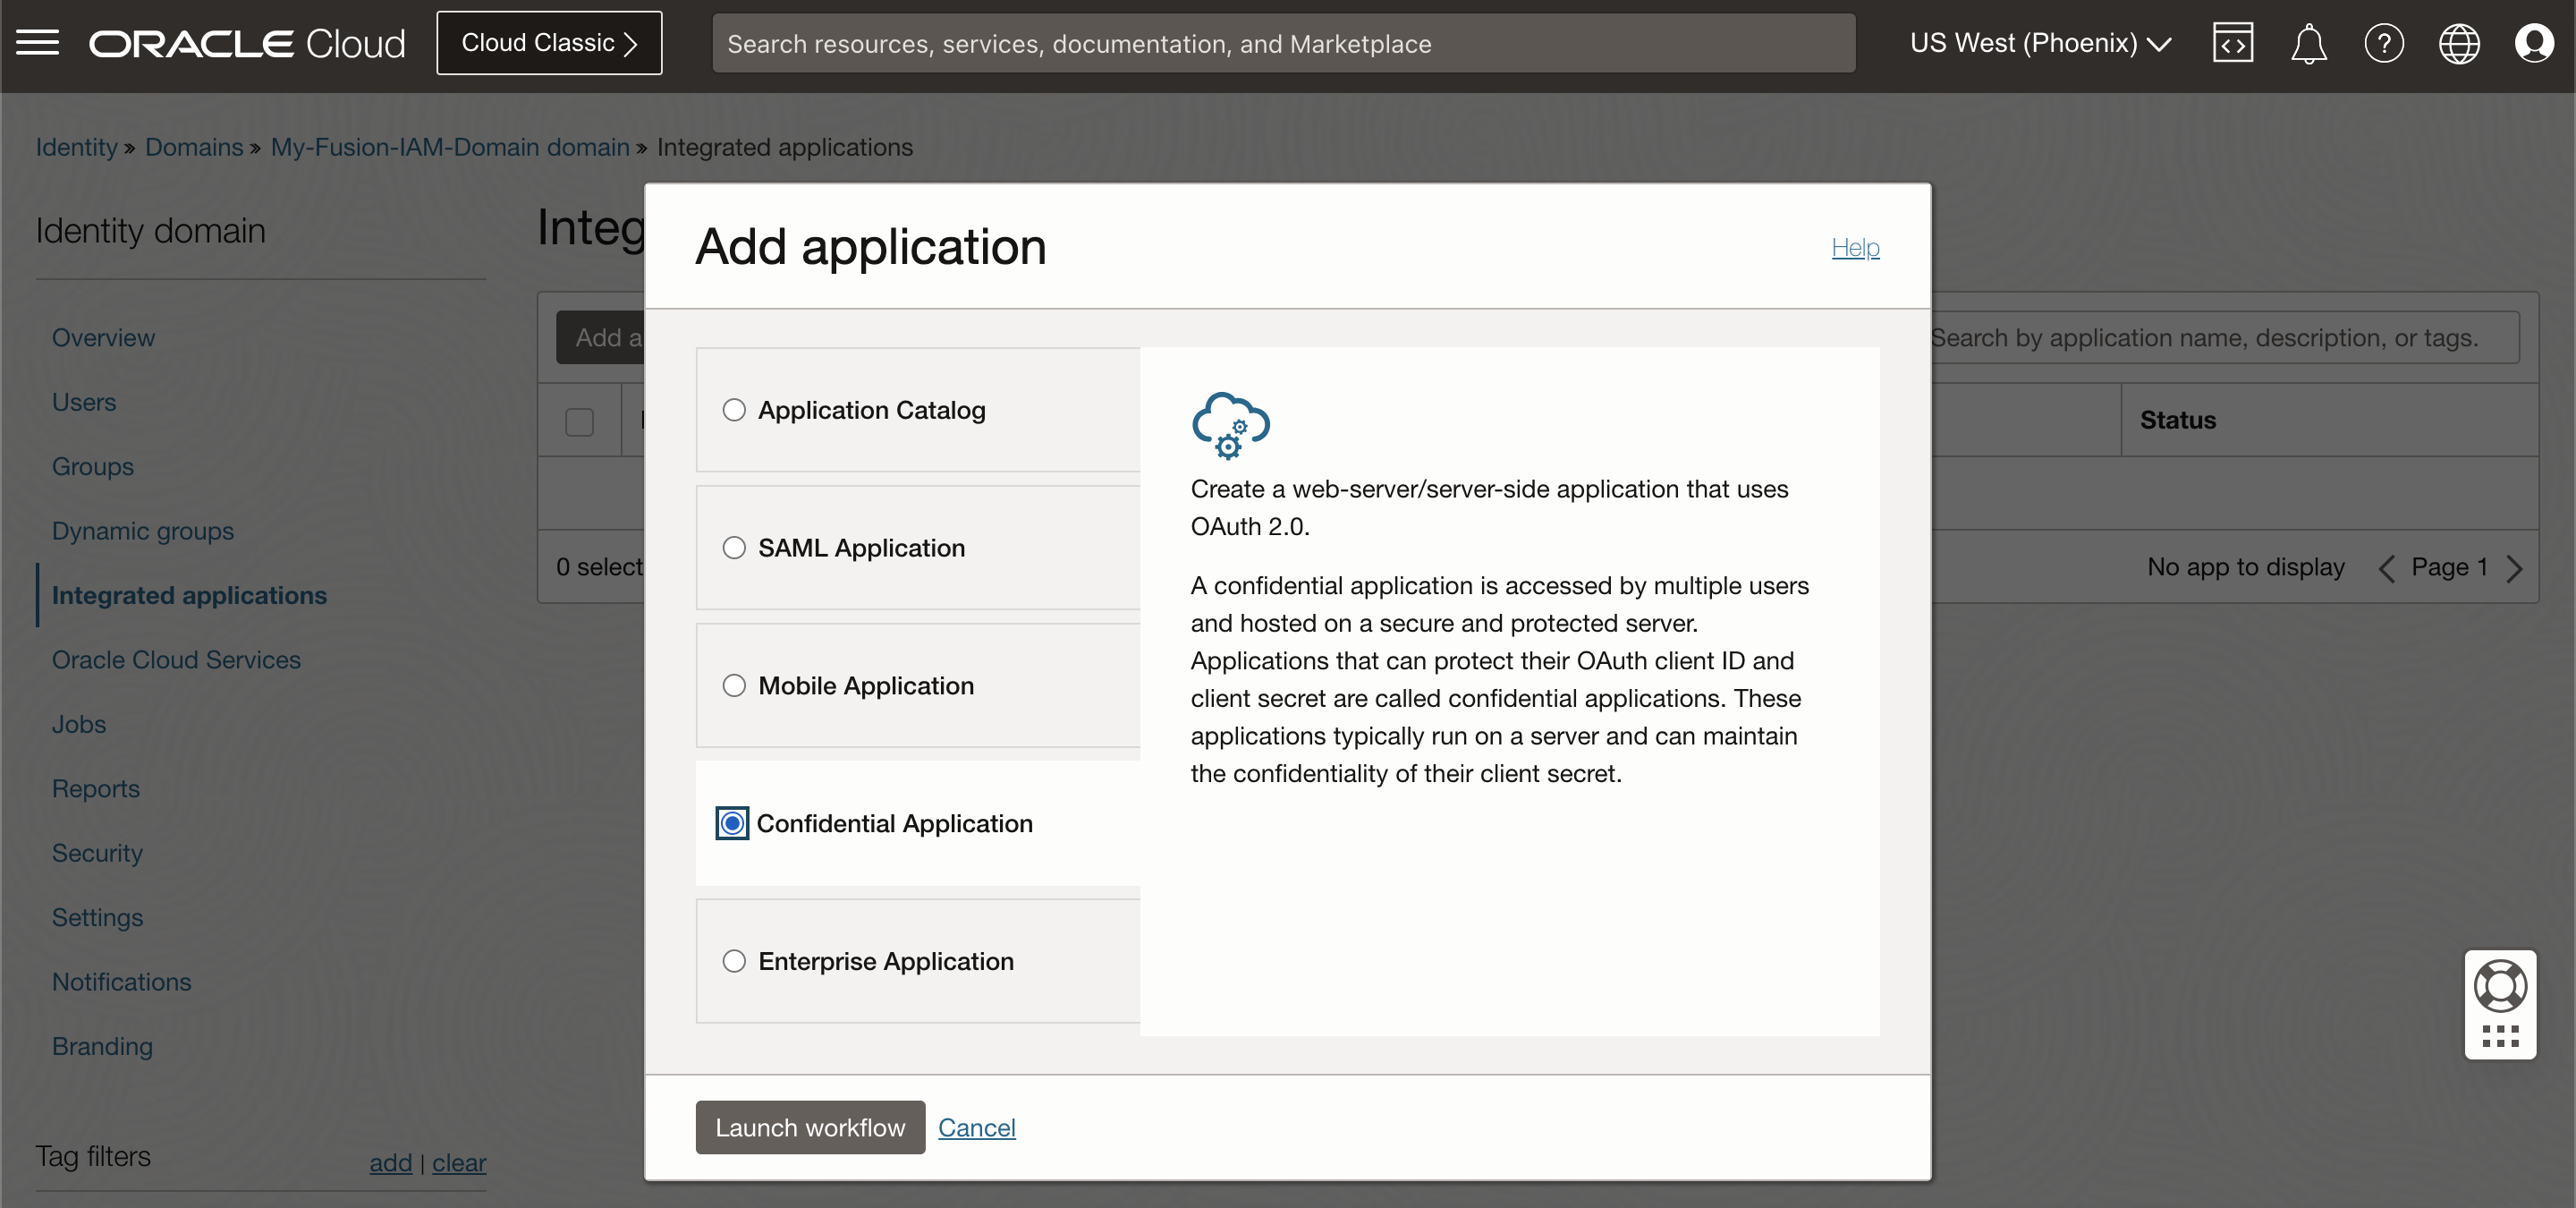
On OCI go to your domain to add a new enterprise application.
Select Confidential Application and click Launch workflow
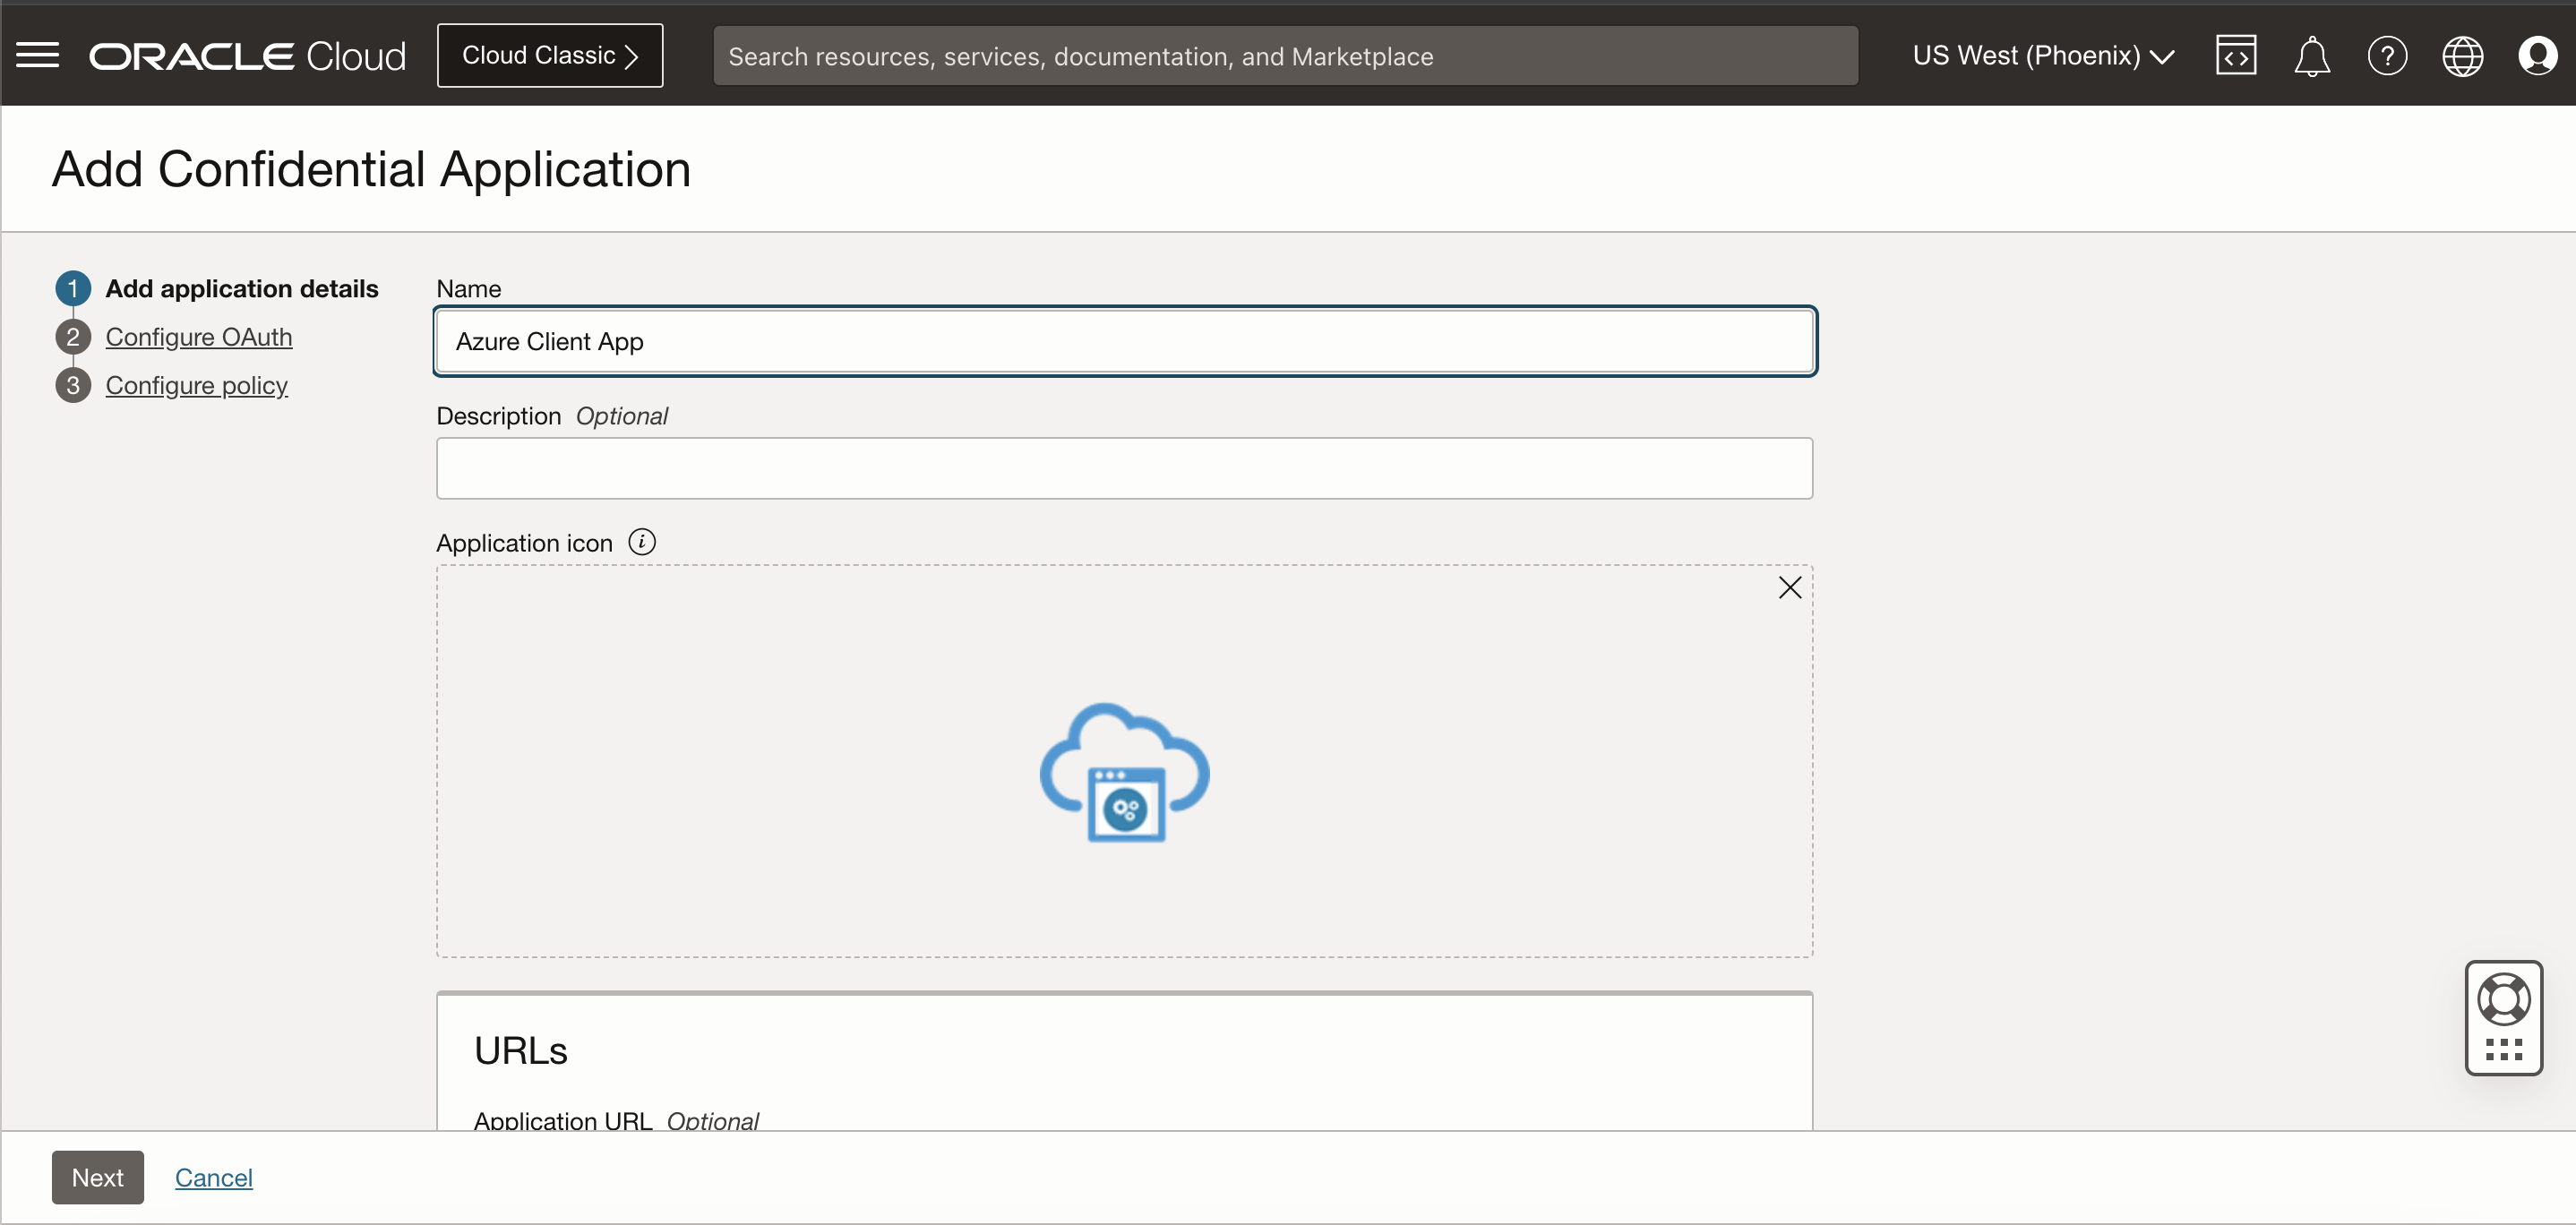
Input the application name and click Next
Select Client configuration and under Authorization select Client credentials

Scroll down and under Client type select Confidential.

Scroll down, and in the Token issuance policy section, set Authorized resources to Specific and select Add app roles
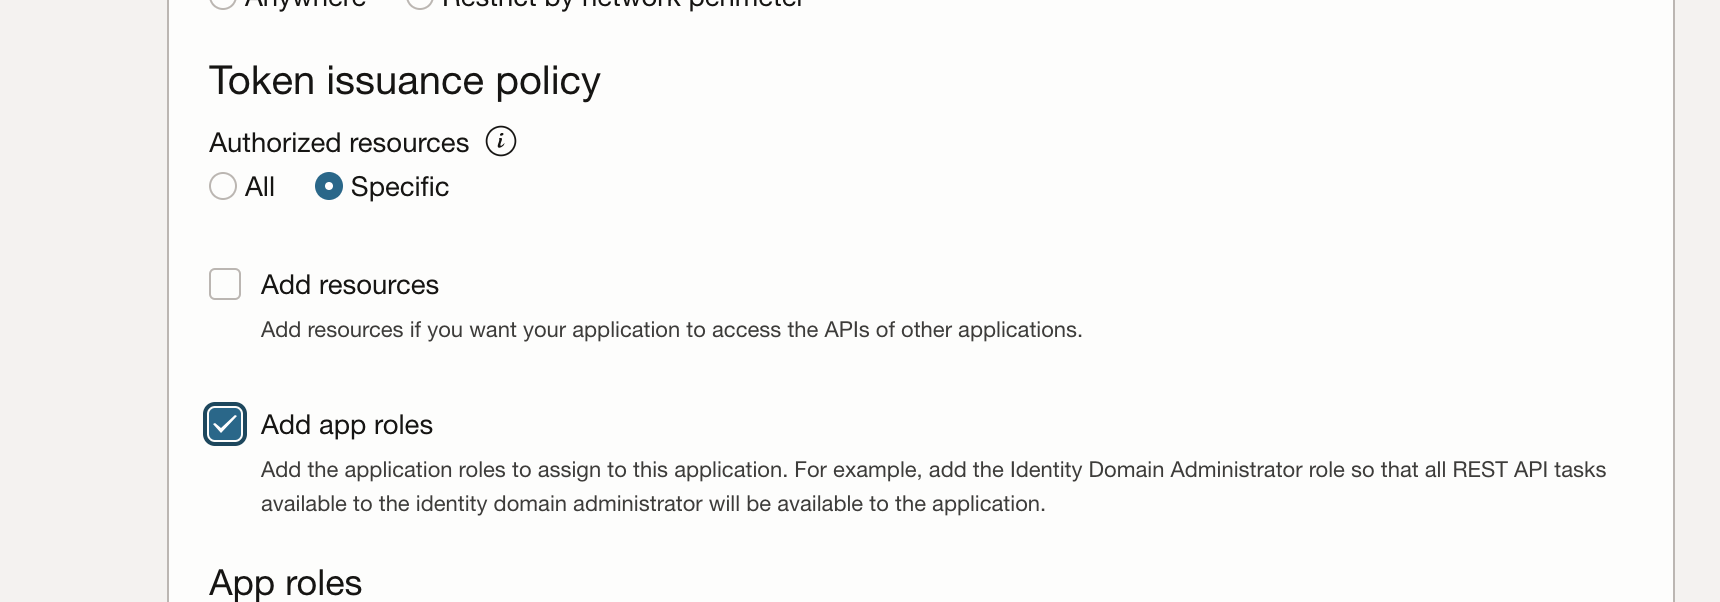
In the App Roles section, click Add roles, and in the Add app roles page select User Administrator then click Add.
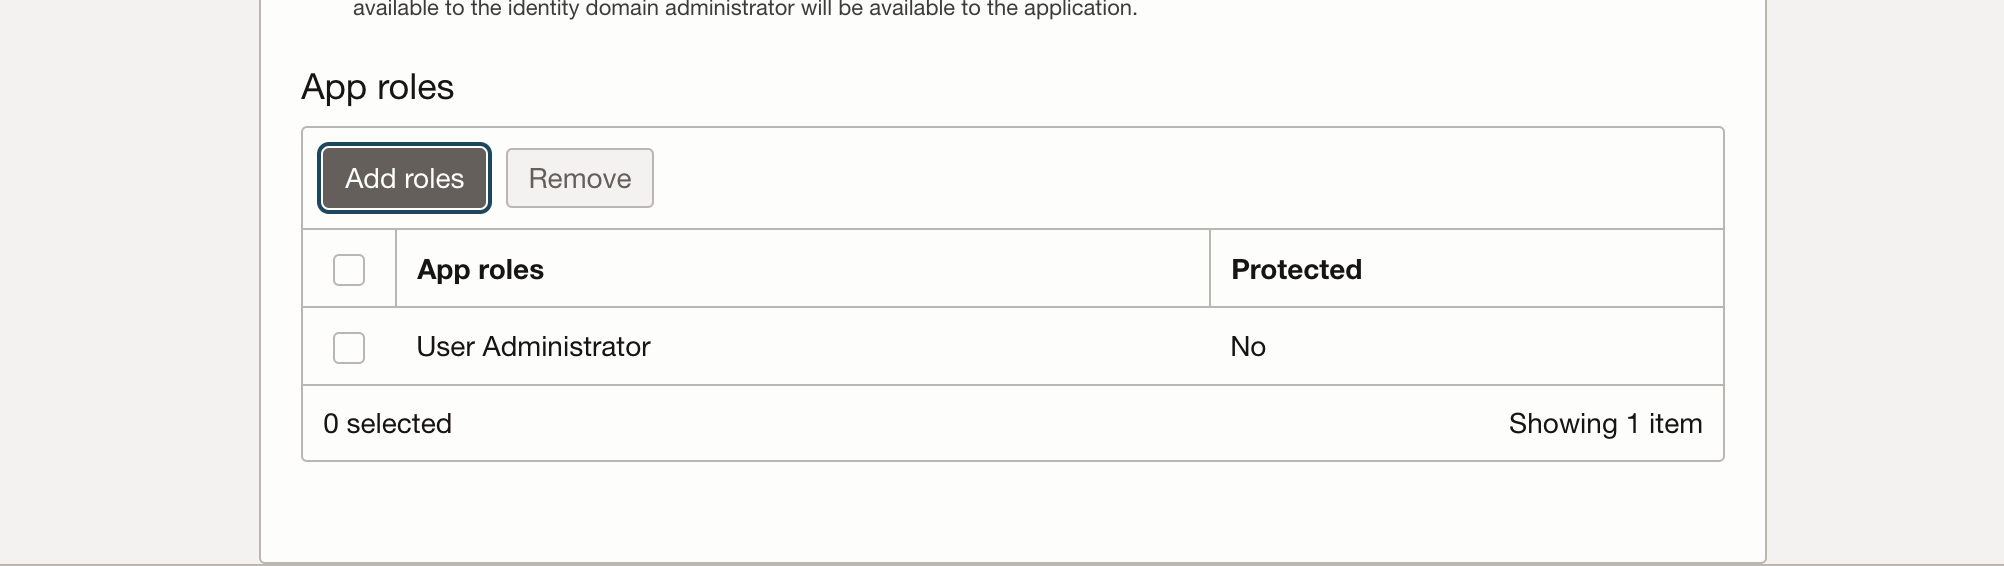
Click Next, then Finish.
On the application overview page, click Activate and confirm that you want to activate the application.
The confidential application is activated.
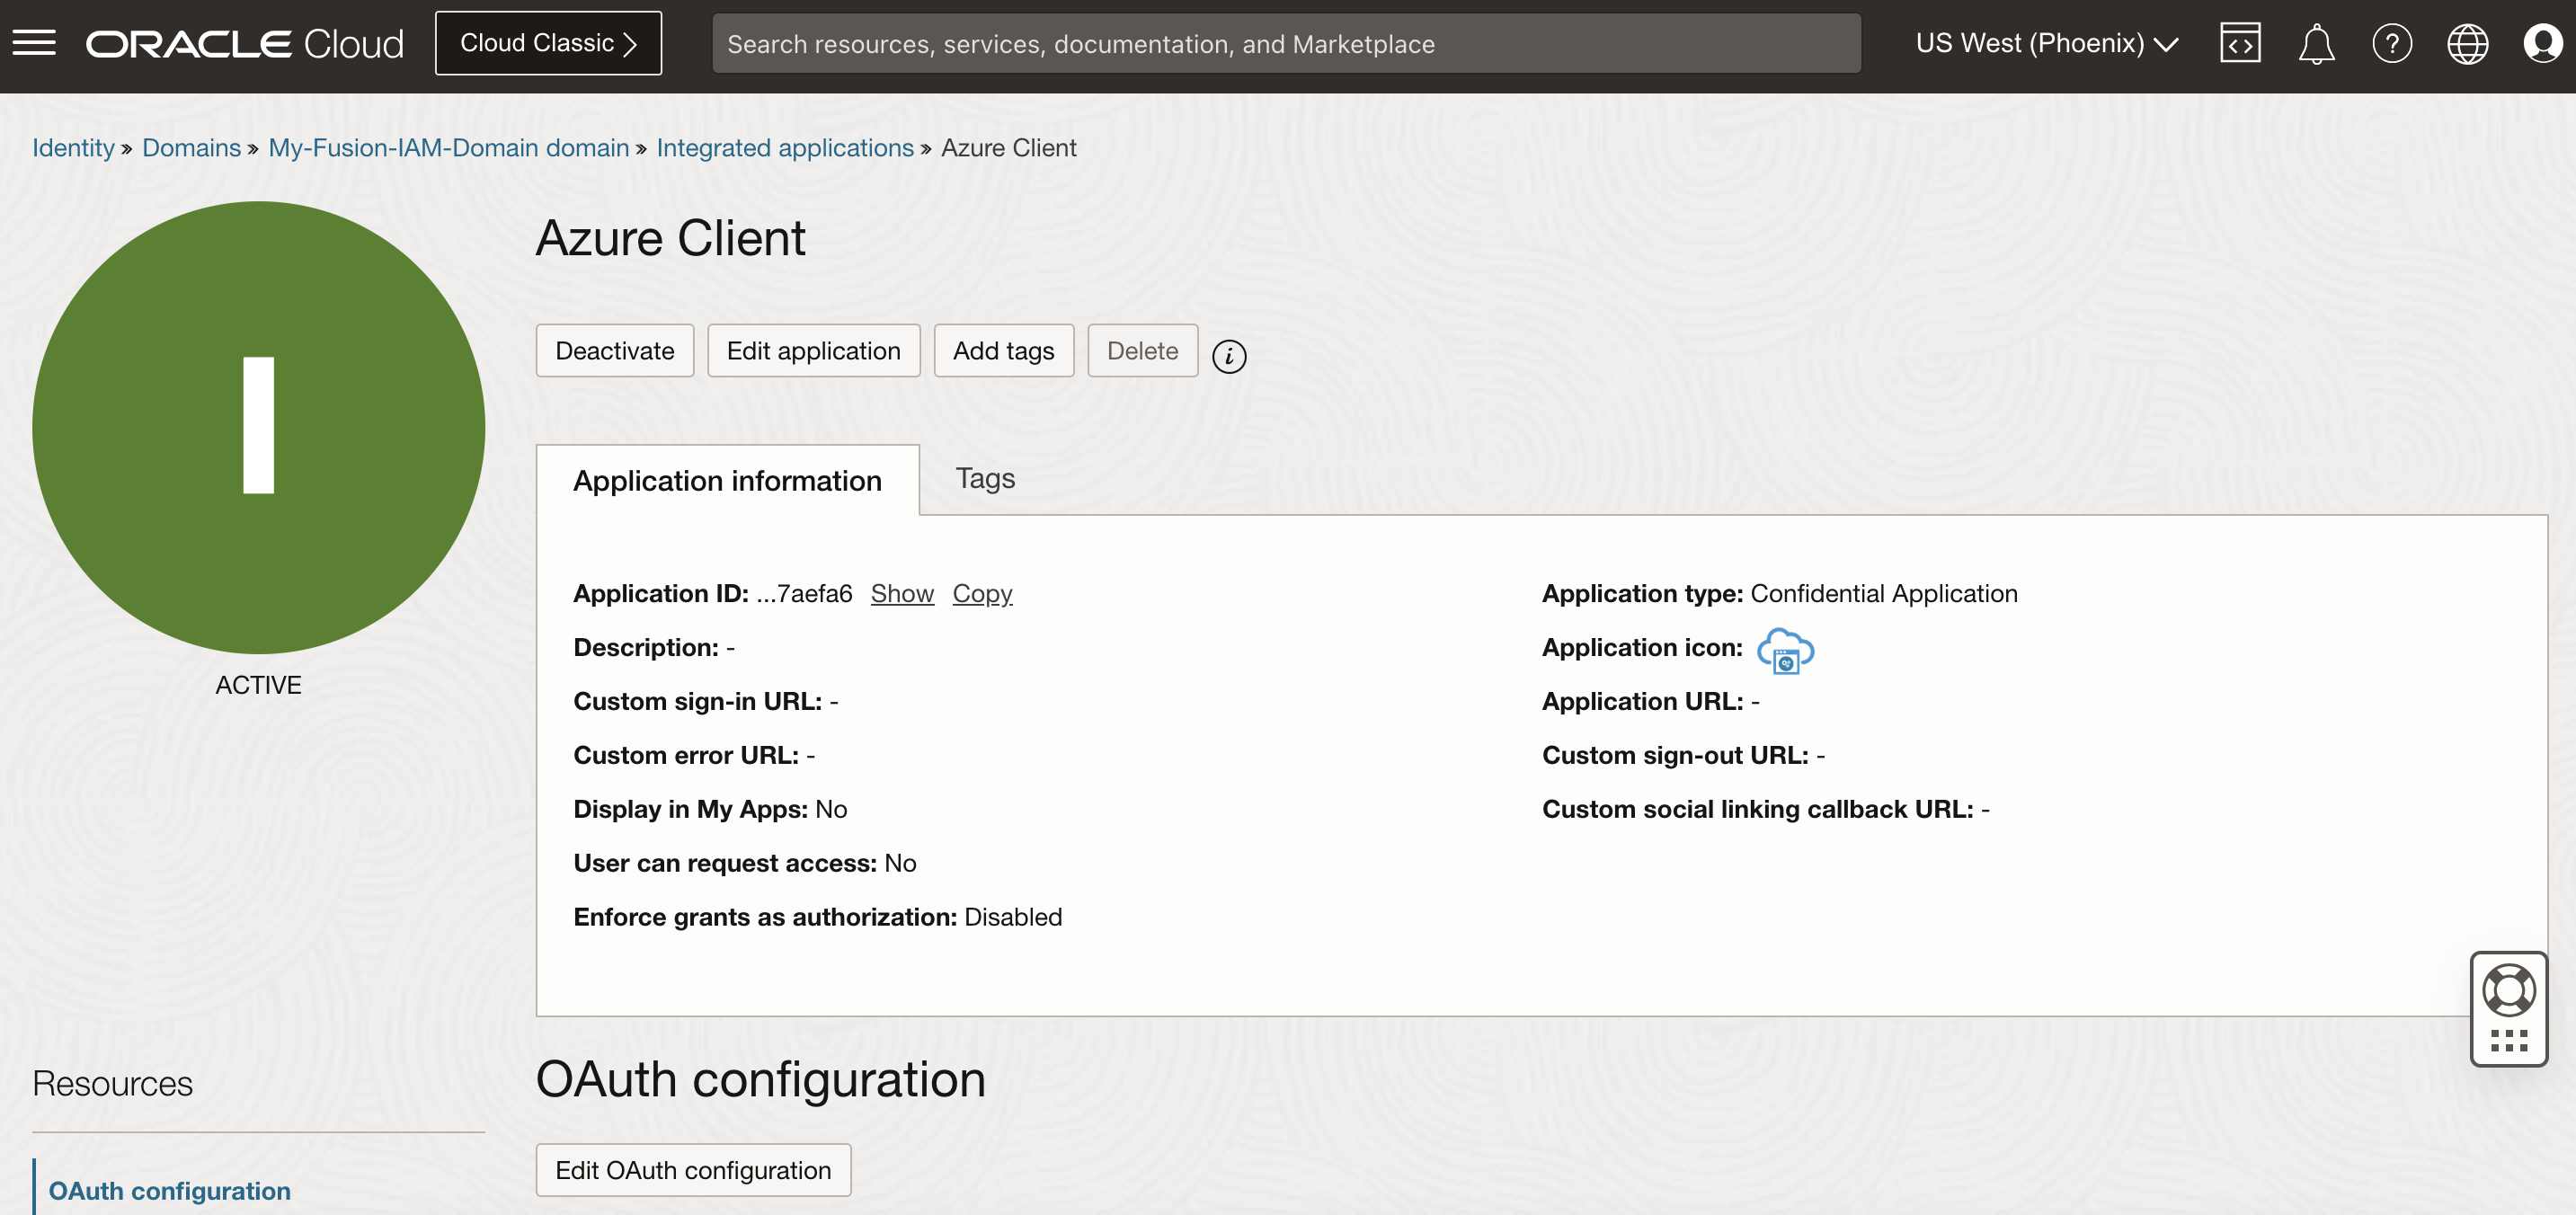
Scroll down to find the Client ID and Secret

Encode your <client ID>:<secret ID> in Base64 and save it for later usage.
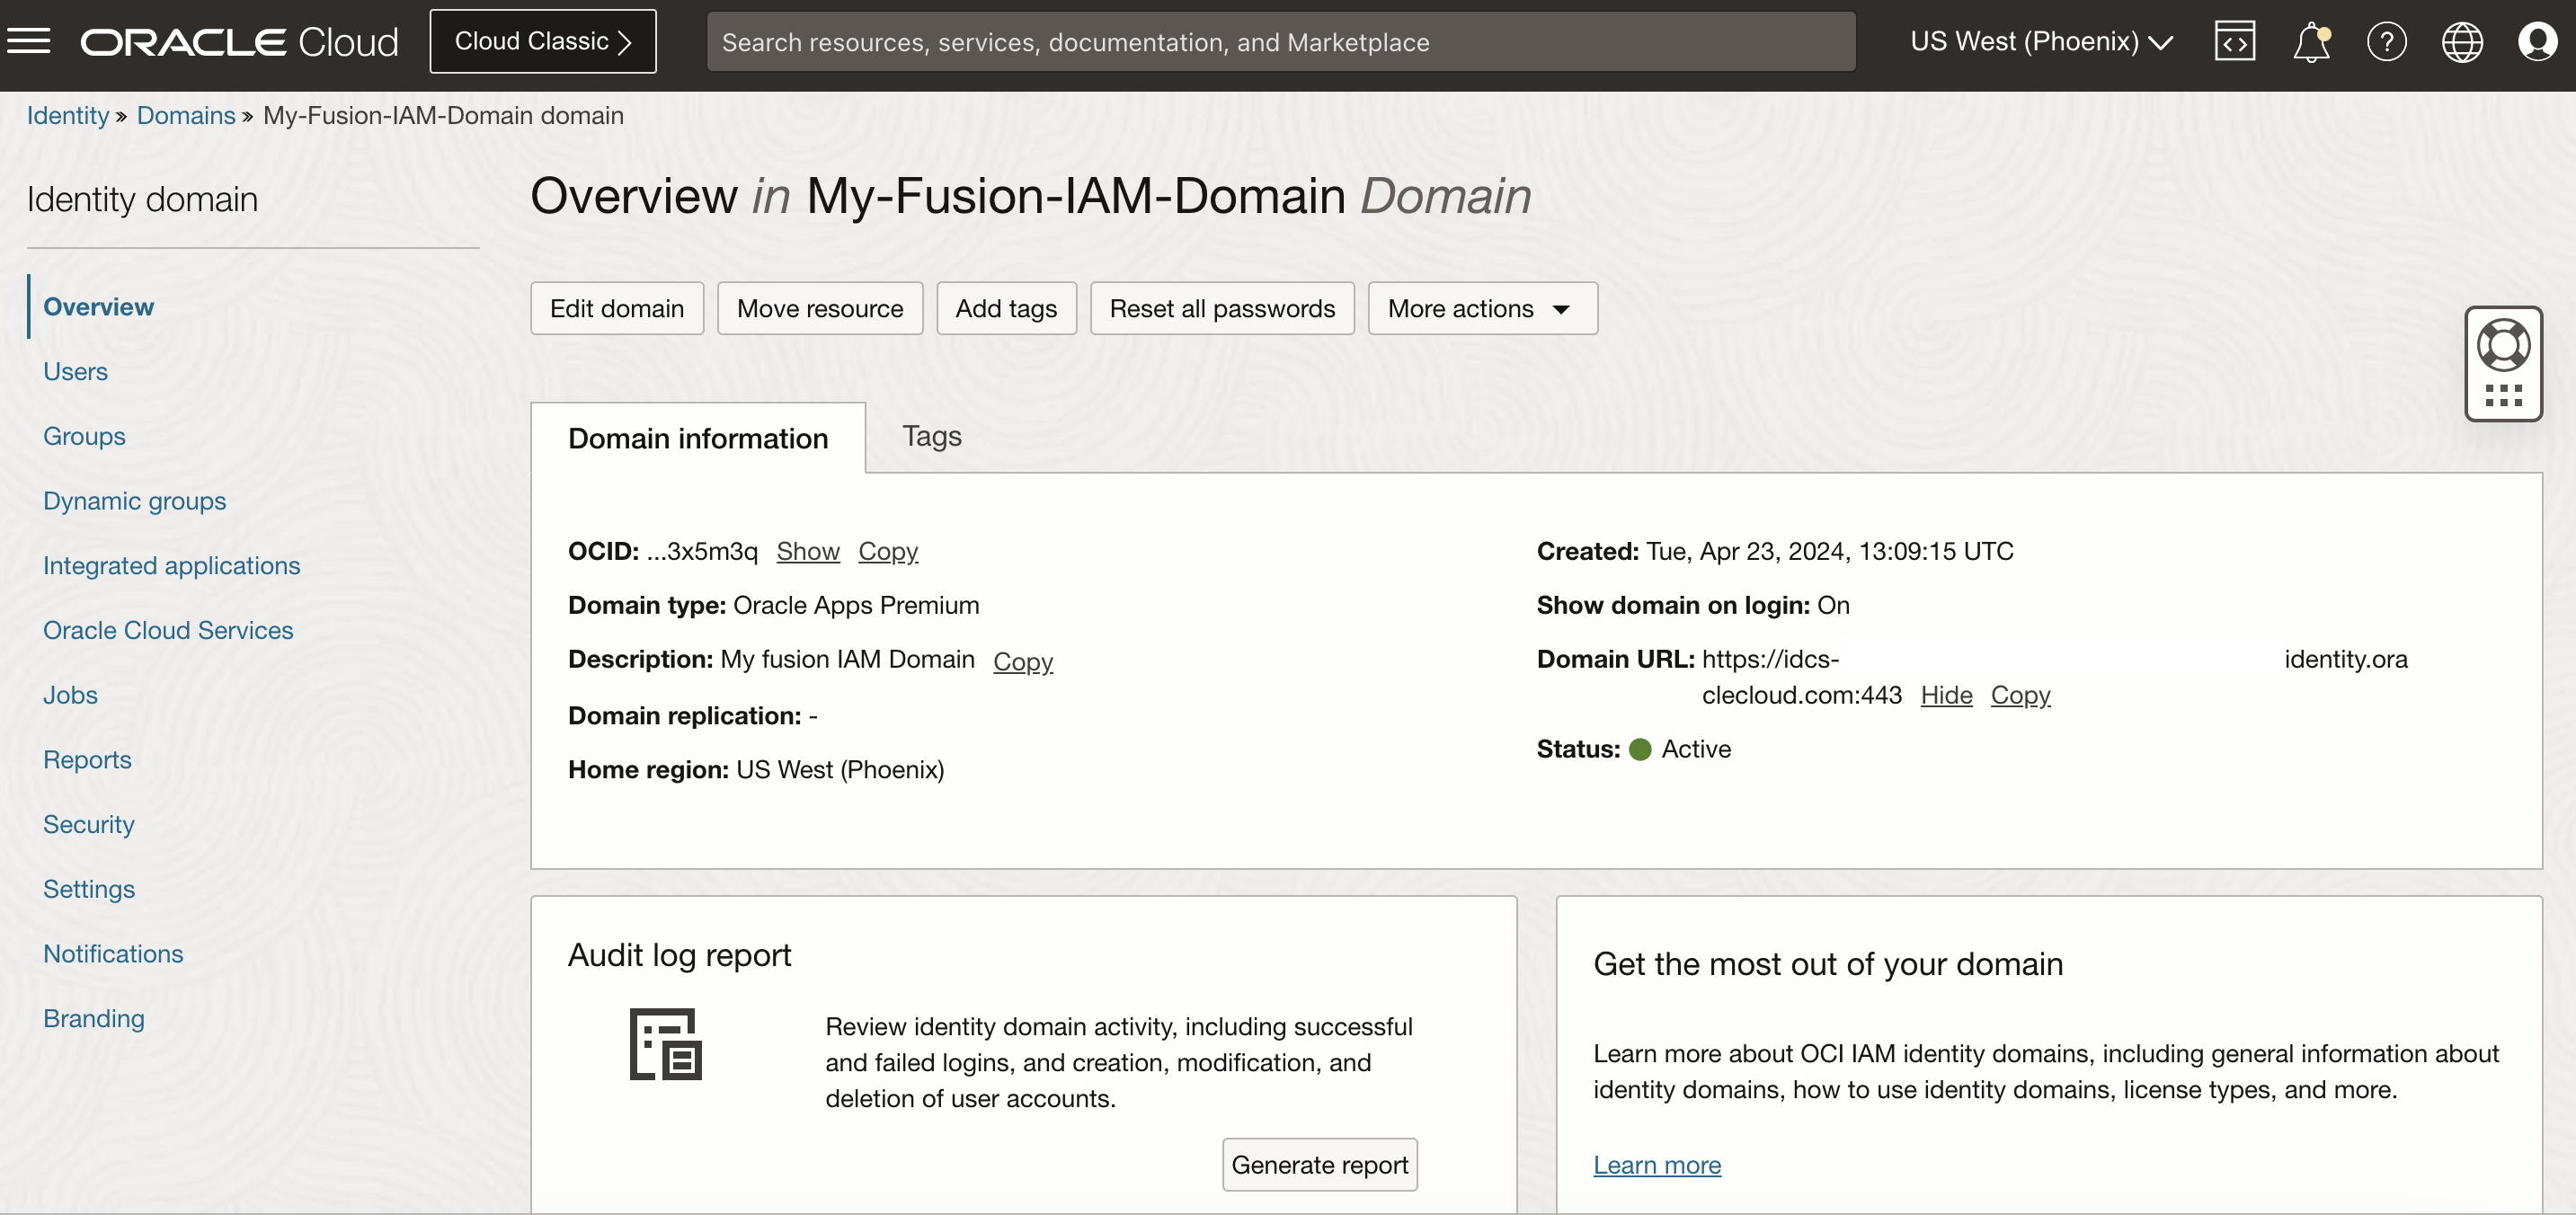
Navigate back to your domain Overview using the breadcrumb and node down the domain URL that will be used also in the Azure configuration.
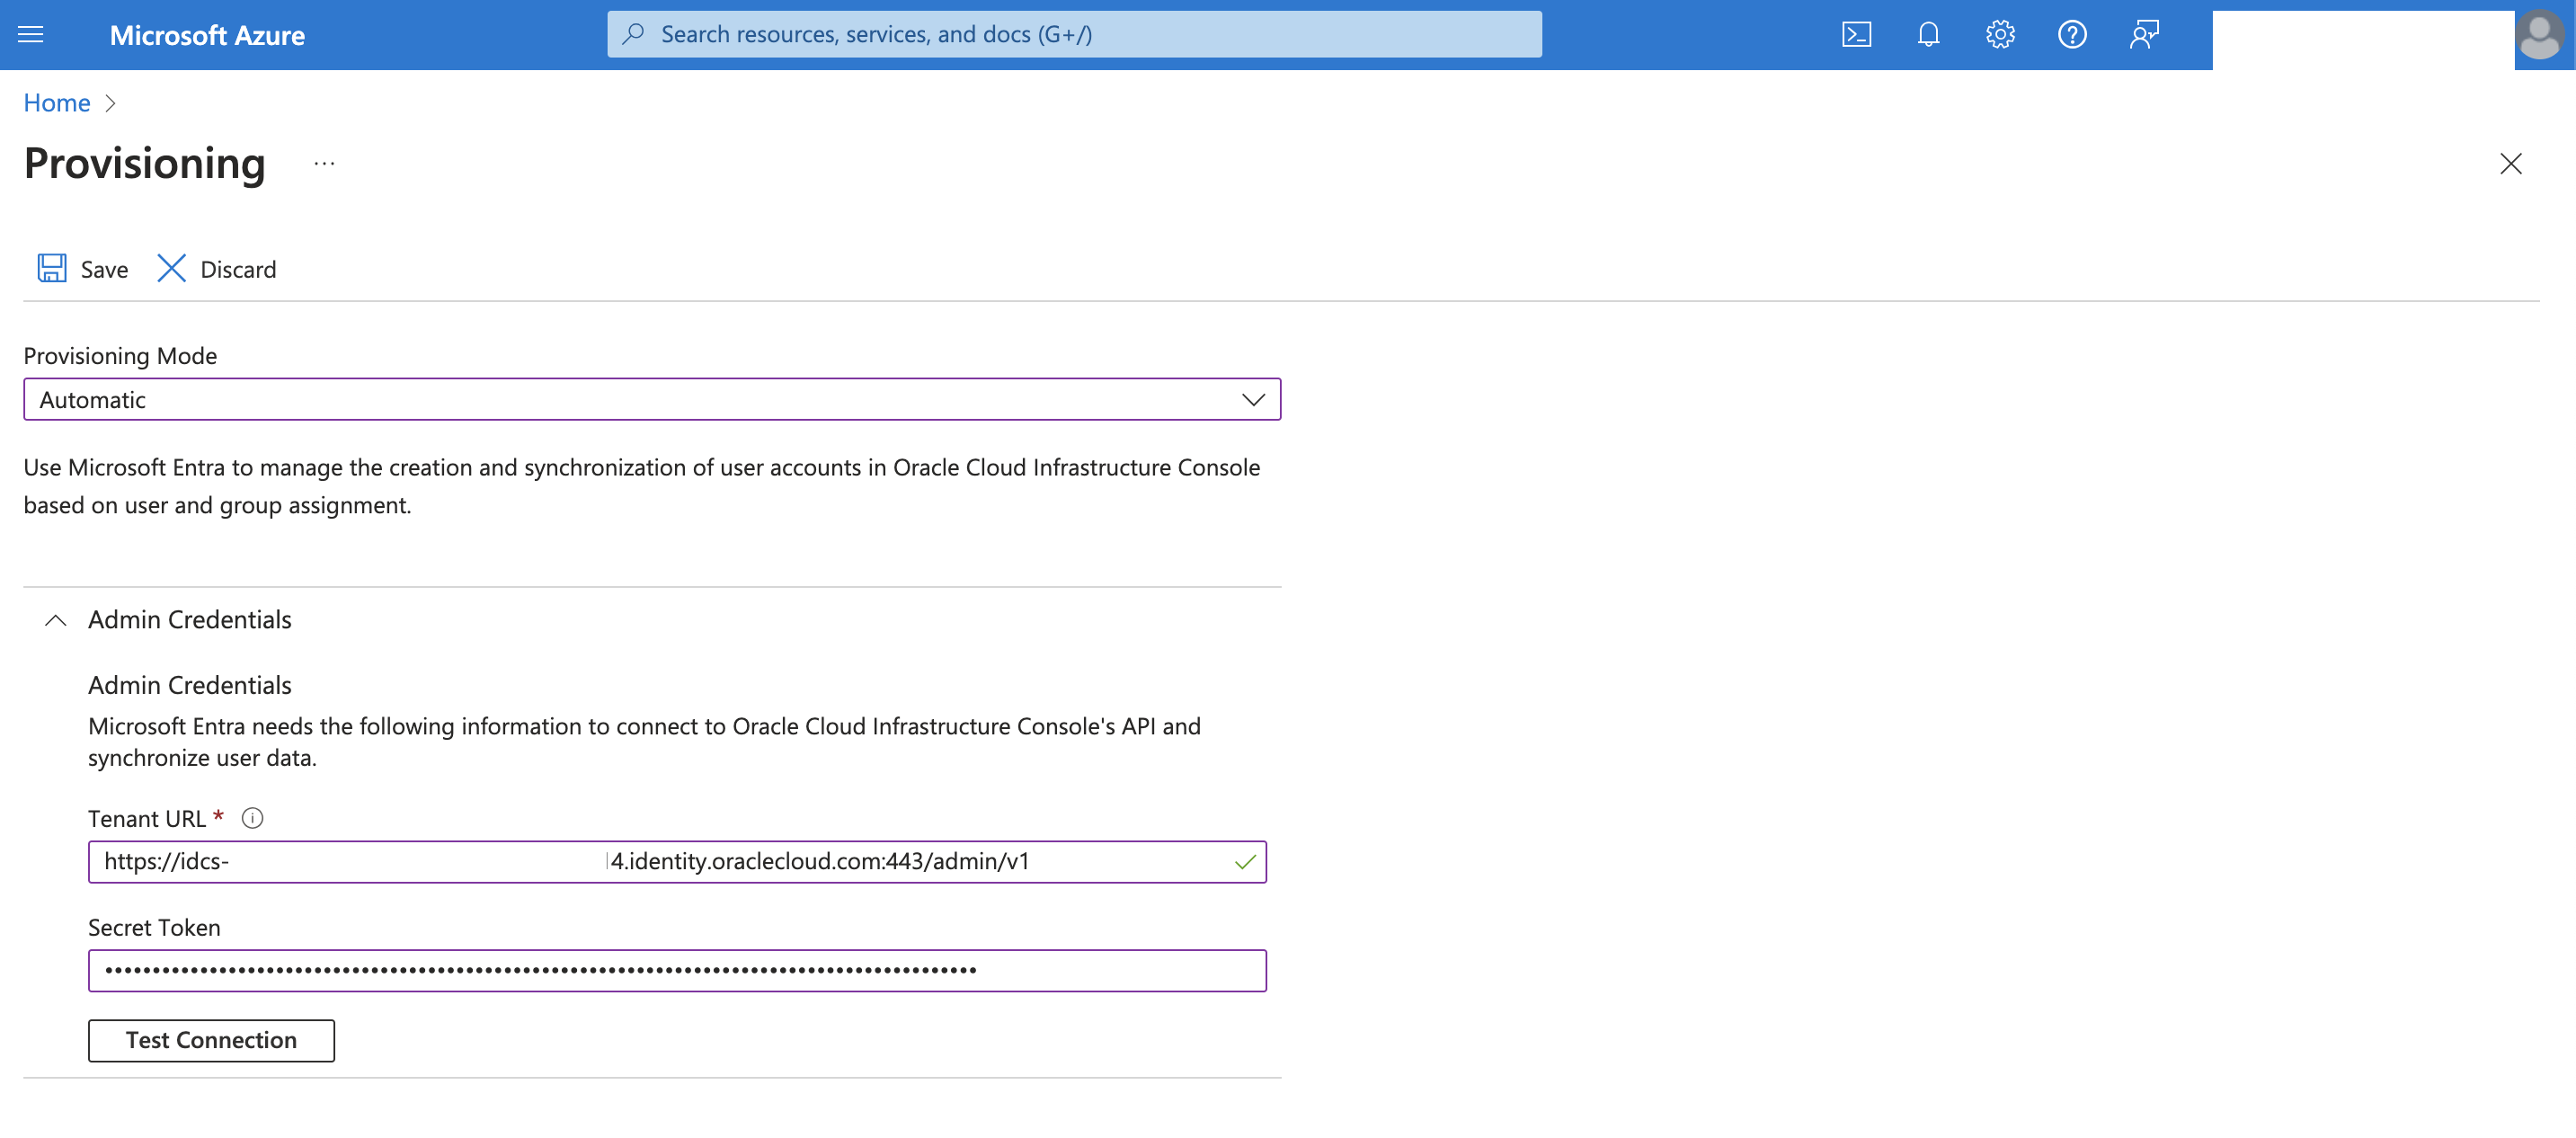
Back on Azure, go to the OCI Console Enterprise application provisioning.
Select Automatic Provisioning Mode and input the Admin Credentials:
Tenant URL: <IAM Domain URL>/admin/v1
Secret Token: The base64 encoded of ClientID:Secret
Click Test Connection
After the successful result, click Save to open the other sections.
Review the mappings config and setting according to your requirements, click save.
Choose Provisioning from the left menu under Manage and click Start provisioning. The provisioning cycle starts, and the status of provisioning is displayed.
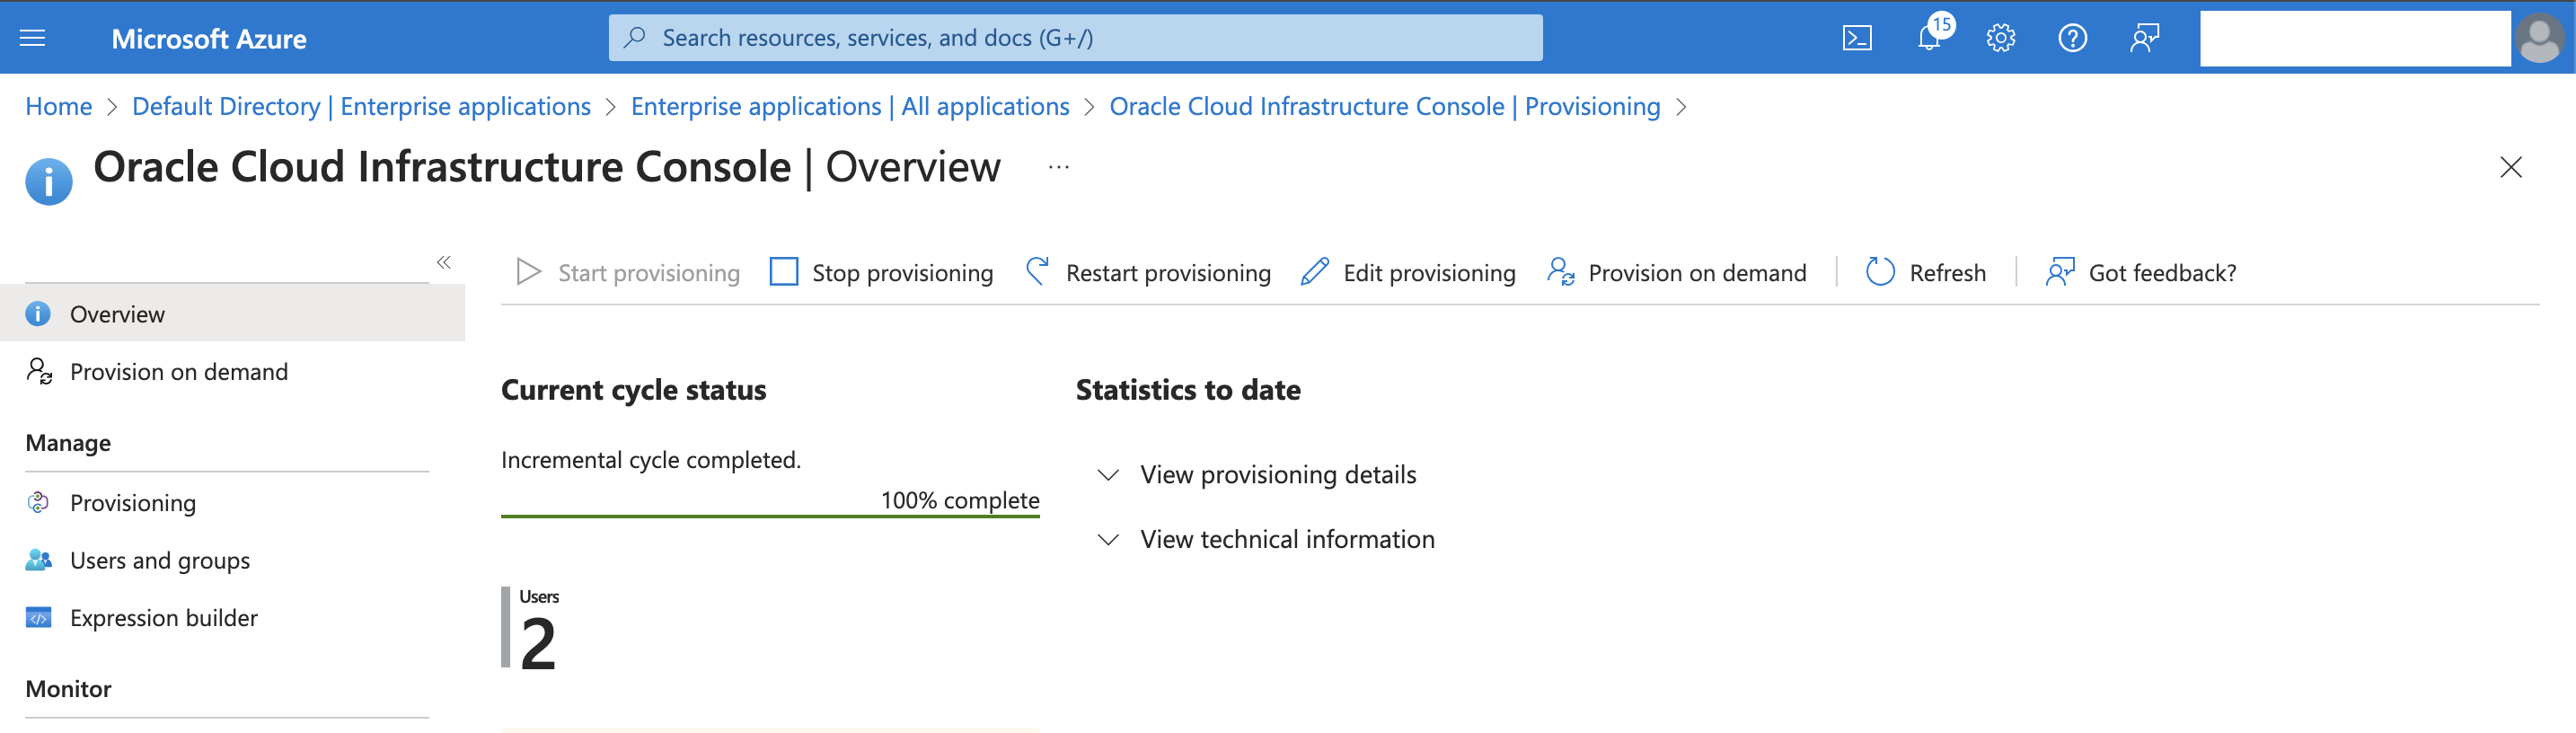
Now our provisioning setup is finished and the users synchronized.
Fusion IAM Domain External IdP ( Entra ID ) Setup
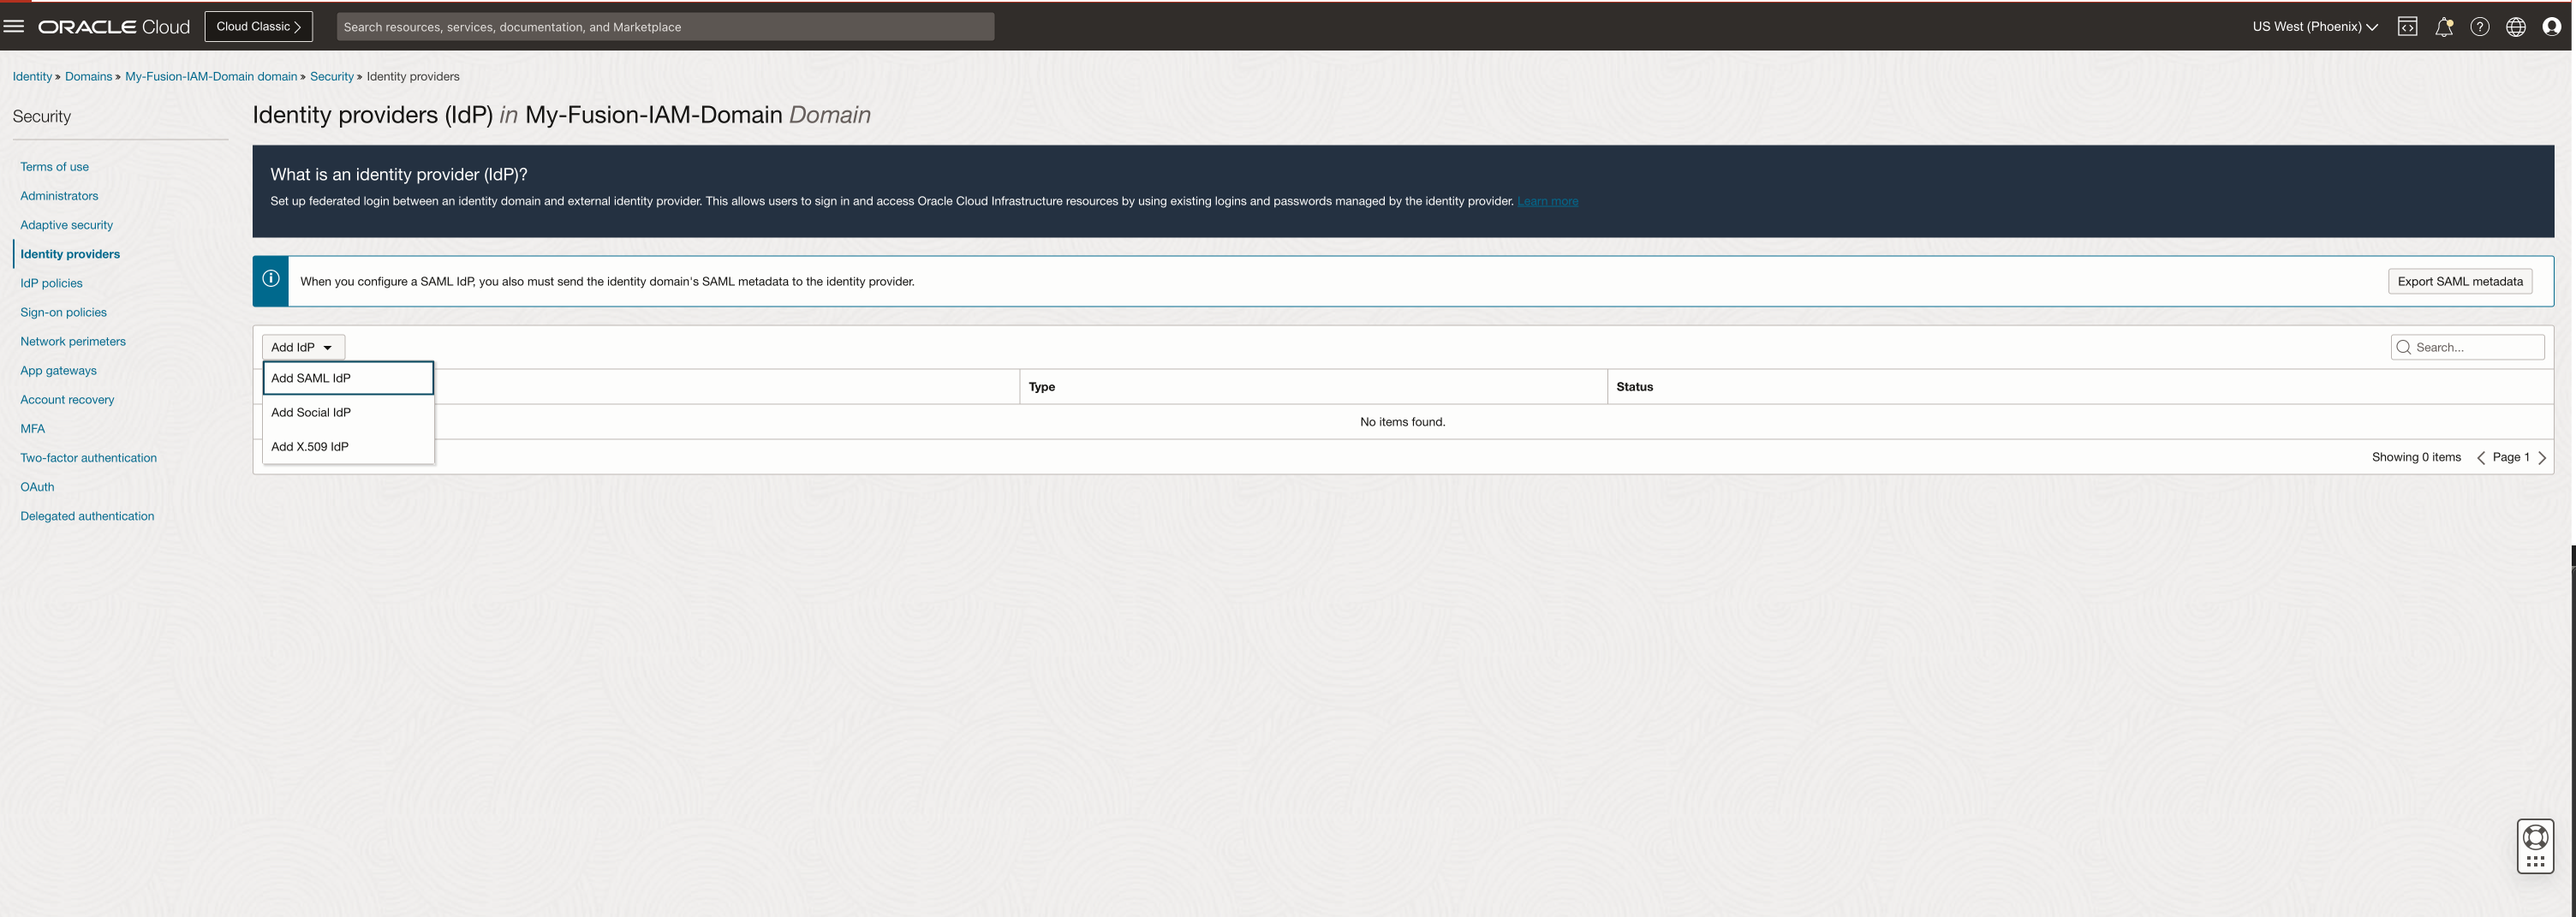
On the Domain Page, click Security, Identity Domain and click Add IdP and select Add SAML IdP
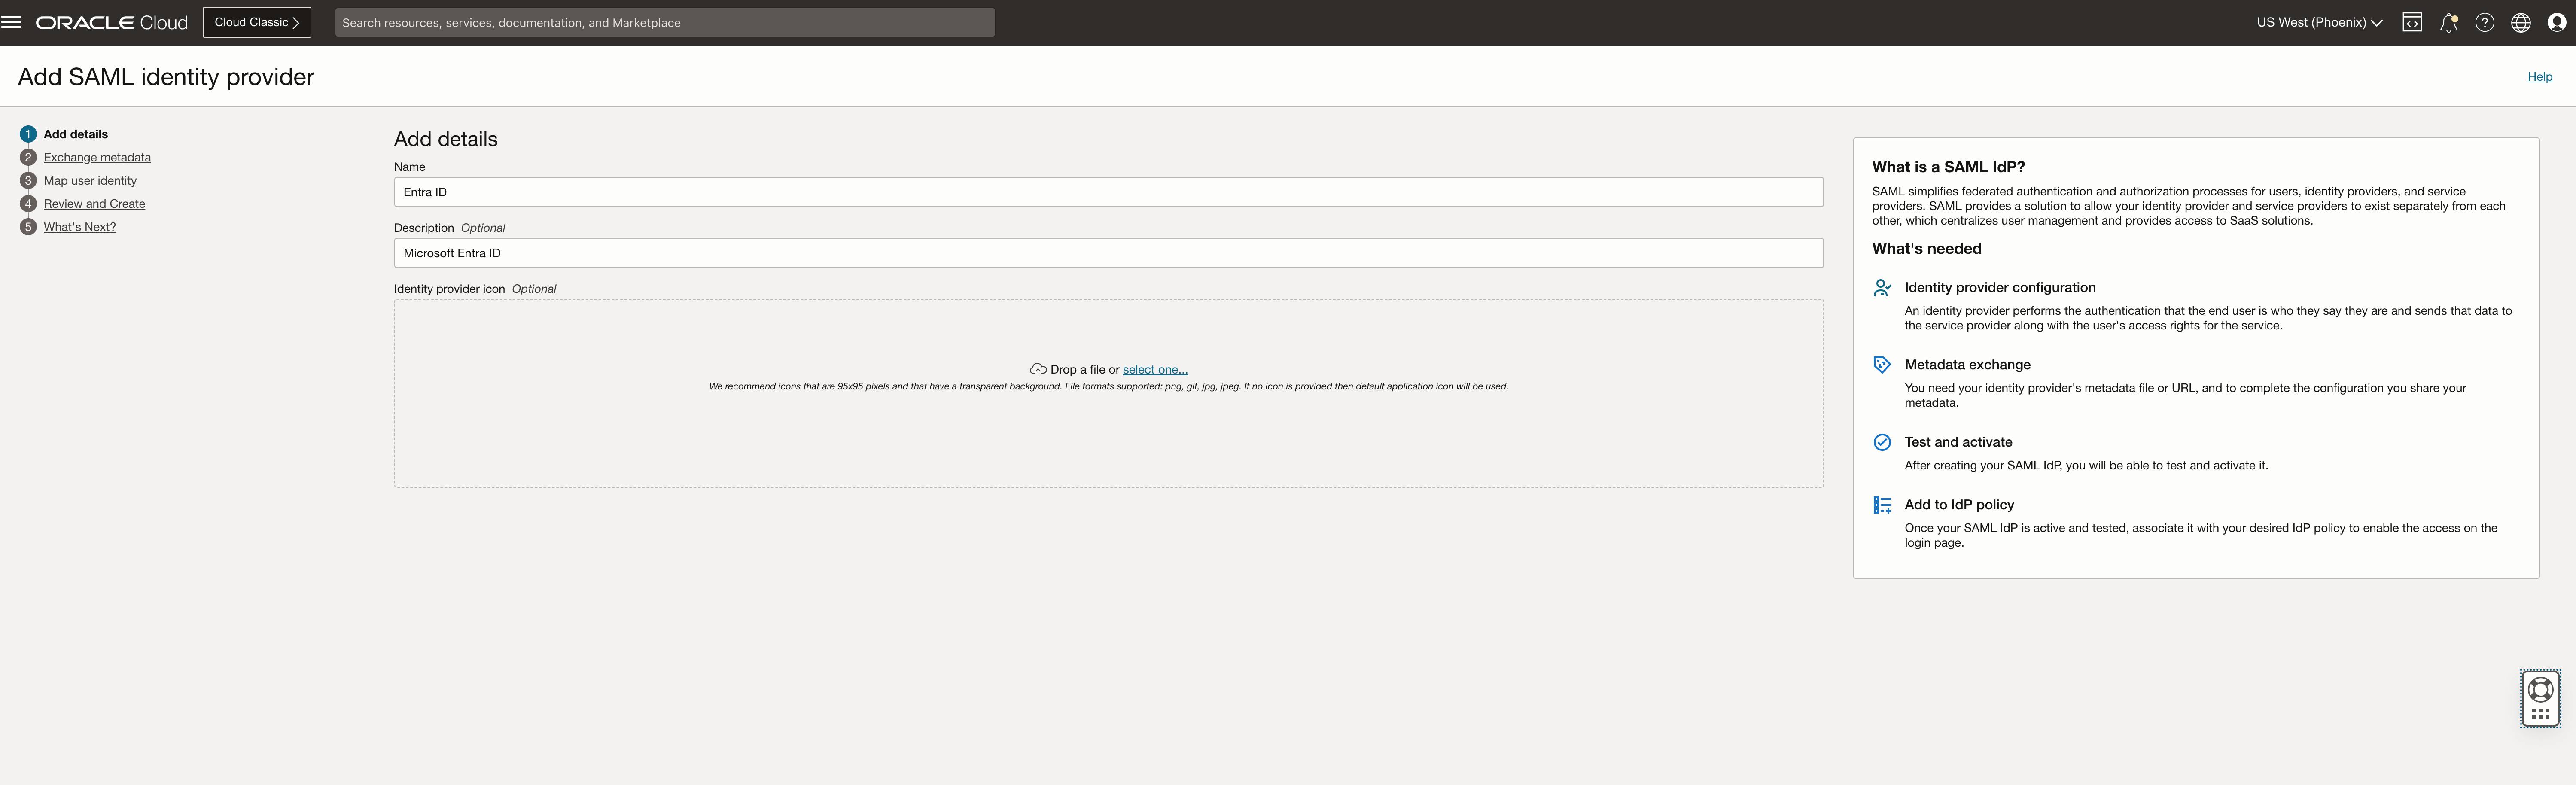
Provide the name and description and click Next
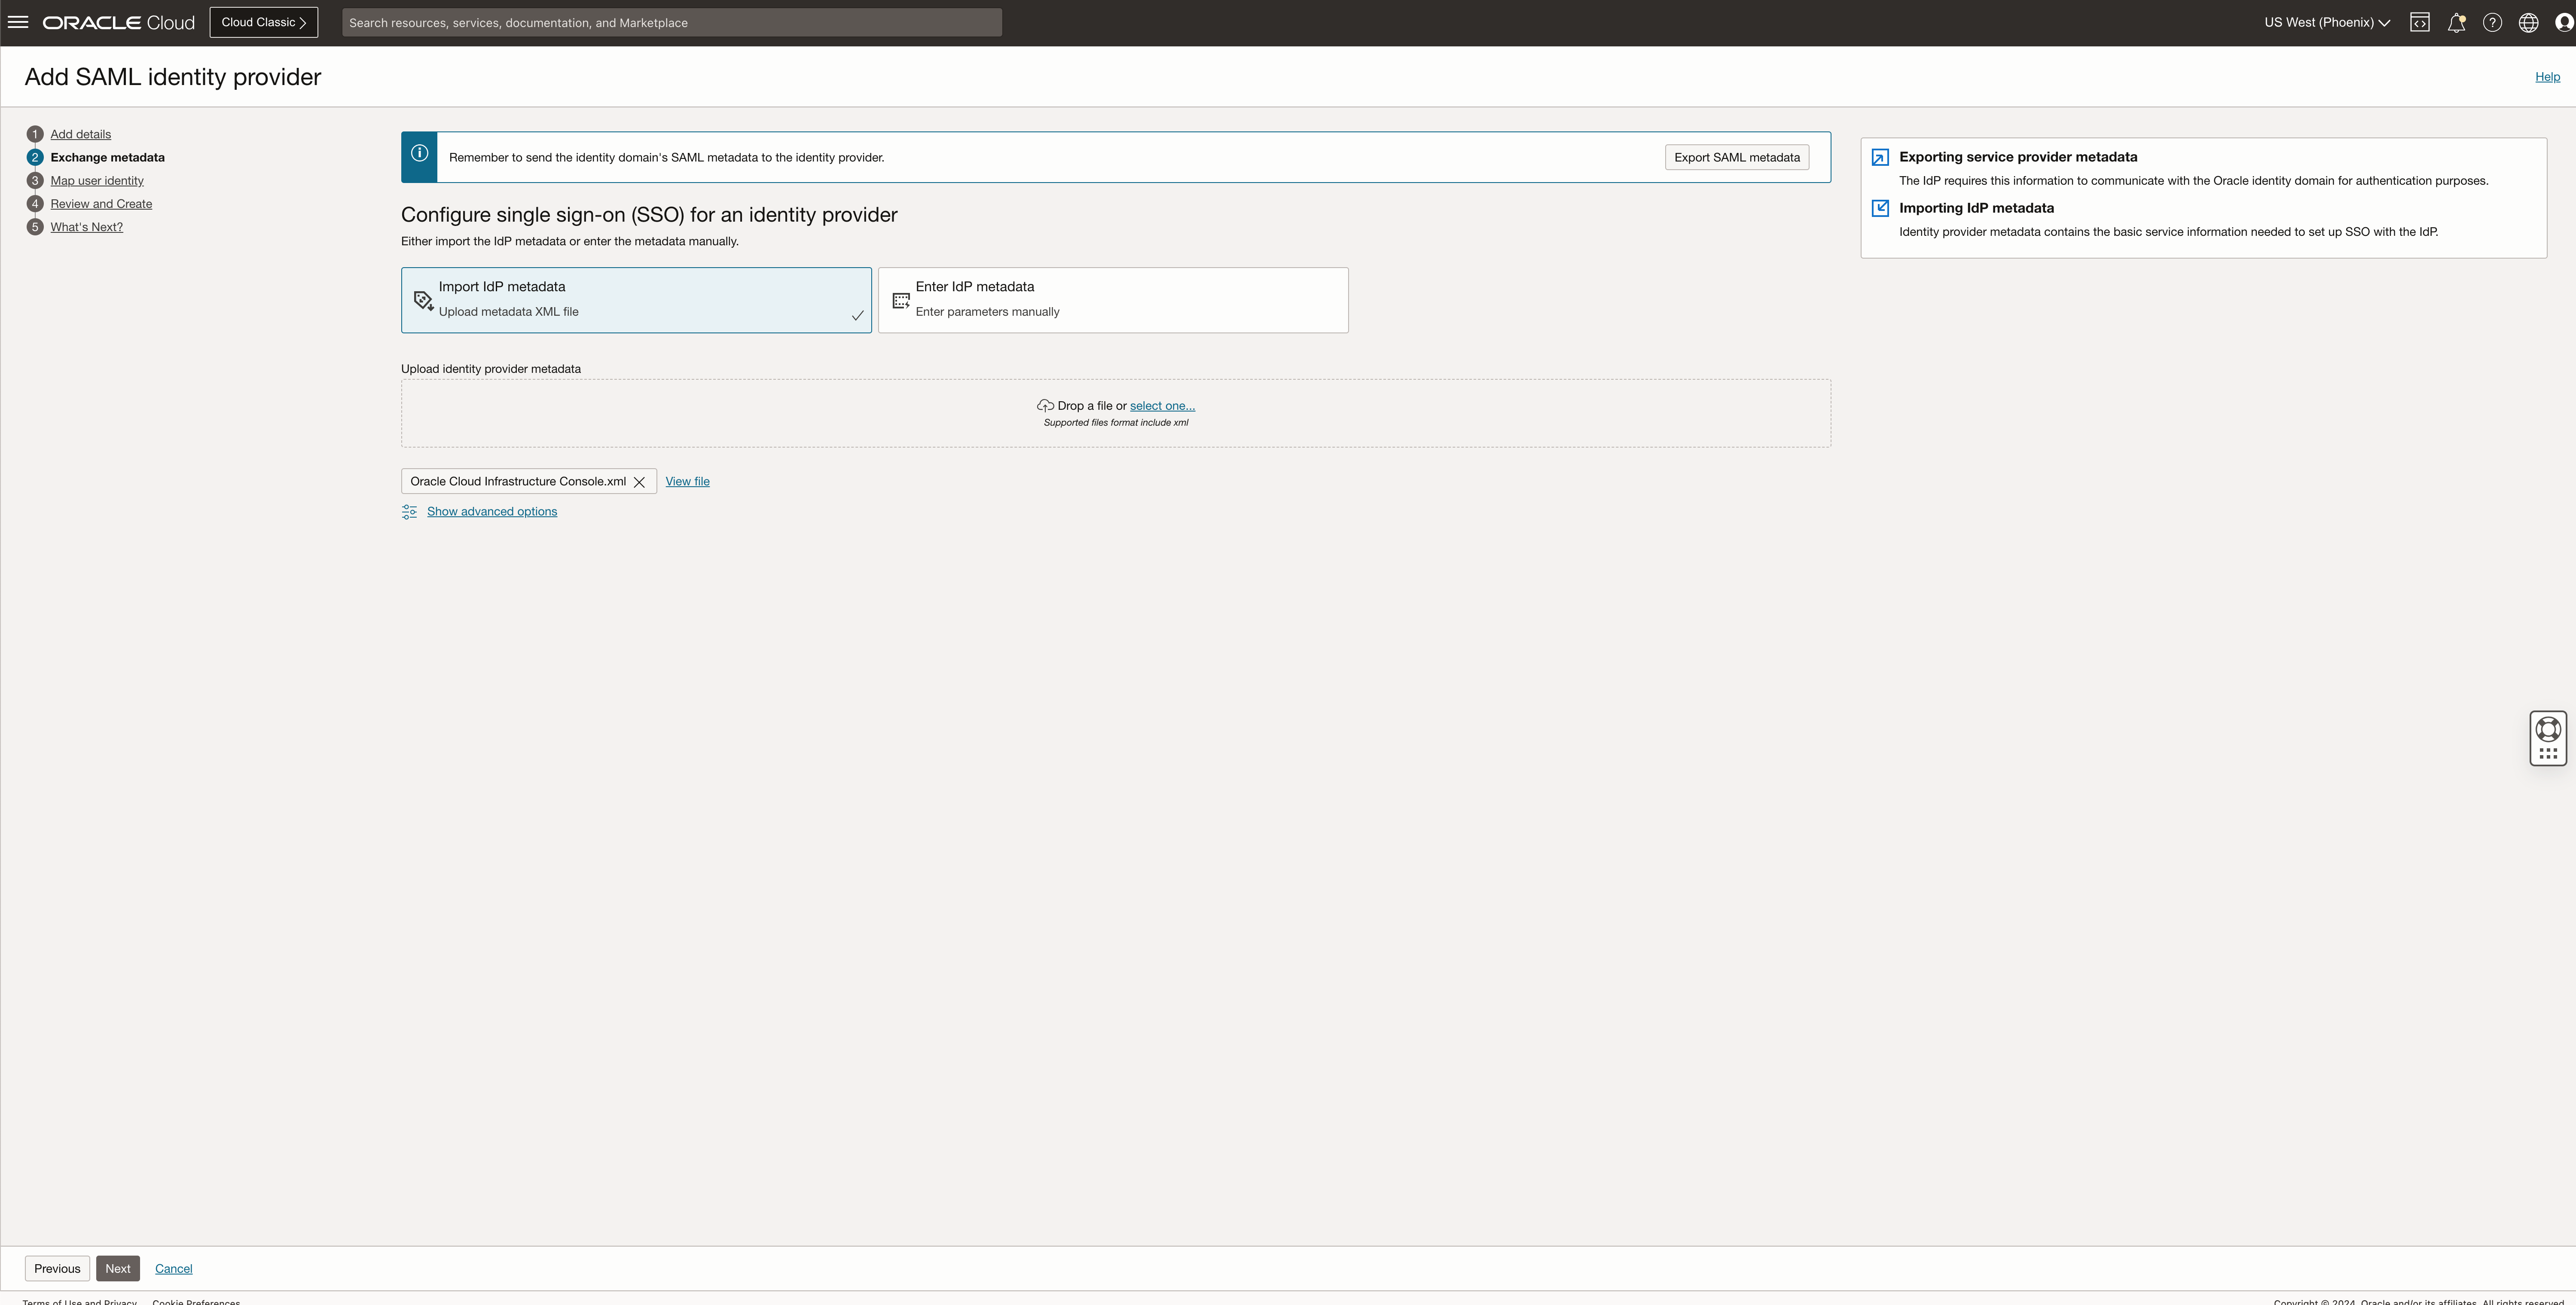
Import the Federation metadata downloaded from the Entra ID Enterprise Application and click Next
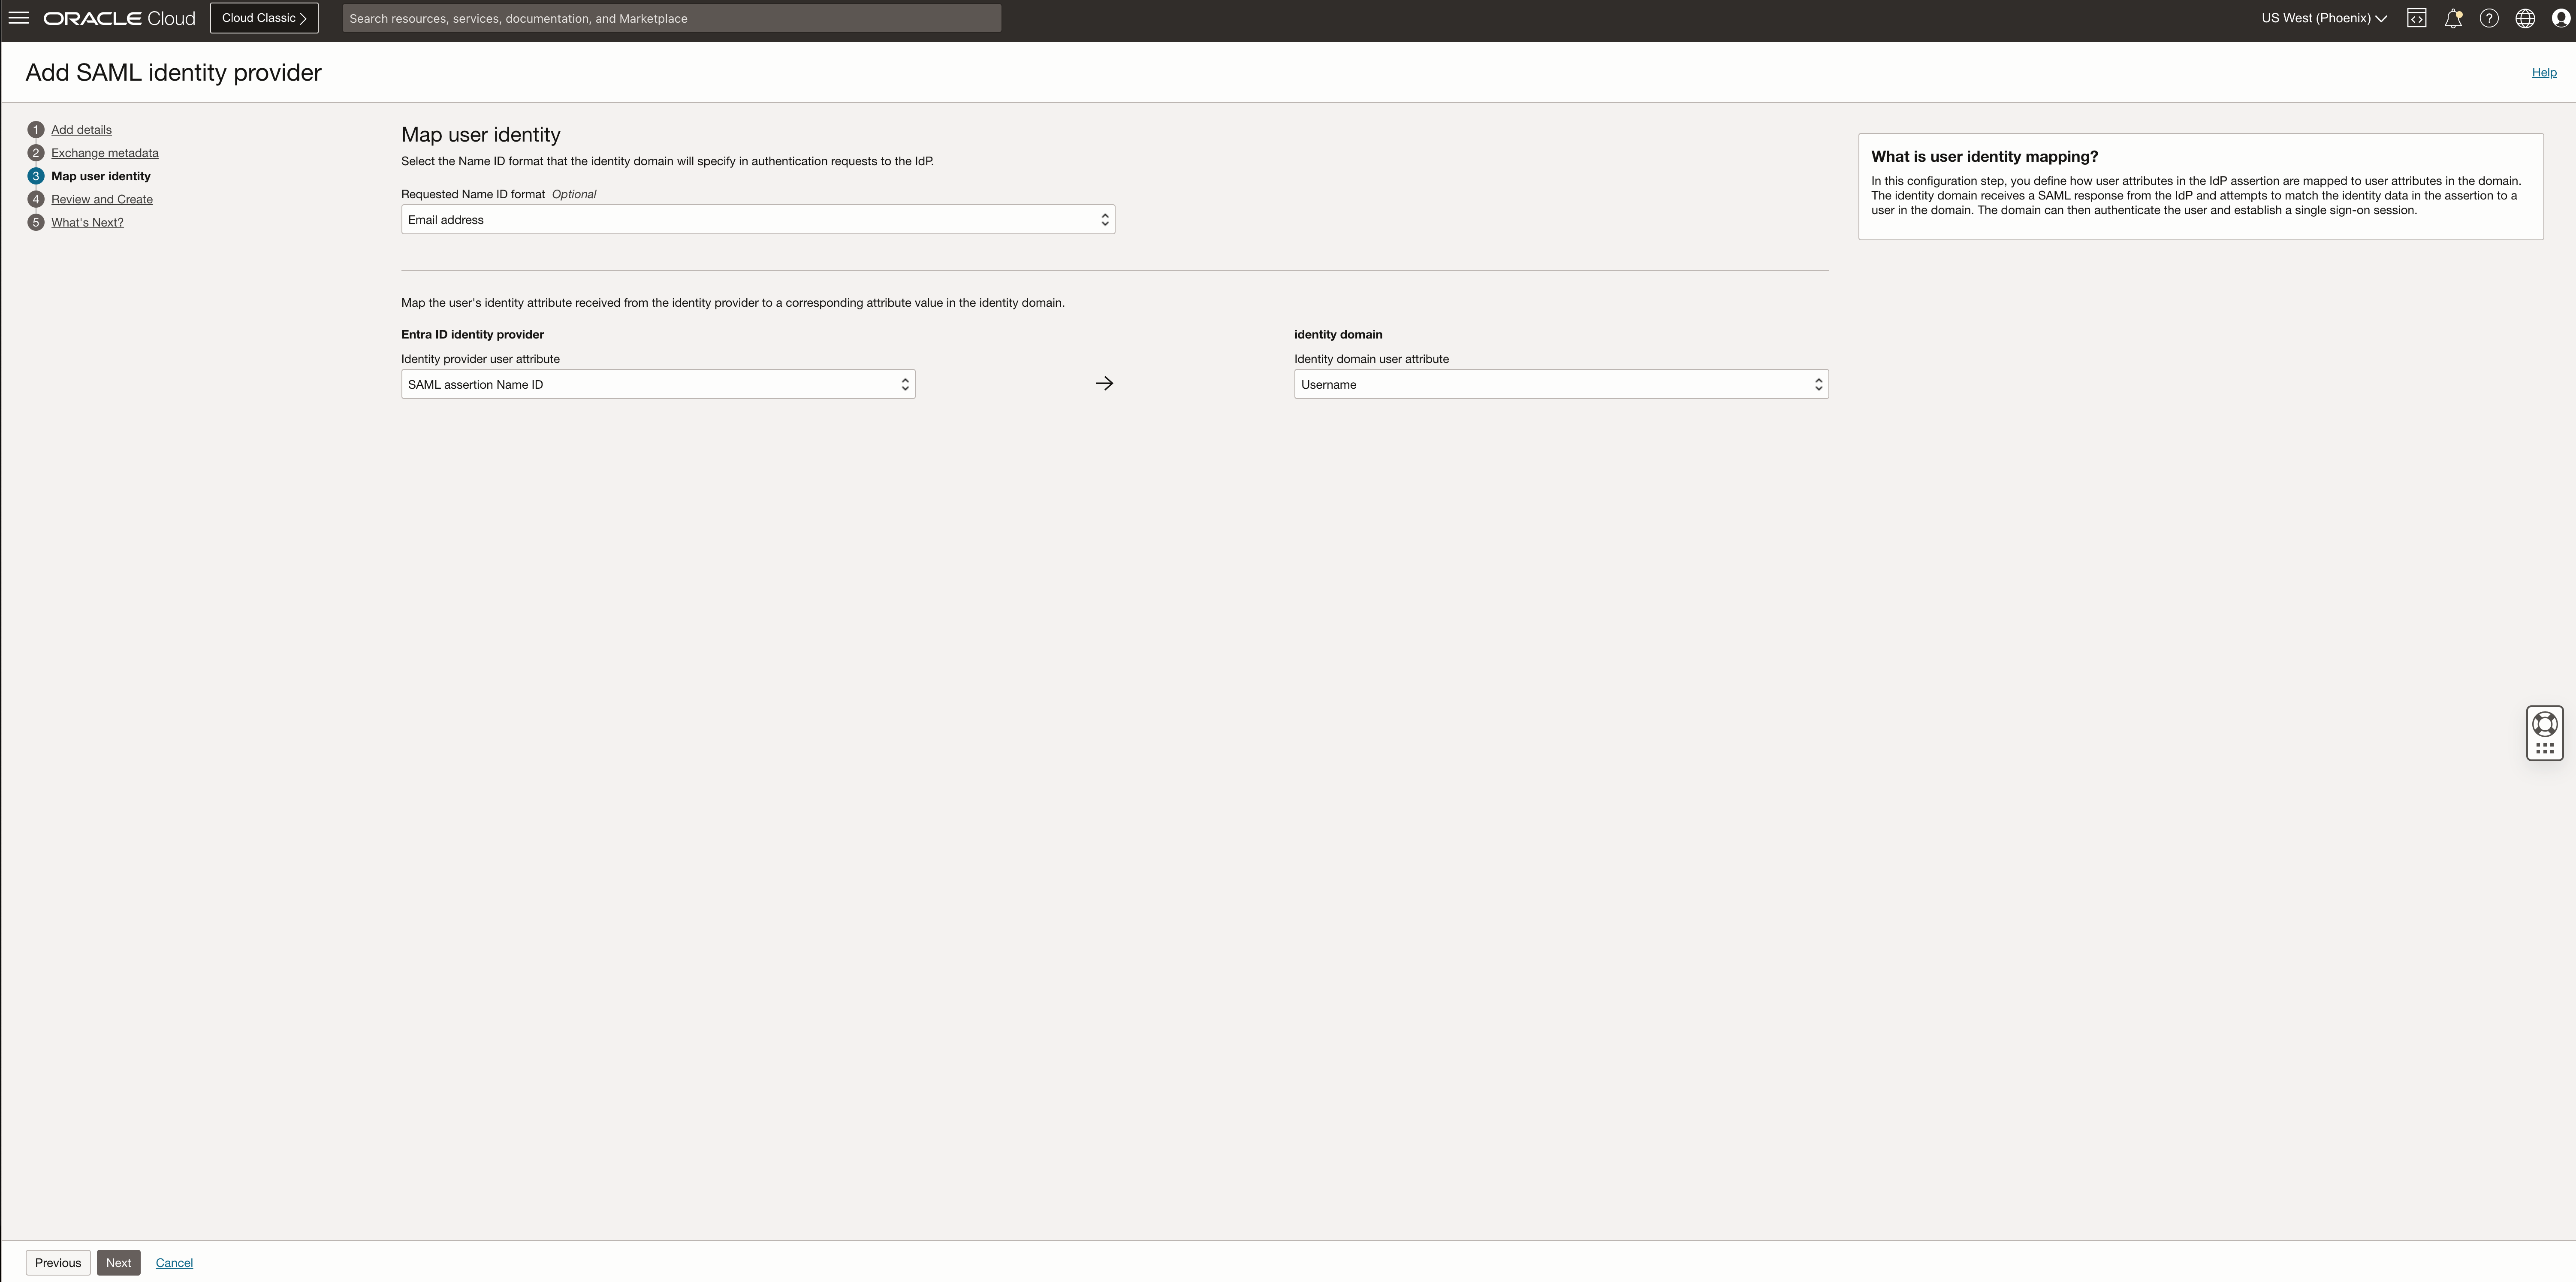
Select the correct format for the Requested Name and the Entity ID mapping depending on your identity format and click Next
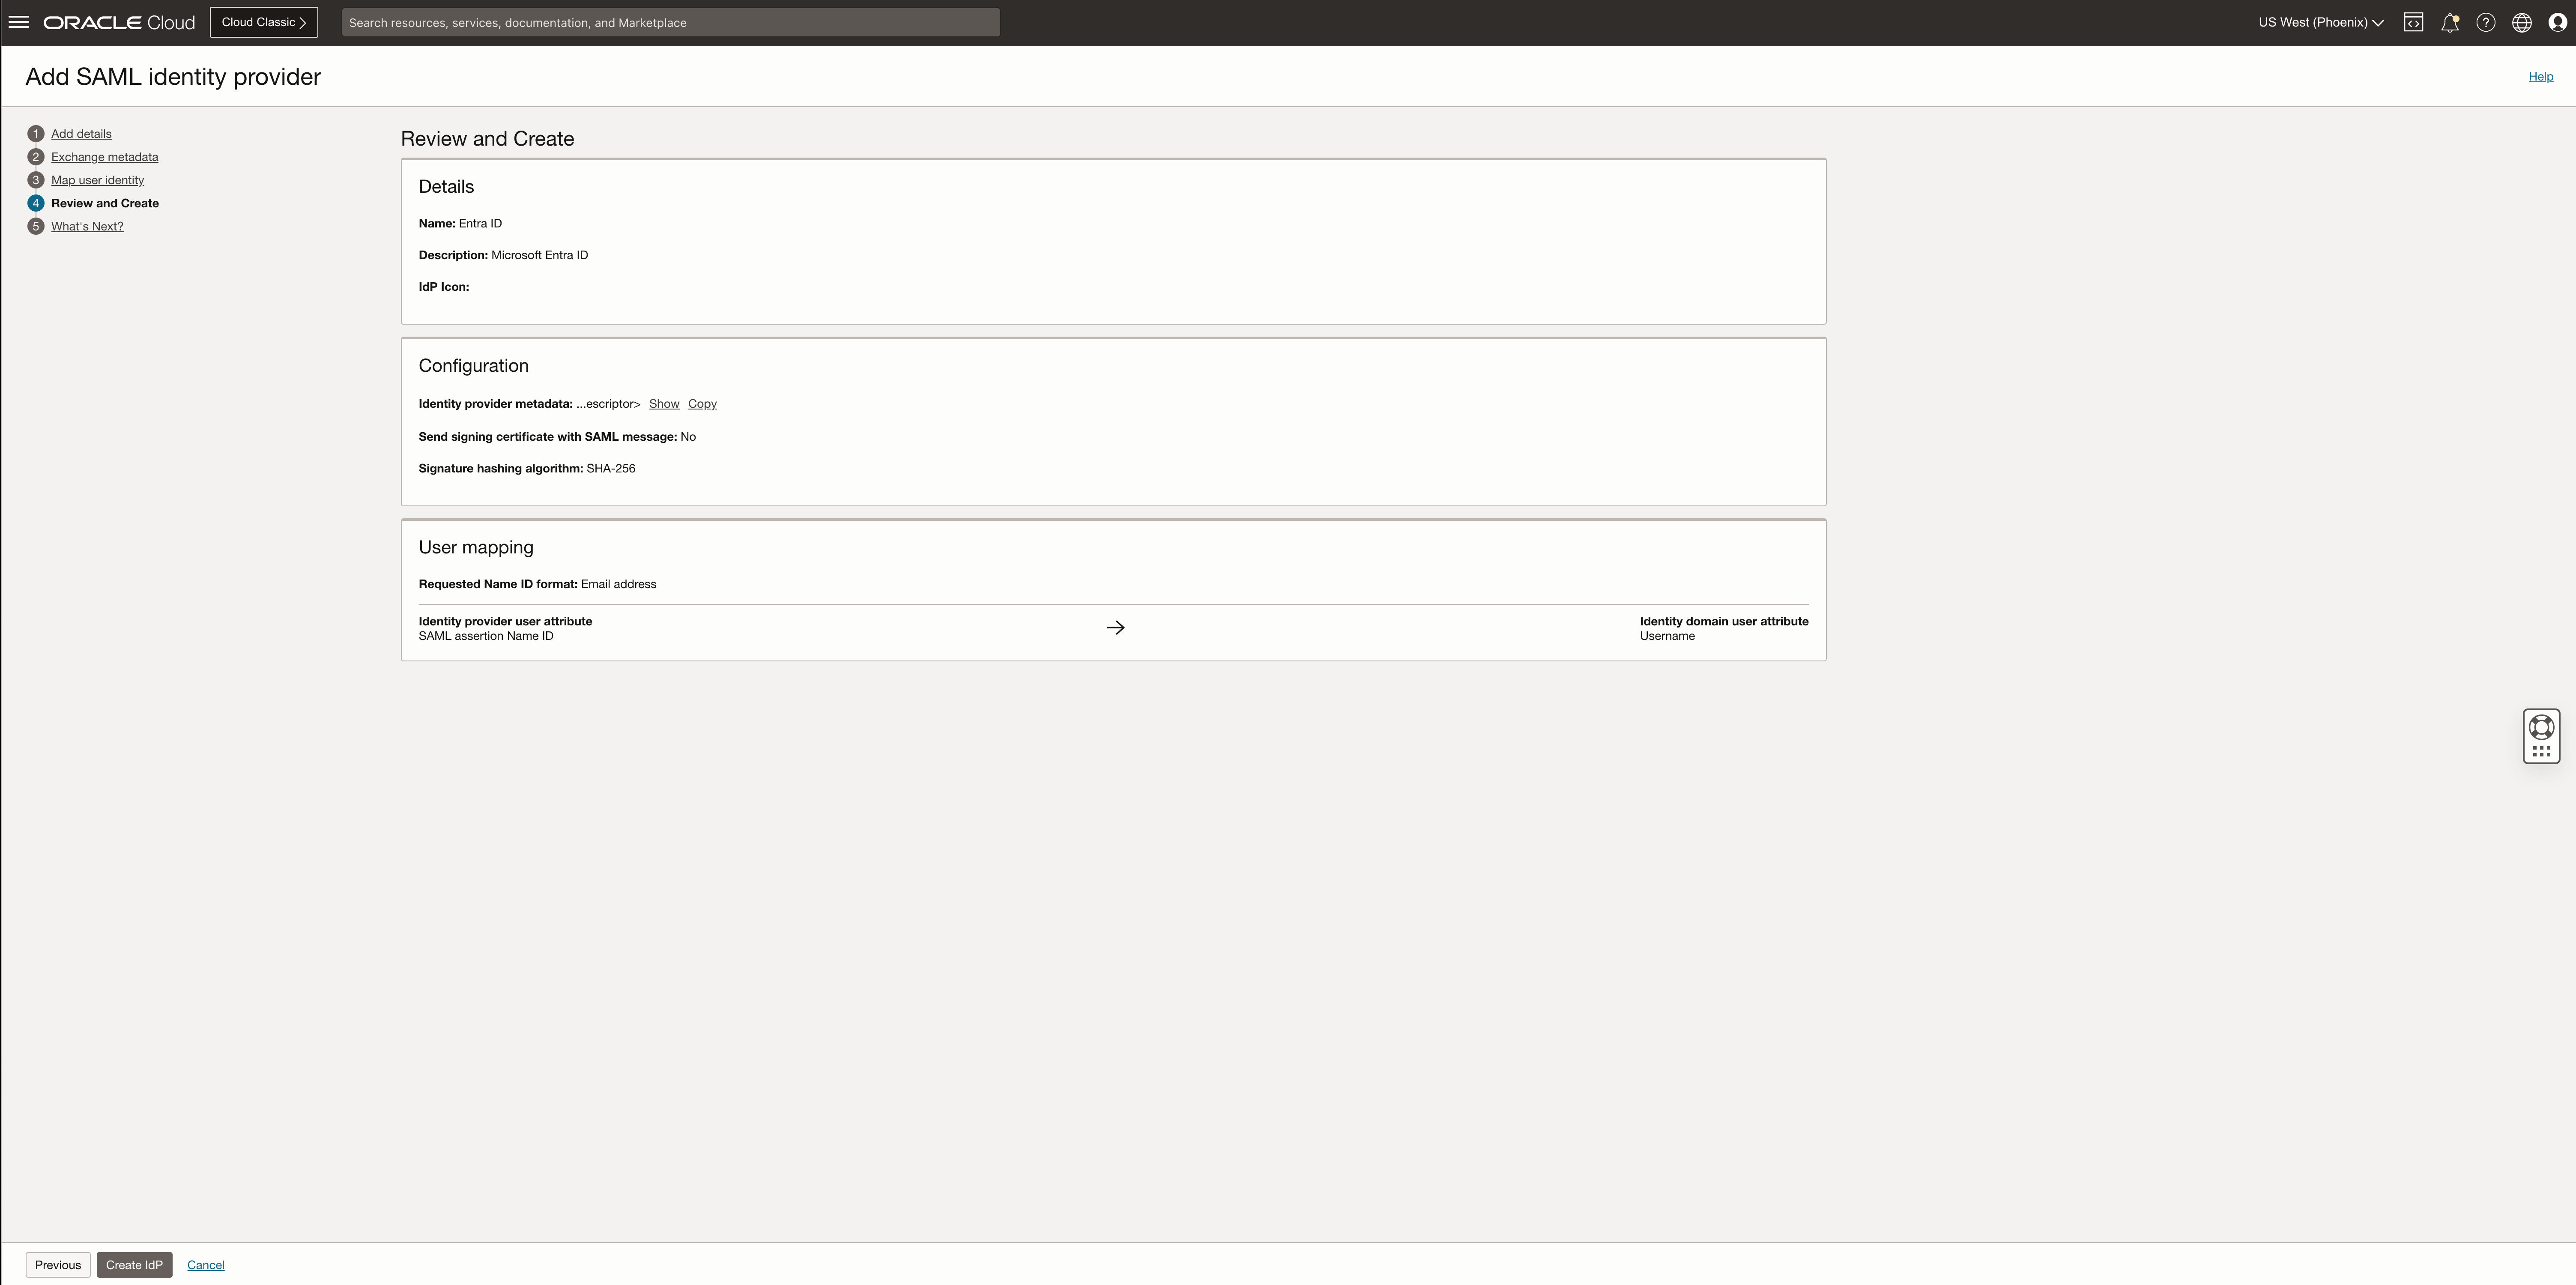
Review IdP details and click Create IdP
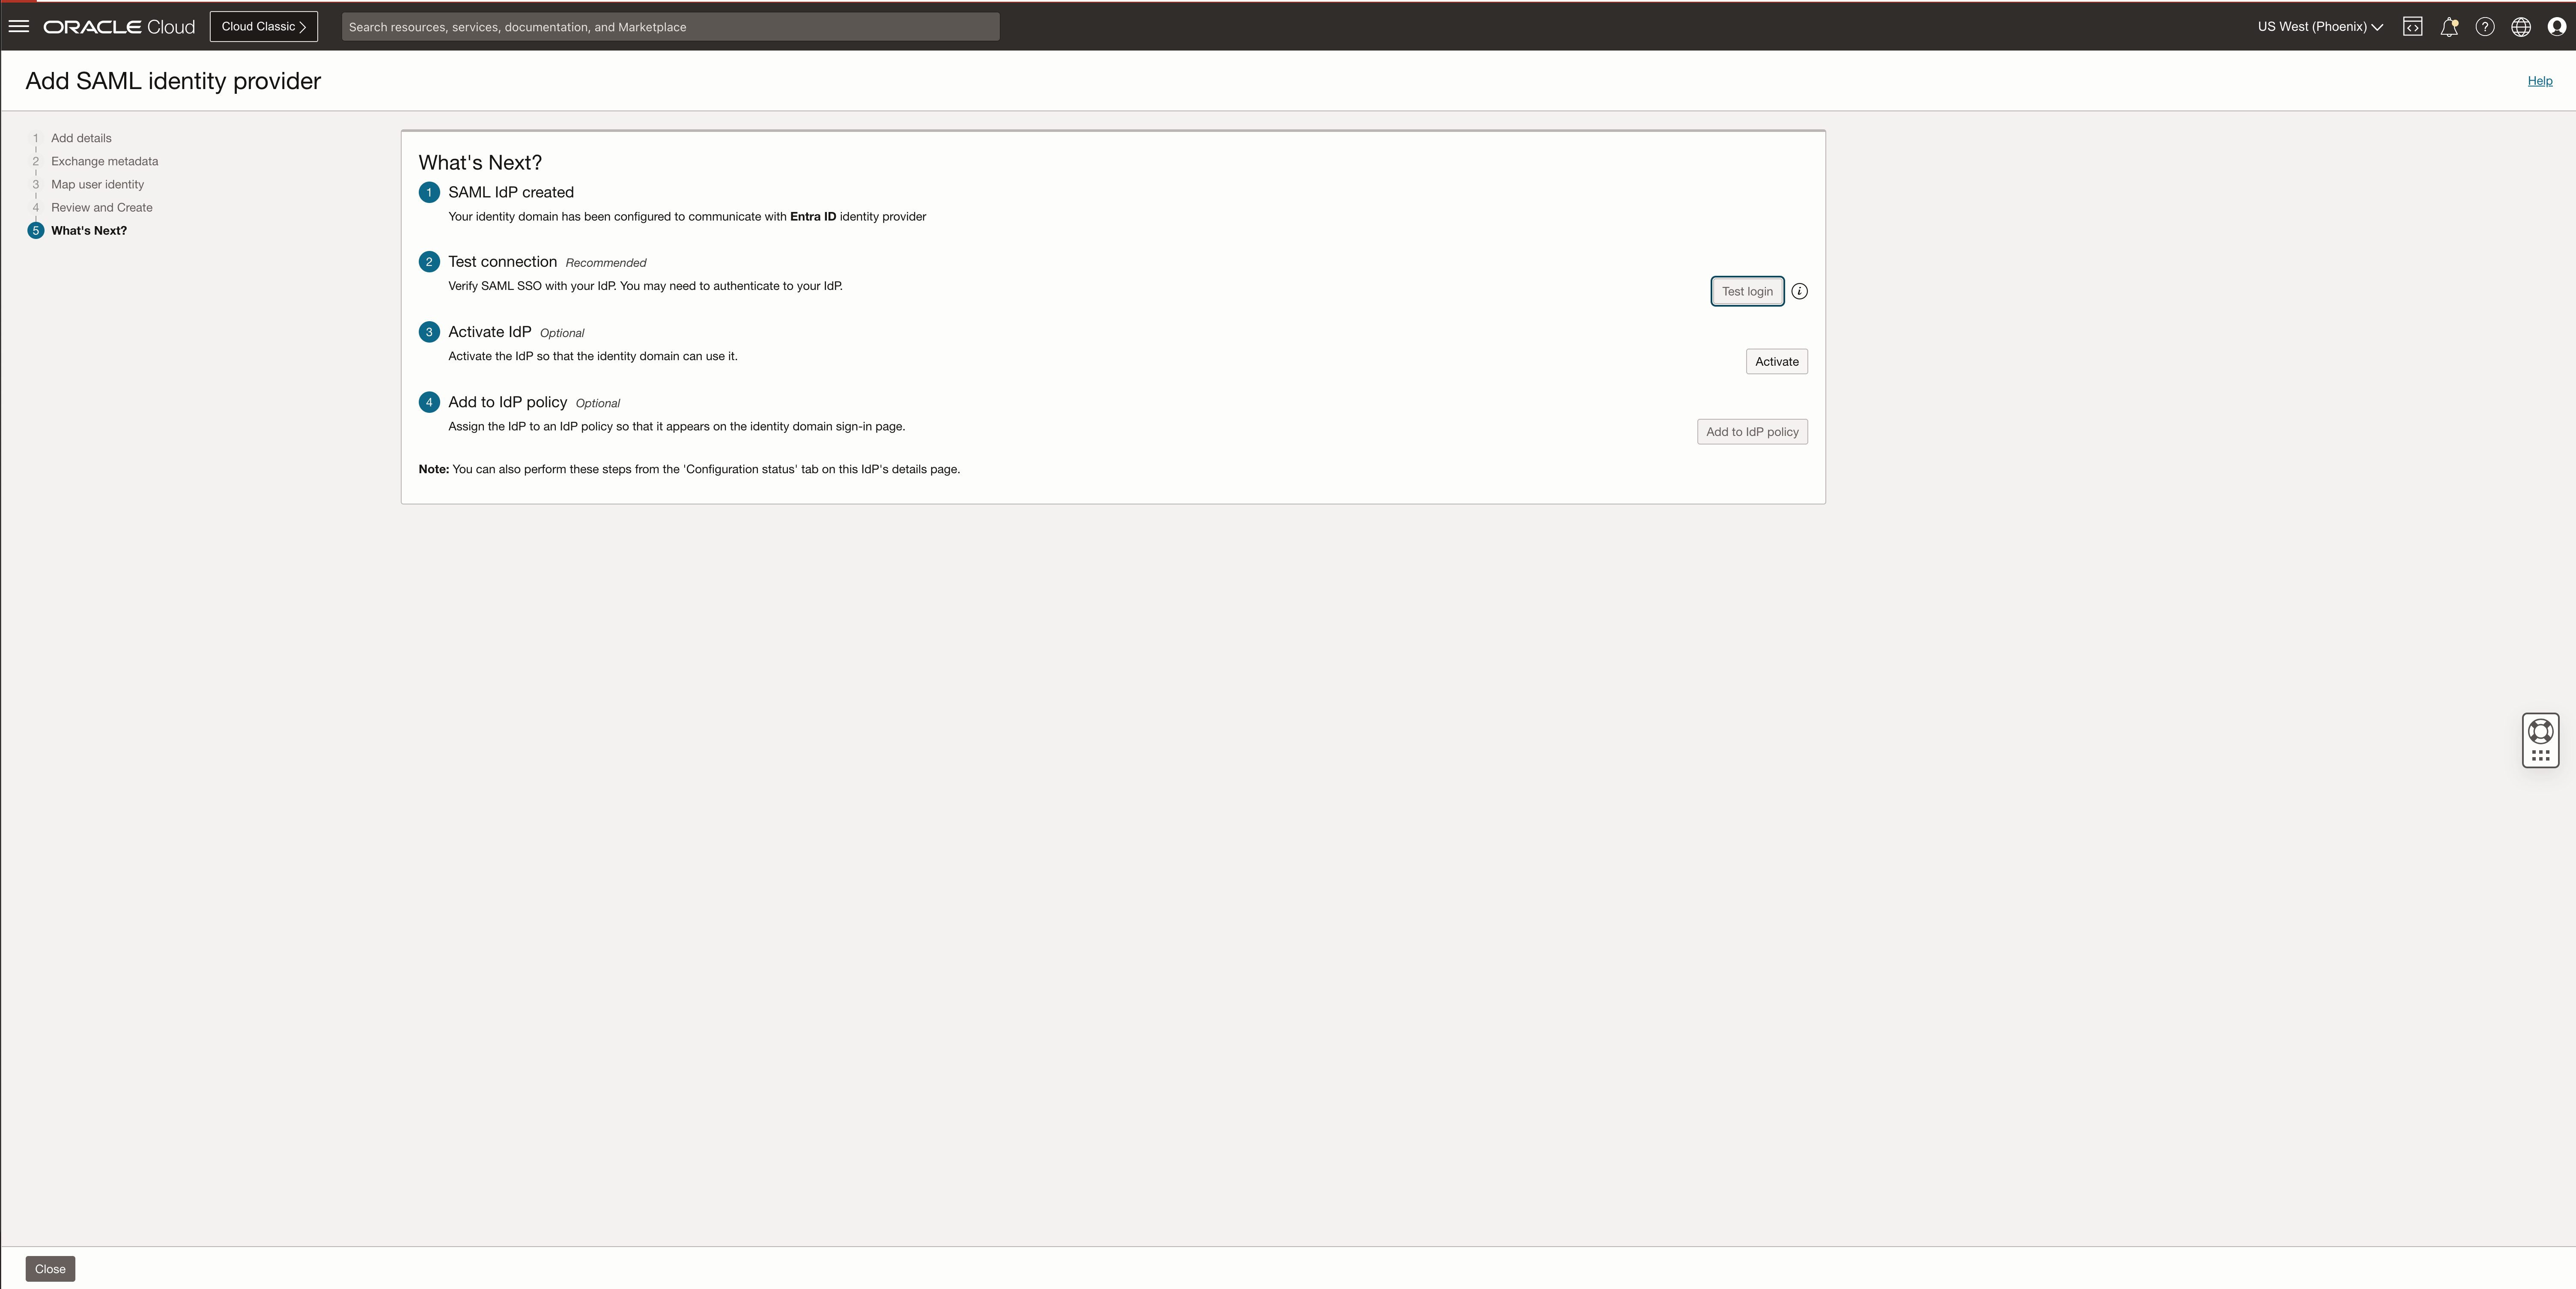
The next step is to test if the IdP config is correctly done and after the test click activate and close the setup.
Create the IdP Policy and Rules
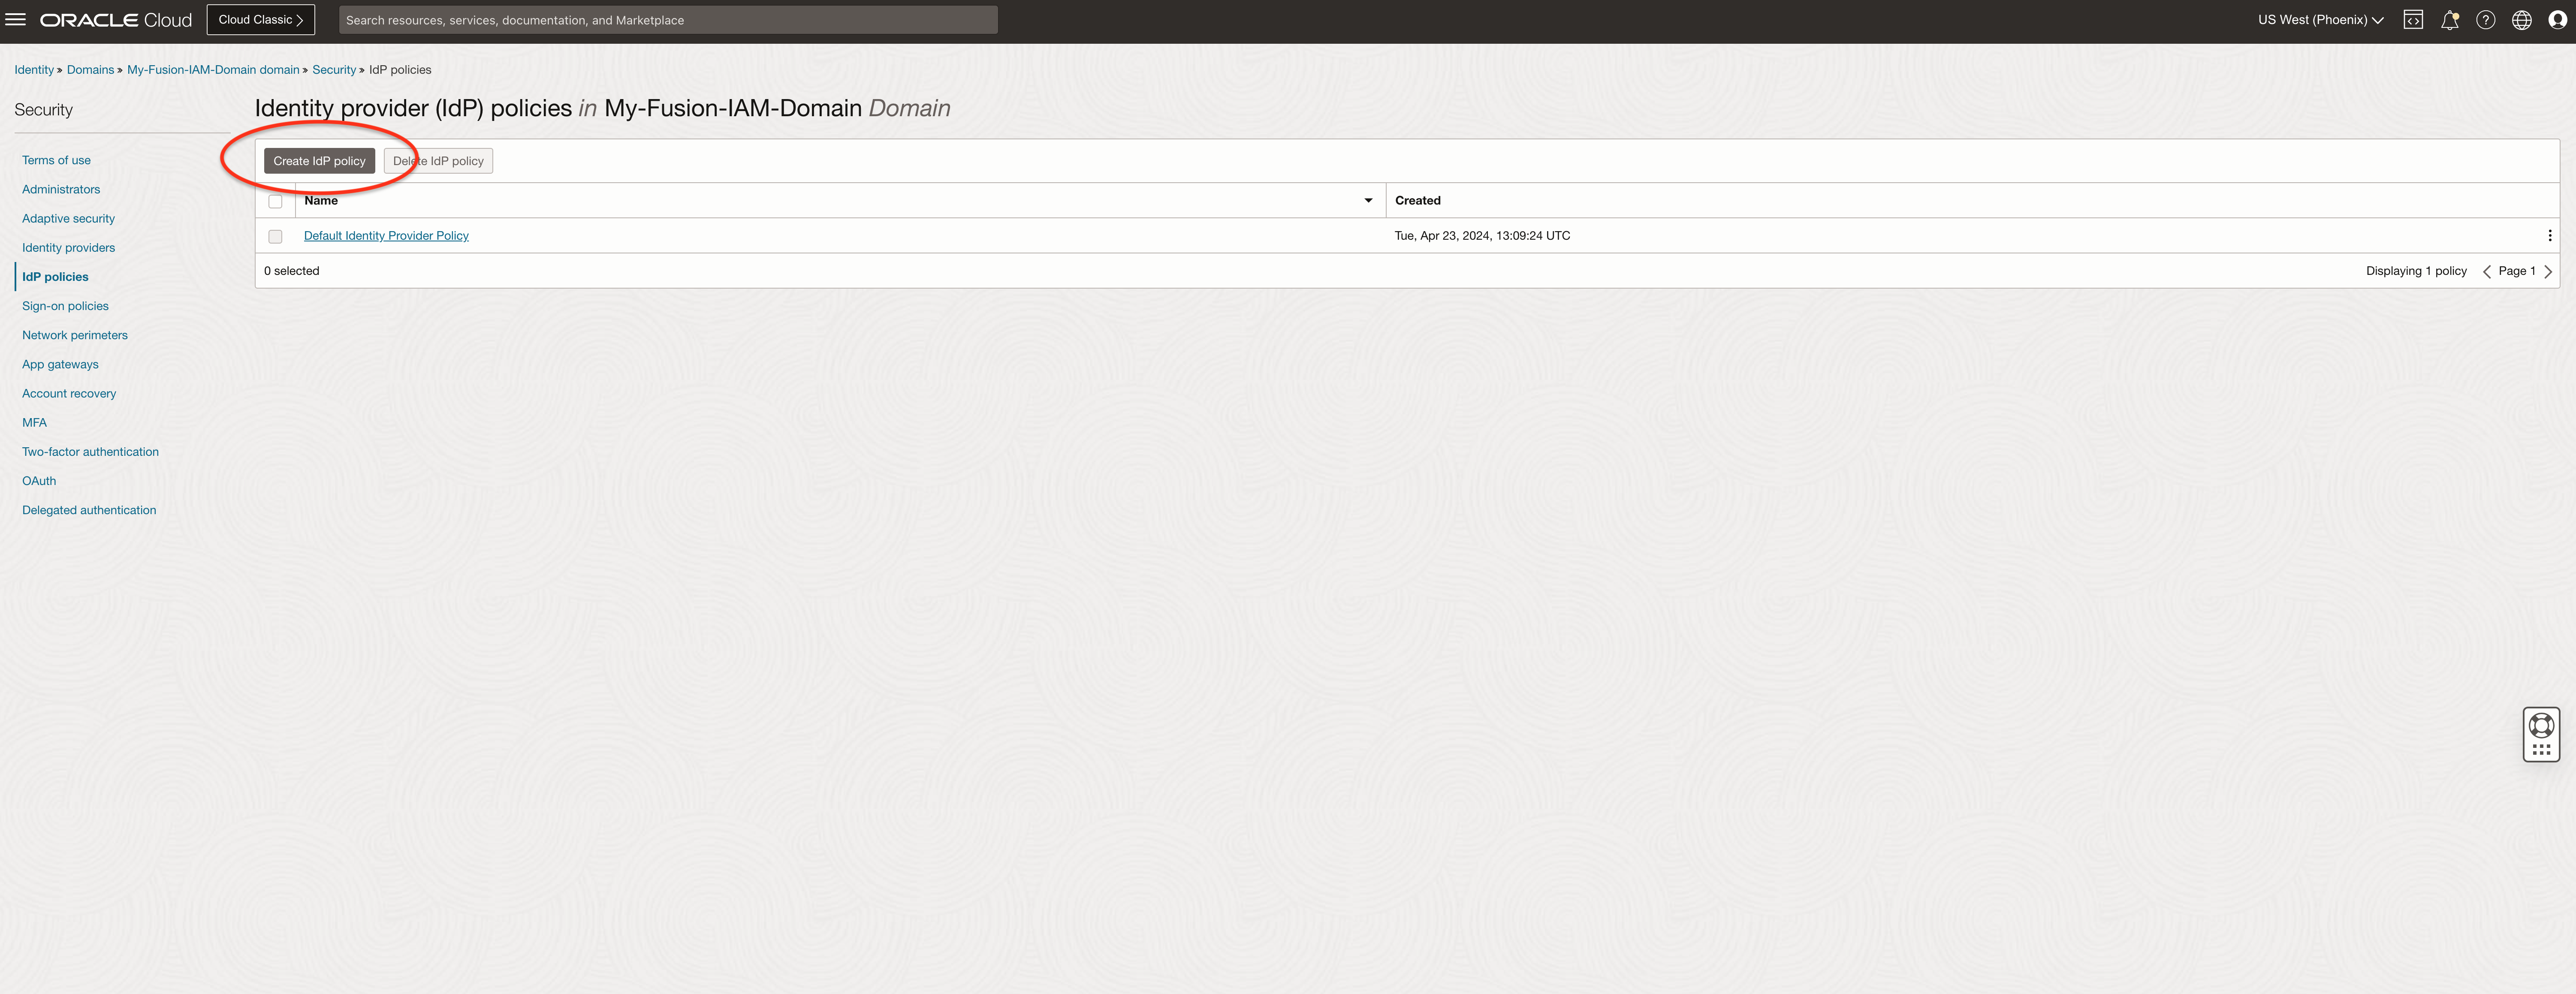
Go to the domain, click security and IdP Policies.
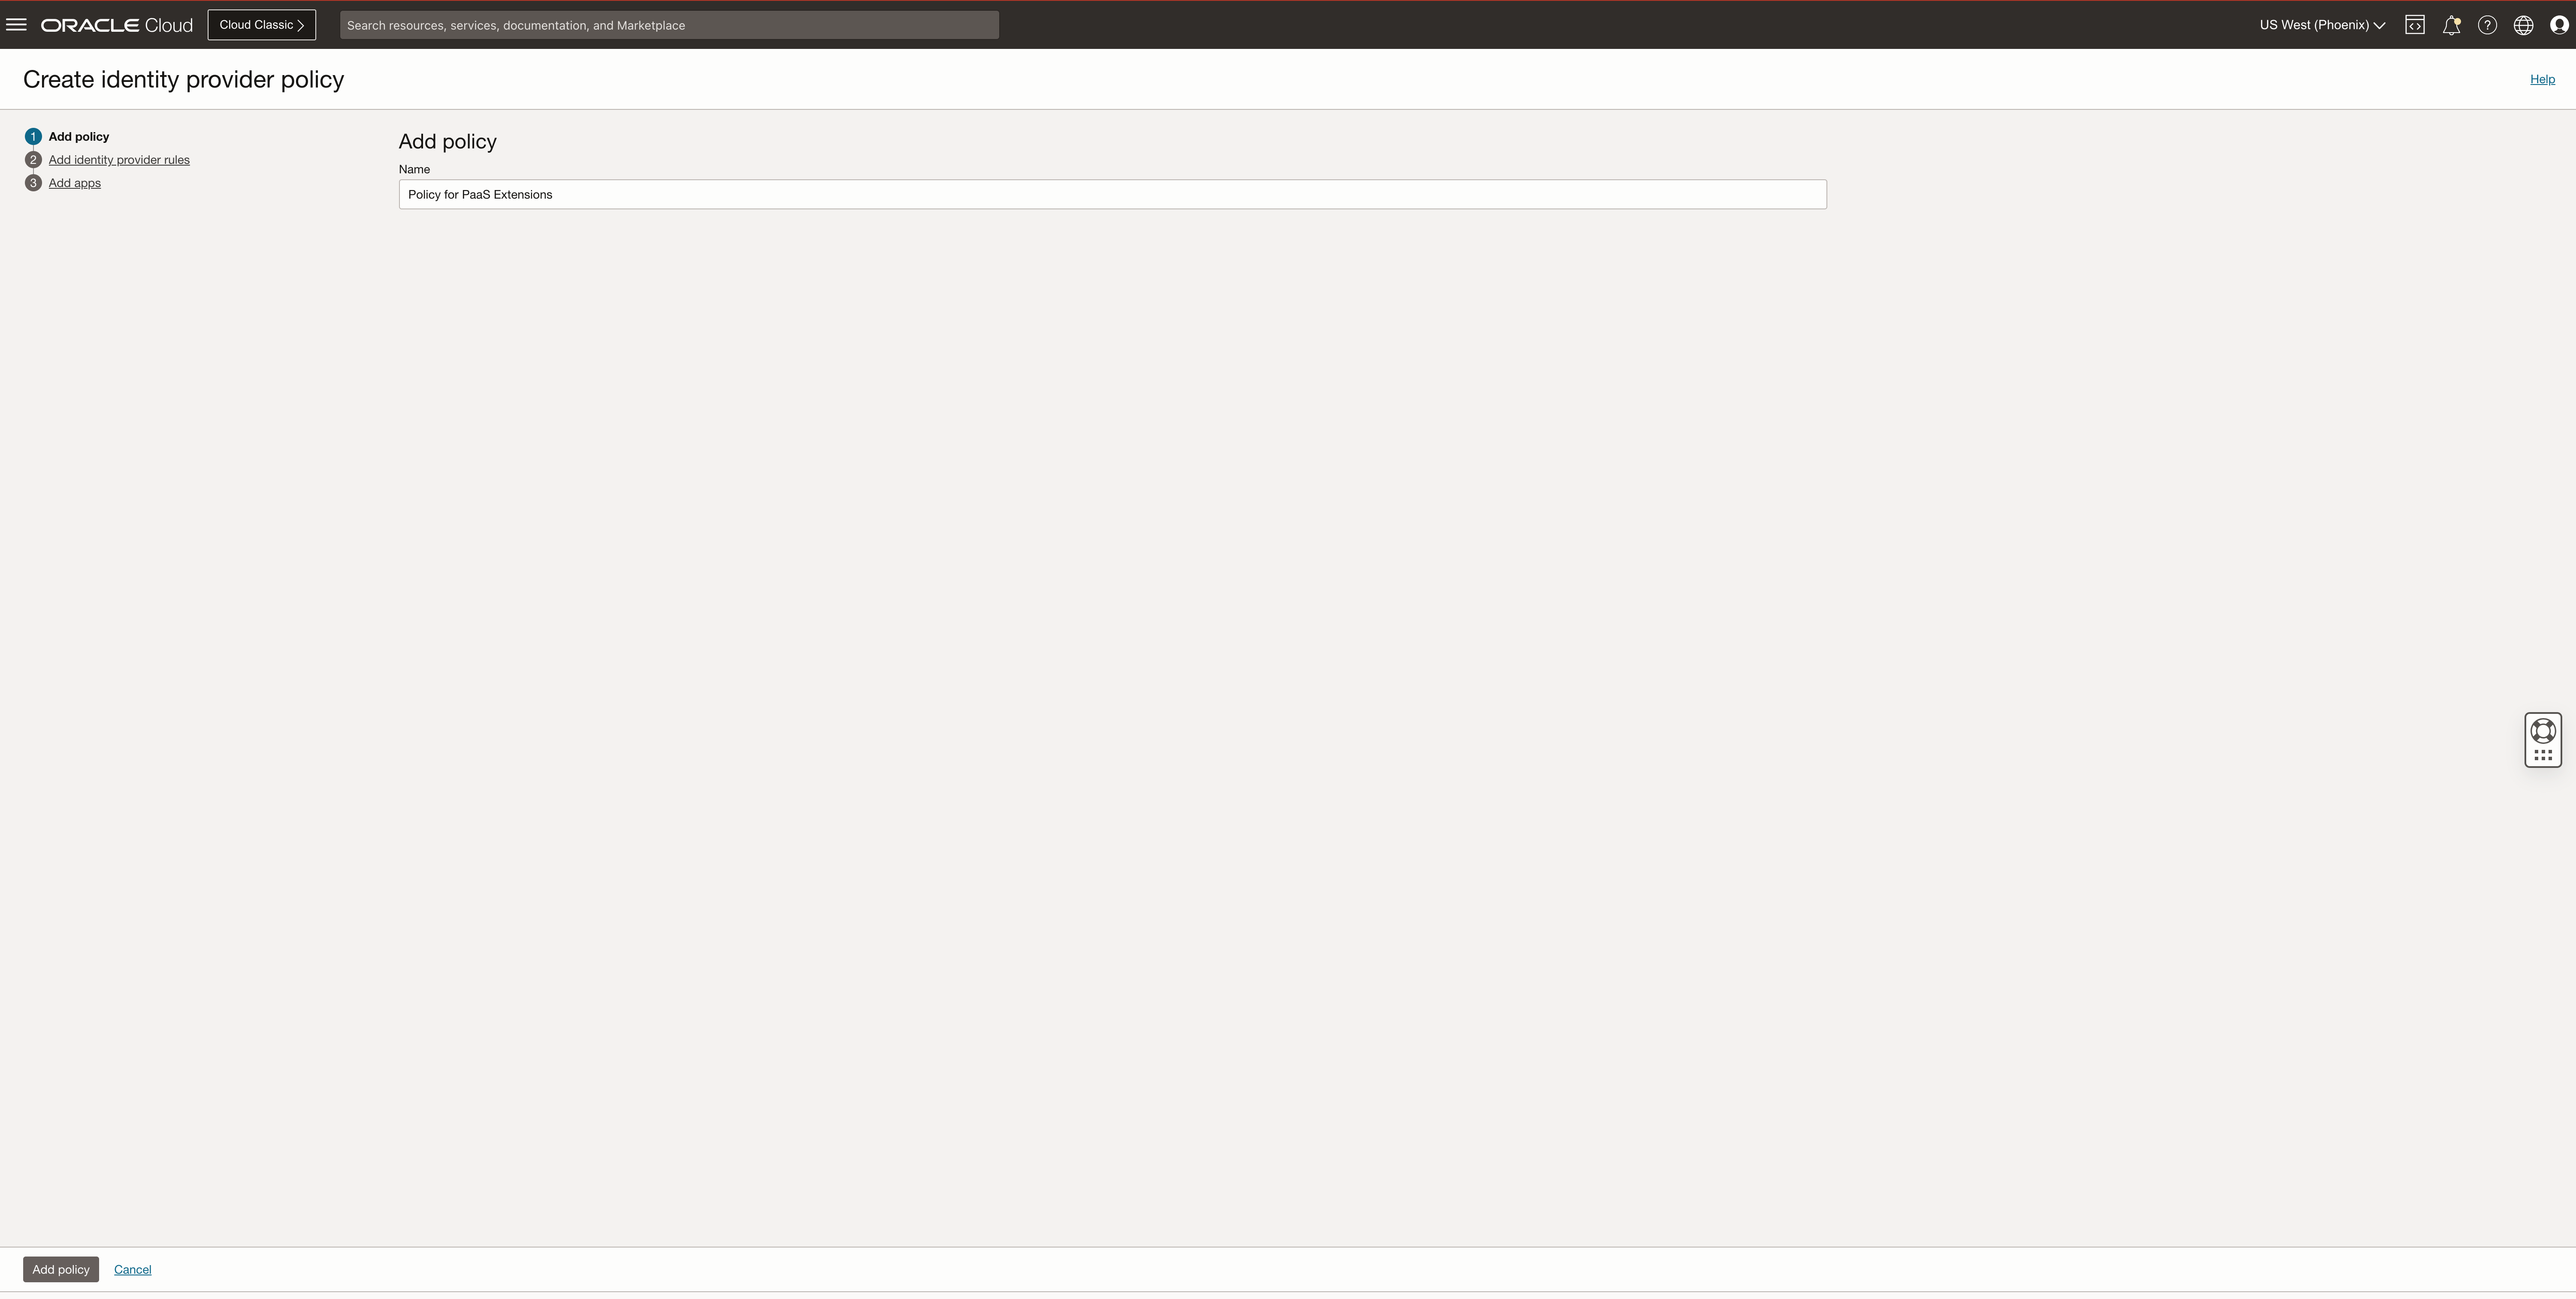
Click on Create IdP Policy
Provide the policy name and click Add policy
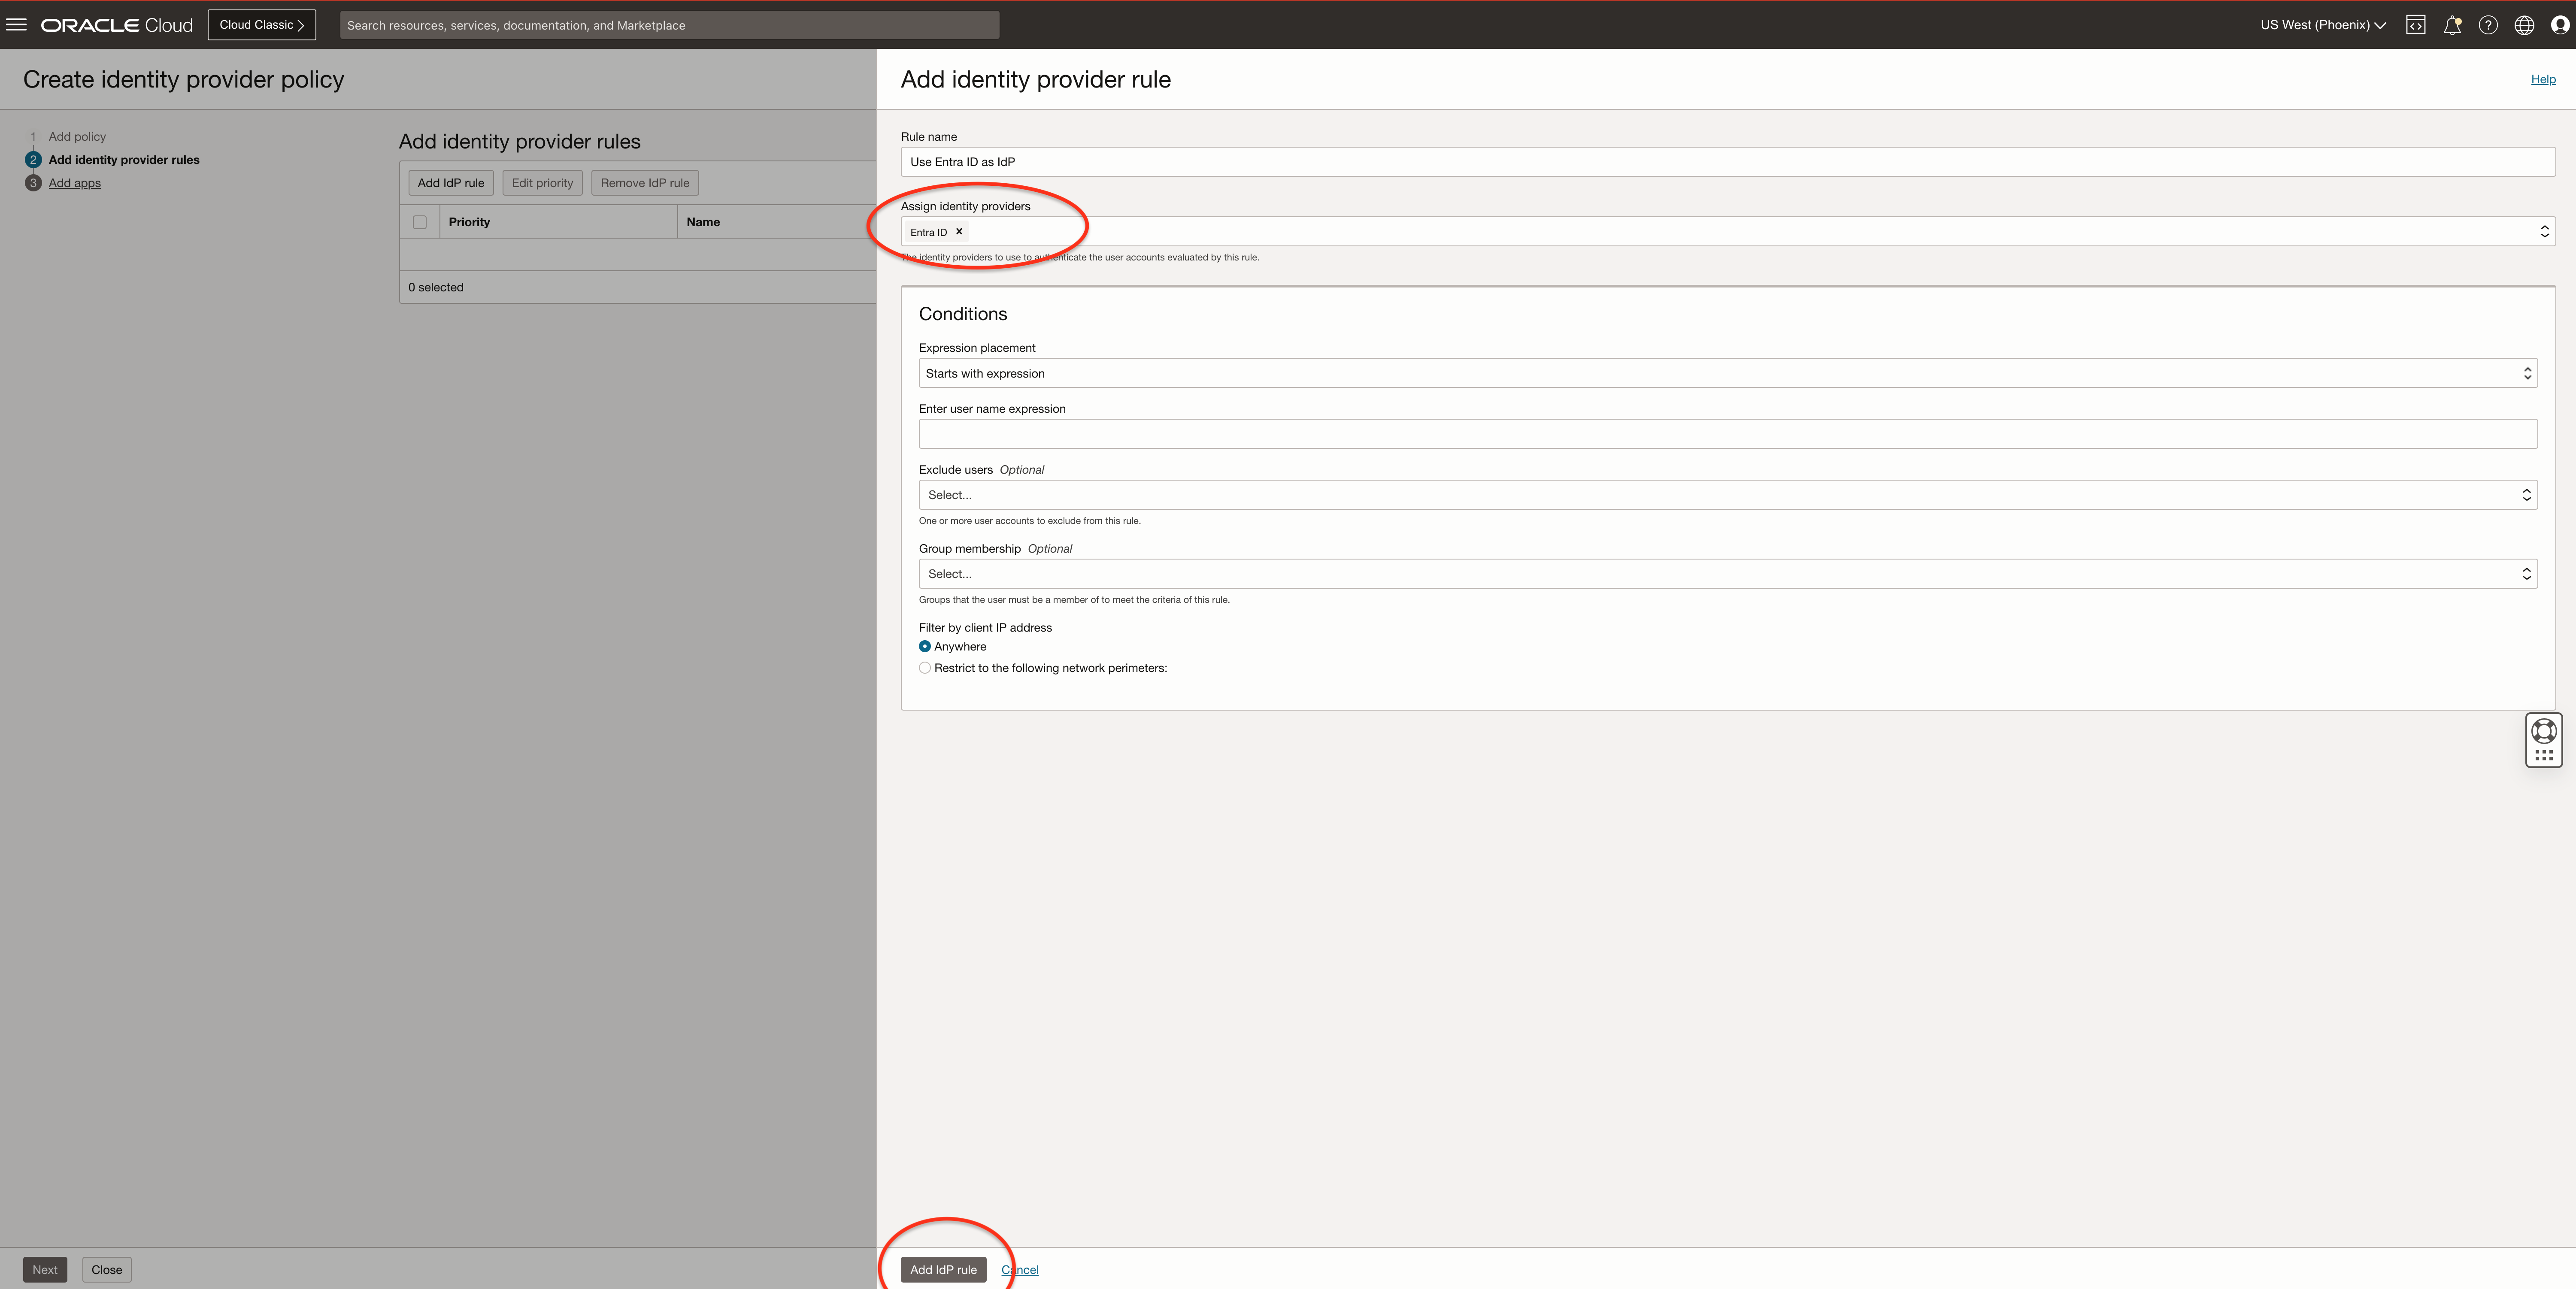
Now we need to create the rules for our policy
Provide the rule name and assign the IdP created in the steps before, click Add IdP rule, and click Next
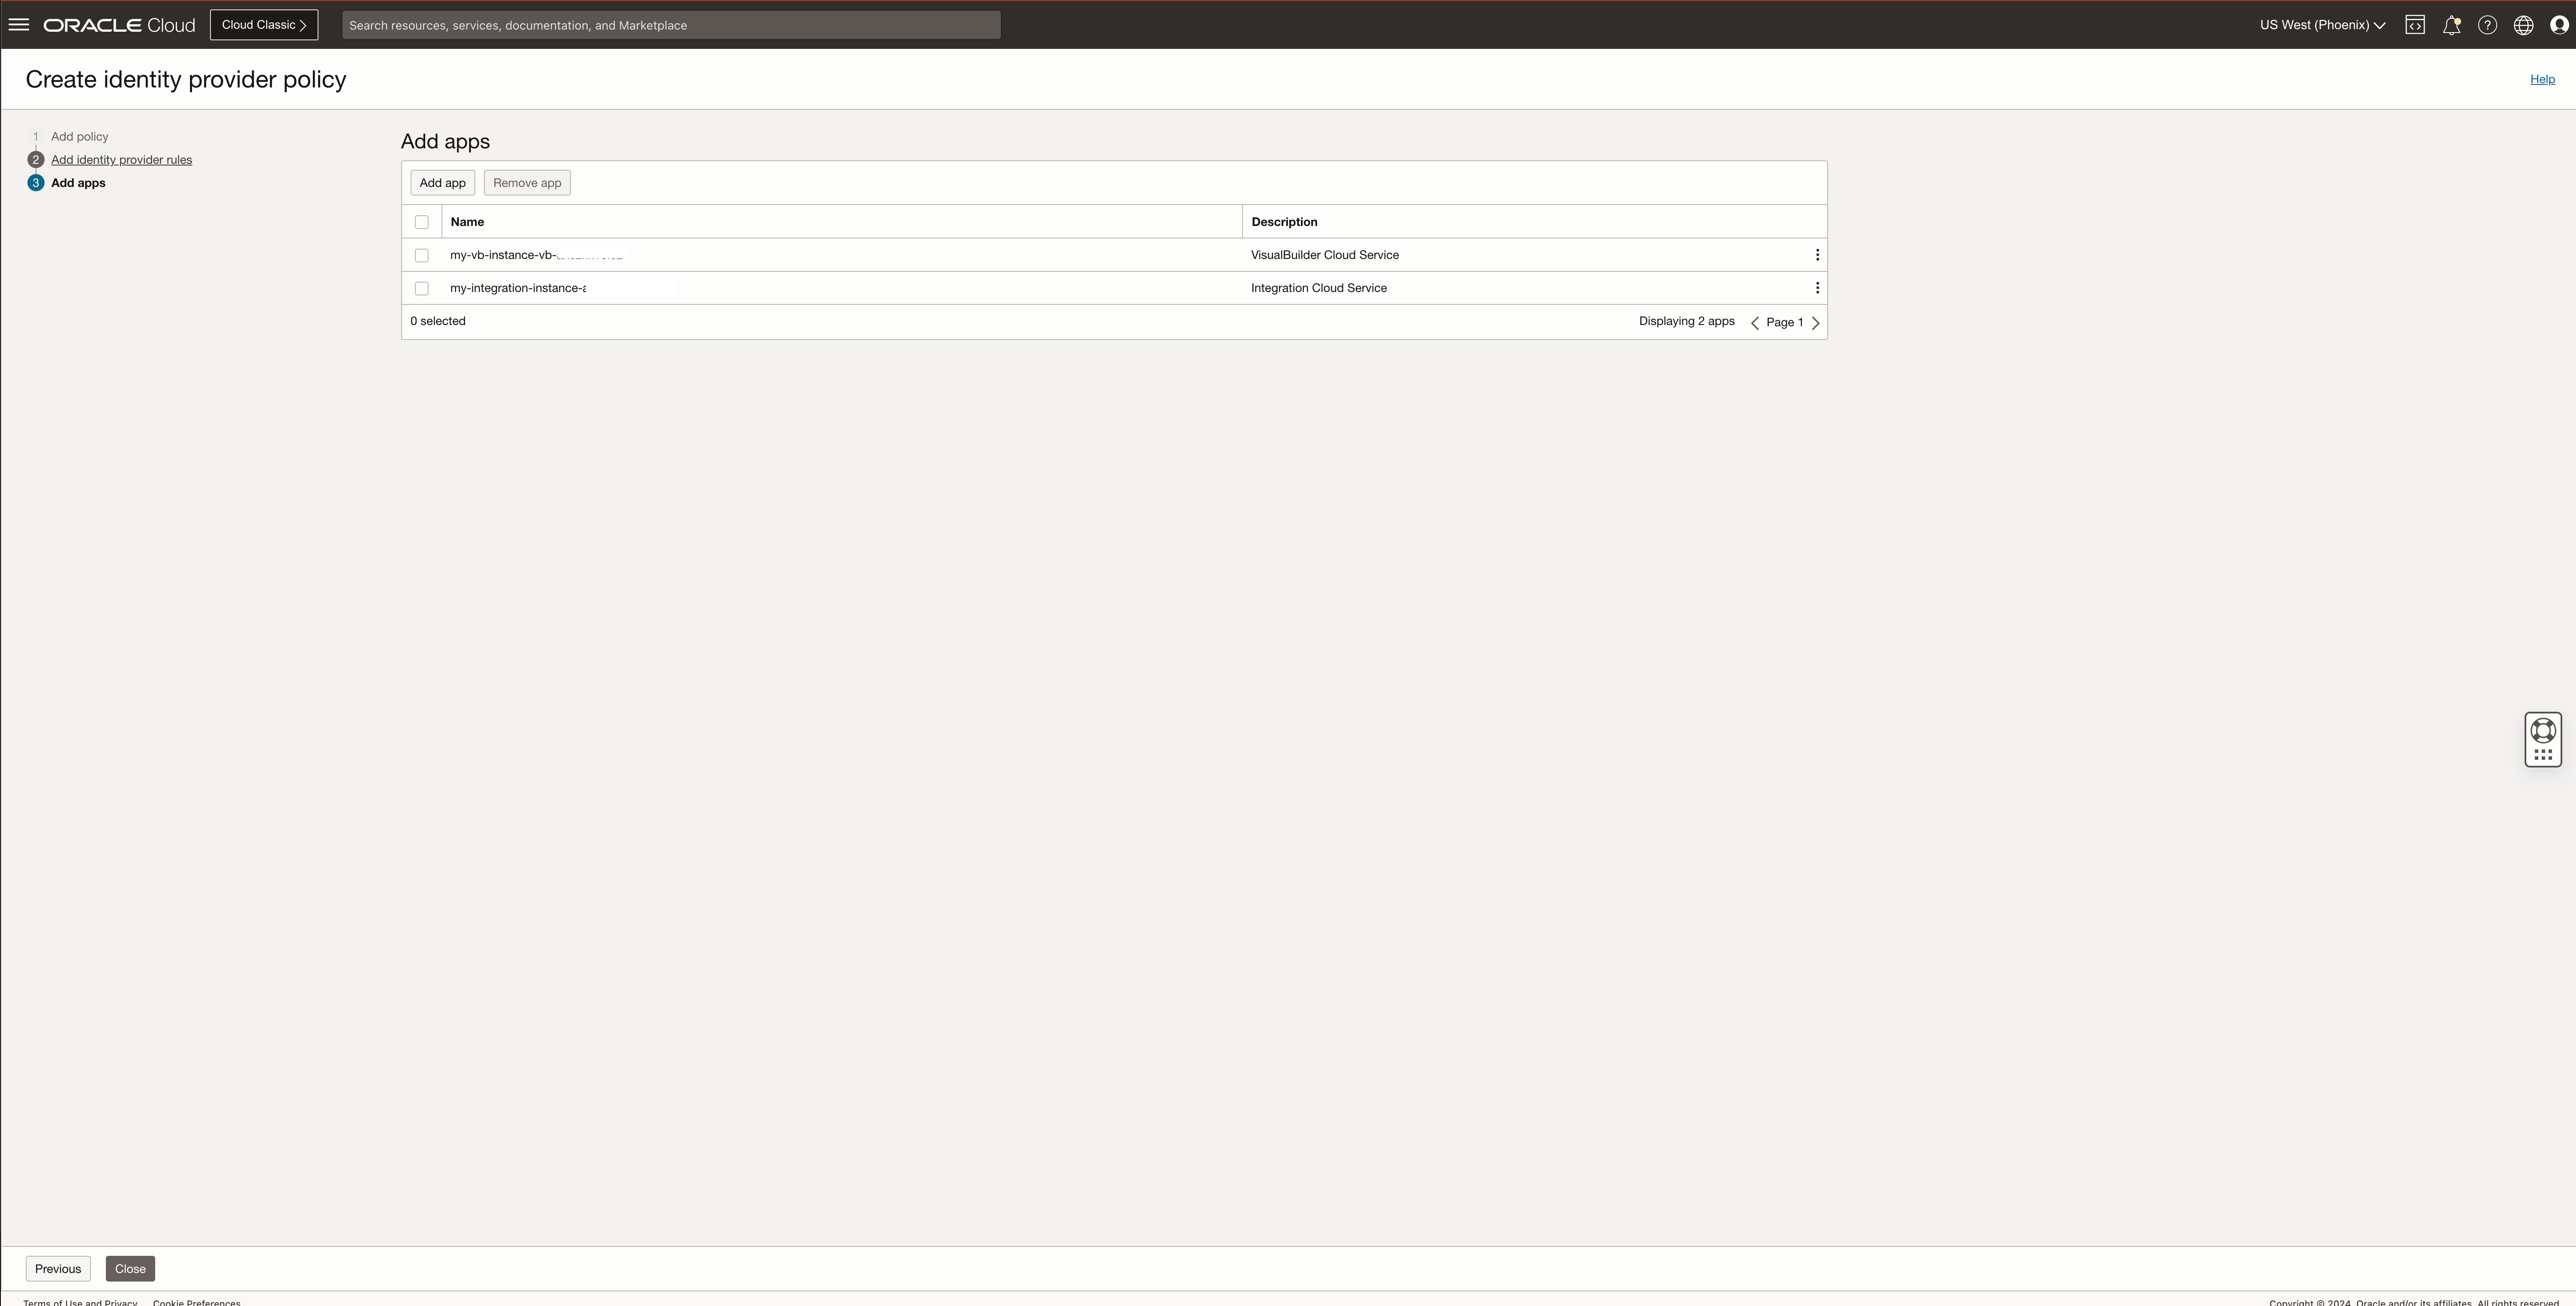
Click on Add app, and select the applications and services that will use this rule.
For this example, we are going to use the Entra ID federation for an Integration Cloud Service and VisualBuilder Cloud Service instances.

Click Close to finish the policy configuration
Add users to application roles
Now, we will assign our test user to a role for our Visual Builder Cloud Service instance
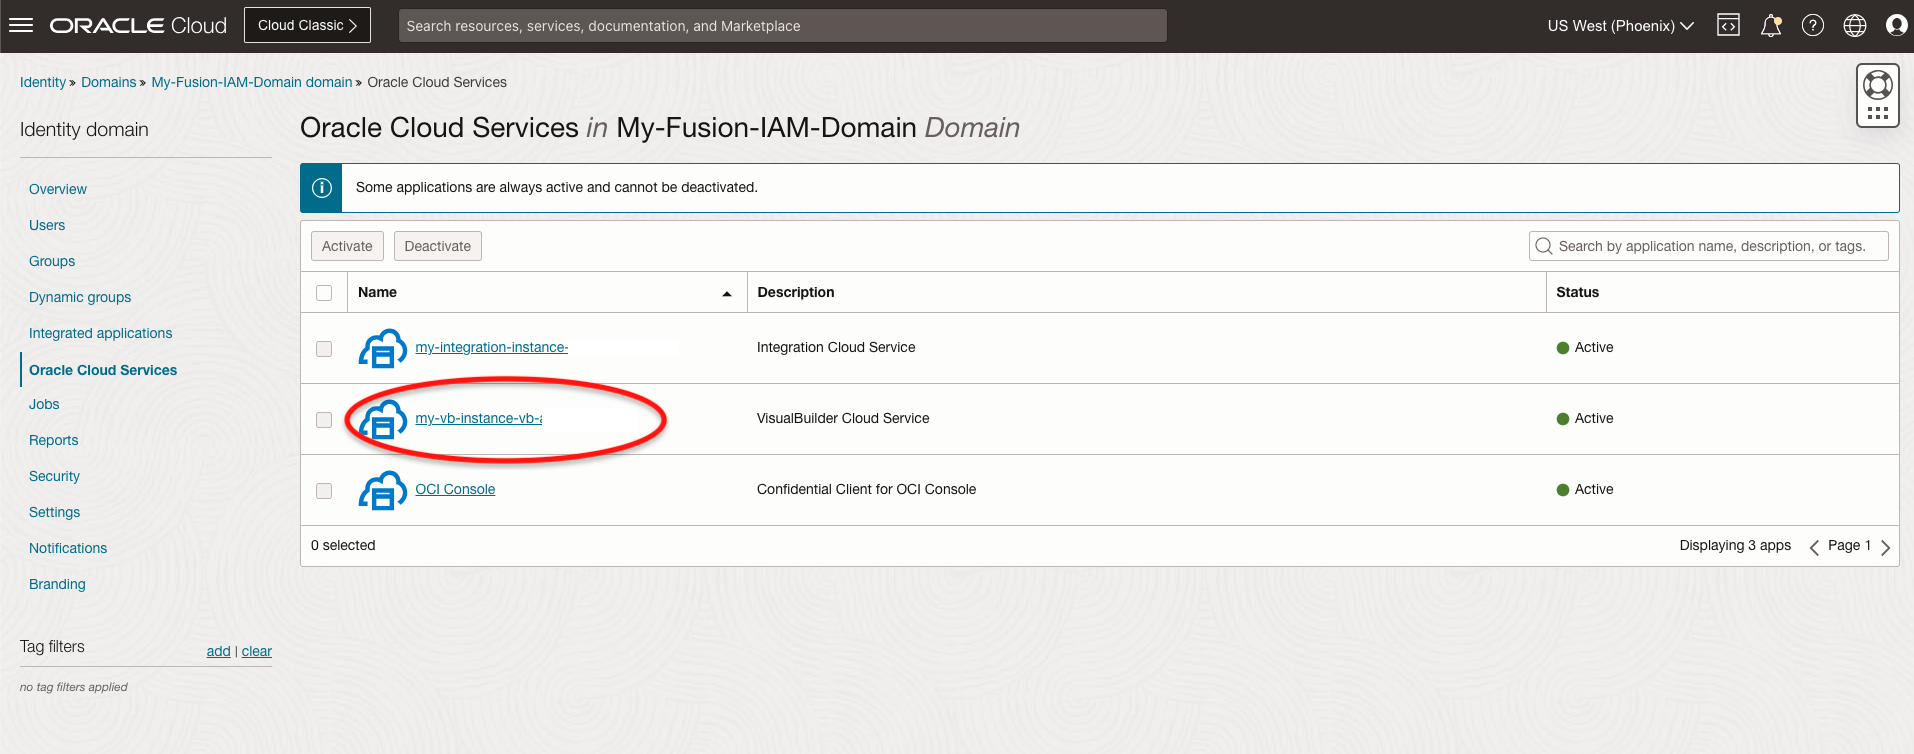
Navigate to your Fusion IAM domain using the breadcrumb.
Click on Oracle Cloud Services and Click on the VB instance name.
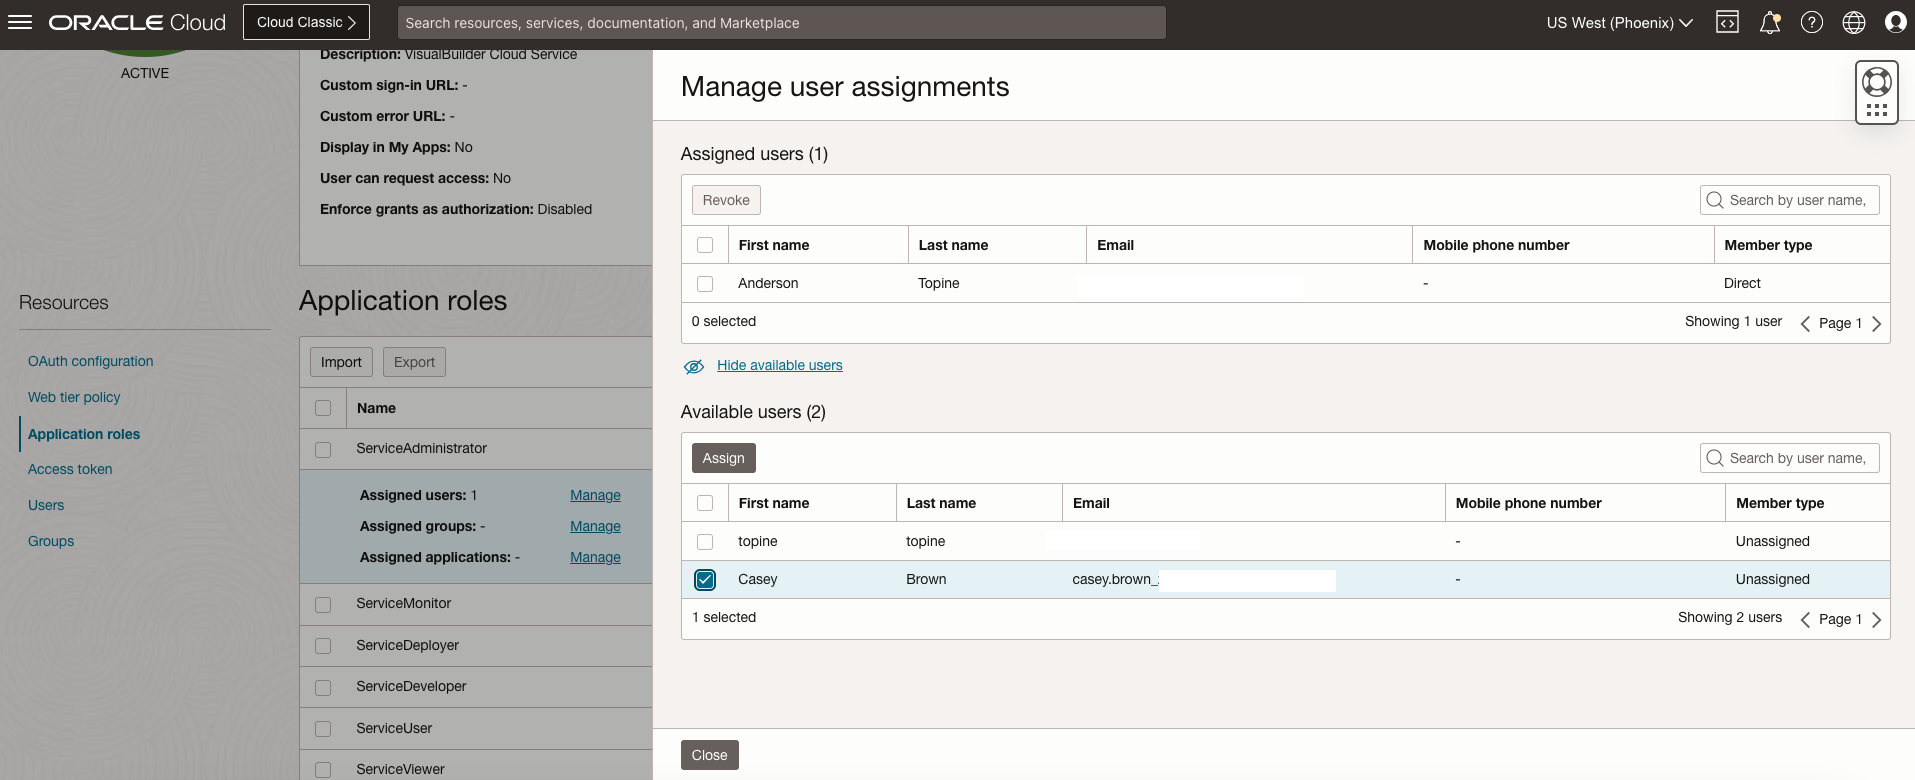
Click Application roles, select the desired role and click Manage.
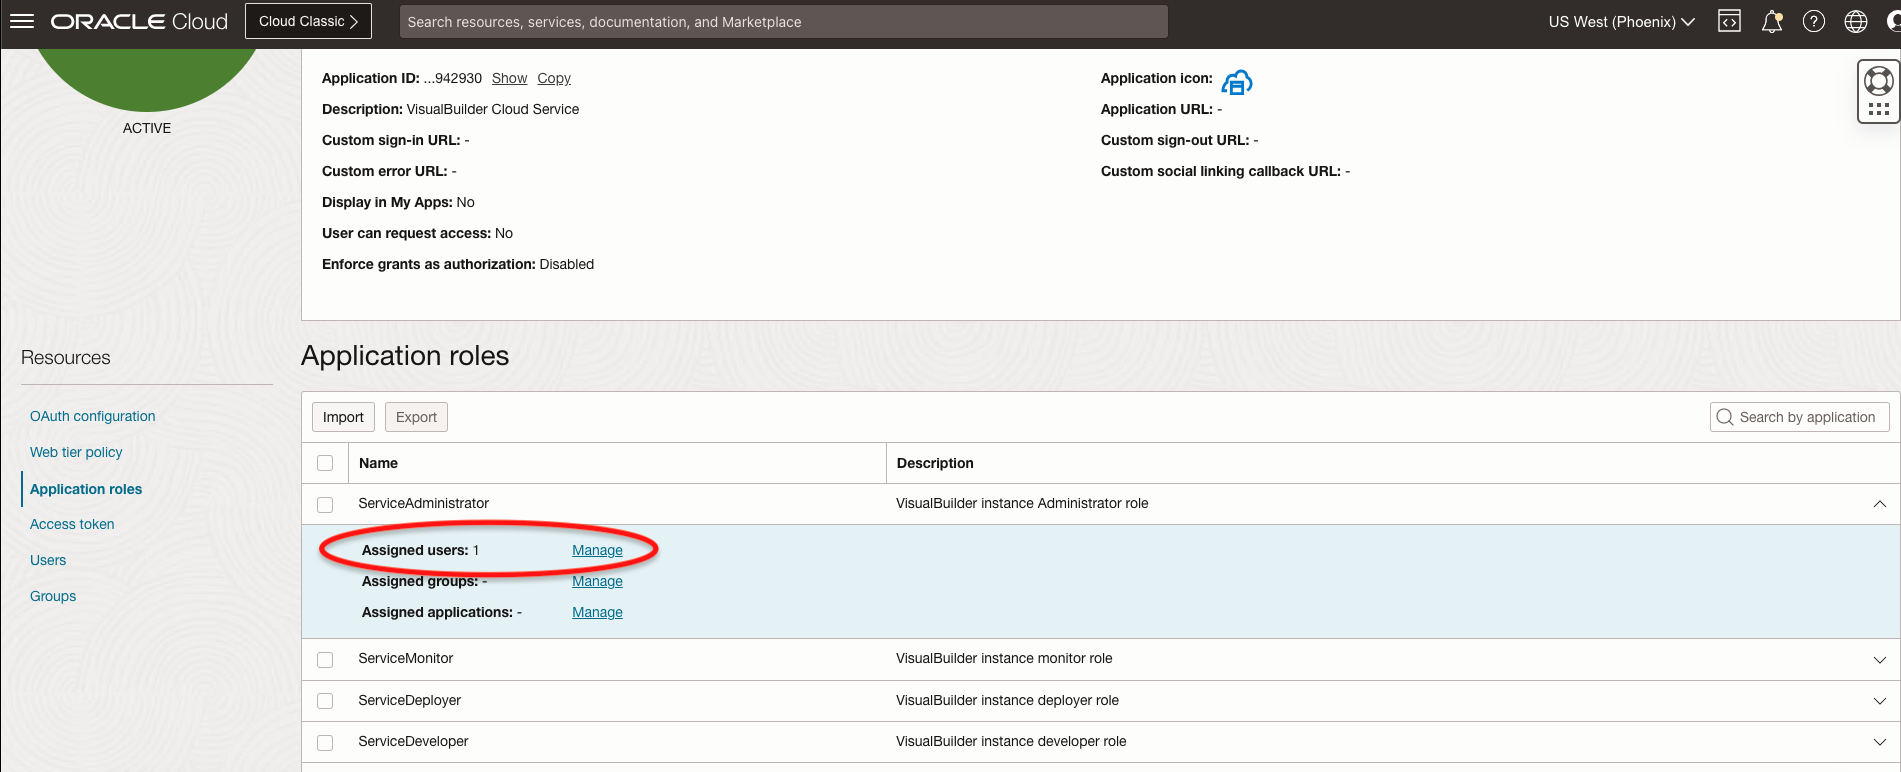
Select the user and assign it to the role
Test the SSO setup
We are going to open our Visual Builder Cloud Service instance url in another browser
https://my-vb-instance-vb.builder.us-phoenix-1.ocp.oraclecloud.com/ic/builder
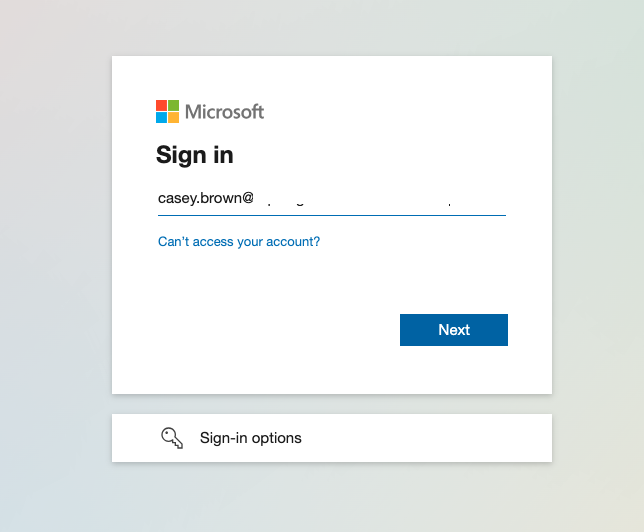
We will be redirected to the Microsoft Authentication webpage, and proceed with the sign-in.
After the sign-in is completed you will be redirected to the Visual Builder Cloud Service welcome page with our user logged-in .

Conclusion
This proposed architecture avoids the usage of an additional IAM Identity domain for federations with your SaaS Extensions using the provisioned Fusion IAM Identity domain federated with Azure Microsoft Entra ID.
We hope that this blog helps as you learn more about Fusion and Saas Extensions SSO.
For more information, remember to check out the blogs on A-Team.