Introduction
In today’s interconnected world, applications must balance usability with robust security, especially when dealing with sensitive data or enterprise-level operations. Desktop applications remain a critical tool in many industries, offering offline capabilities, native performance, and seamless integration with system features. But how do we bring modern security practices, such as authentication and identity management, into this desktop-first ecosystem?
This blog-post explains how to build a cross-platform desktop application using Electron, a popular framework for creating desktop apps with web technologies and secure it with Oracle Cloud Infrastructure Identity and Access Management (OCI IAM). OCI IAM simplifies authentication and access control, providing powerful tools like OAuth 2.0, OpenID Connect, and Single Sign-On (SSO) to ensure your app meets enterprise security standards.
Through this guide, you’ll learn how to:
- Set up an Electron project.
- Integrate OCI IAM authentication using industry-standard protocols.
- Securely manage user sessions and access tokens.
Whether you’re building a business tool, a data visualization app, or an internal utility, this blog will equip you with the knowledge to implement a secure authentication flow powered by Oracle Cloud Infrastructure. Let’s dive in and build an app that’s as secure as it is functional!
Electron is an open-source framework designed for building cross-platform desktop applications using web technologies like JavaScript, HTML, and CSS. Originally developed for GitHub’s Atom text editor, Electron quickly gained popularity and now powers widely used applications such as Slack, Visual Studio Code, and Kitematic.
In May 2018, Electron 2.0 introduced semantic versioning, a change that made updates more predictable and stable. This approach ensures that patch releases primarily address bugs, while new features and major changes are reserved for major version updates, minimizing disruptions for developers and end-users.
Subsequent versions brought significant improvements:
- Electron 3.0 (released in September 2018) included updates to Chromium, Node.js, and
- V8, along with additional features and refinements.
- Electron 4.0 (released in December 2018) marked major upgrades, with Chromium v69, Node v10.11, and V8 v6.9 under the hood. It also deprecated support for OS X Mavericks.
Each new release reflects the framework’s commitment to keeping pace with advancements in the underlying technologies. For detailed release notes, visit the Electron blog.
Got web development skills? Awesome! That’s all you need to start building desktop applications with Electron!
In this blog, I’ll walk you through creating a secure Electron app using TypeScript, AppAuth-JS, and OpenID Connect (OIDC). By the end, you’ll know how to implement authentication and ensure your Electron app provides a secure experience for its users.
Why Use OCI IAM for Authentication?
OCI Identity and Access Management (IAM) provides a secure, scalable, and centralized solution for managing authentication and authorization in your applications. As your application grows, you’ll need robust tools to manage users, control access, and enforce fine-grained permissions. OCI IAM delivers exactly that, empowering you to manage users, their attributes, and permissions seamlessly.
With OCI IAM, you can implement advanced features like multi-factor authentication (MFA), role-based access control (RBAC), and integration with industry-standard protocols such as OpenID Connect (OIDC) and OAuth 2.0. It also ensures compliance with enterprise-grade security requirements while offering a unified platform to manage access across various services and applications.
Use OCI IAM for Authentication with OIDC in Your Desktop App
OCI IAM’s primary goal is to simplify identity management while ensuring it remains highly secure and scalable. It provides a robust cloud-native service that allows developers to create, manage, and securely store user accounts and associated data. OCI IAM seamlessly connects users with one or multiple applications across your environment.
With OCI IAM, you can:
- Authenticate and Authorize your users.
- Store data about users
- Perform password-based and Social Logins
- Secure your application with MFA
Once you are logged into OCI, complete the steps below to create a Native OIDC app:
- Navigate to Identity & Security, and then to the respective domain.
- Click on Integrated applications, then Add Application to open a Mobile Application workflow.
- Give the application a name (e.g., My Electron App) and add http://localhost:8000 as the Redirect URI.
- For Allowed grant types, select the Authorization code and Refresh Token.
- Click Finish.
What is AppAuth?
AppAuth is a versatile project dedicated to creating client SDKs that enable native and web applications to seamlessly integrate authentication and authorization using OpenID Connect (OIDC) and OAuth 2.0. Designed for flexibility, it provides SDKs for iOS, macOS, Android, and JavaScript environments, ensuring broad platform support. The AppAuth-JS SDK specifically caters to JavaScript-based applications, making it a go-to choice for developers working on modern web and desktop solutions.
One standout feature of AppAuth is its support for the PKCE (Proof Key for Code Exchange) extension, enhancing security for public clients by mitigating risks associated with implicit grant flows. This makes it an ideal tool for building robust identity management into applications.
For developers creating Electron apps, choosing an identity solution is pivotal. While you could design your own authentication and authorization systems, integrating a hosted identity service like OCI IAM can save significant time and effort while ensuring enterprise-grade security. With AppAuth, developers have a powerful toolkit to make this choice easier and more efficient.
Build Desktop Apps with Electron
Let’s simplify the process for you. Instead of starting from scratch, we’ll use a ready-made example. To get started, simply clone the Electron example and follow along!
git clone https://github.com/gautamm2707/oci-appauth-js-electron-example.git oci-electron-example
The package.json serves as the configuration file for the Electron application to manage project dependencies, scripts, metadata, and more. It acts as the backbone of any JavaScript, Node.js or Electron application, providing essential details about the project.
It contains basic information such as the project name, version, description, author, and license.
{
  "name": "appauth-electron",
  "version": "0.1.0",
  "description": "An Electron App which uses @openid/appauth"
}
It also Lists libraries and packages your project depends on.
  "dependencies": {
    "@openid/appauth": "^1.3.0",
    "@types/react": "^16.14.2",
    "@types/react-dom": "^16.9.10",
    "electron": "^11.1.1",
    "material-design-lite": "^1.3.0",
    "@types/crypto-js": "^4.0.1",
    "@types/node": "^14.14.20",
    "crypto-js": "^4.0.0"
  },
  "devDependencies": {
    "typescript": "^4.1.3",
    "electron-builder": "^22.9.1"
  }
}

Also defines commands for common tasks, like starting the app, testing, or building. Modify flow.ts to use your OCI IAM Identity Domain App's settings.
"scripts": {
    "compile": "tsc",
    "watch": "tsc --watch",
    "start": "npm run compile && npx electron .",
    "dev": "npm run compile && npm run watch & npx electron .",
    "postinstall": "electron-builder install-app-deps"
  },
Modify flow.ts to use your OCI IAM Identity Domain app’s settings.
const openIdConnectUrl = "https://idcs-##########.identity.oraclecloud.com";
const clientId = "################";
const redirectUri = "http://localhost:8000";
const scope = "openid profile offline_access";
Also update app.ts to use your OCI Identity Domain’s /userinfo endpoint.
let request =
            new Request('https://idcs-#########.identity.oraclecloud.com/oauth2/v1/userinfo', {
              headers: new Headers({'Authorization': `Bearer ${accessToken}`}),
              method: 'GET',
              cache: 'no-cache'
            });
Add PKCE Support to Your Desktop App
PKCE (Proof Key for Code Exchange, pronounced “pixy”) is an OAuth 2.0 enhancement that boosts security for public clients, such as mobile and desktop applications. It helps prevent malicious apps on the same device from intercepting authorization codes during the authentication process.
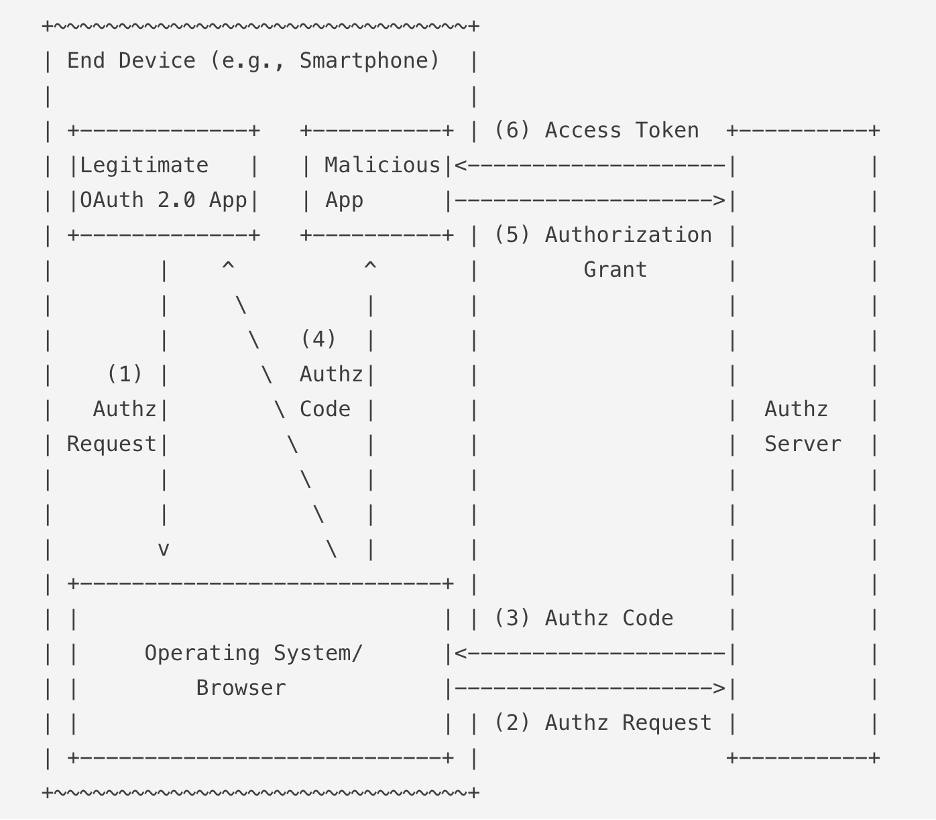
The process involves generating a cryptographically random string called a code verifier for every authorization request. A transformed version of this string, known as the code challenge, is sent to the authorization server as part of the request. After the user authorizes, the server returns an authorization code. When exchanging this code for a token, the client also sends the original code verifier. The server validates it against the previously submitted code challenge, ensuring only the legitimate client can complete the token exchange.
This mechanism ensures that even if an attacker intercepts the authorization code, they cannot exchange it for a token without possessing the one-time code verifier, which remains secure and unexposed.
You don’t need to change any code in your Electron app to add PKCE. That was done in flow.ts to use AppAuth 1.2.0.
Navigate to the cloned directory, if required install dependencies with npm, and then run the app.
npm i

npm start
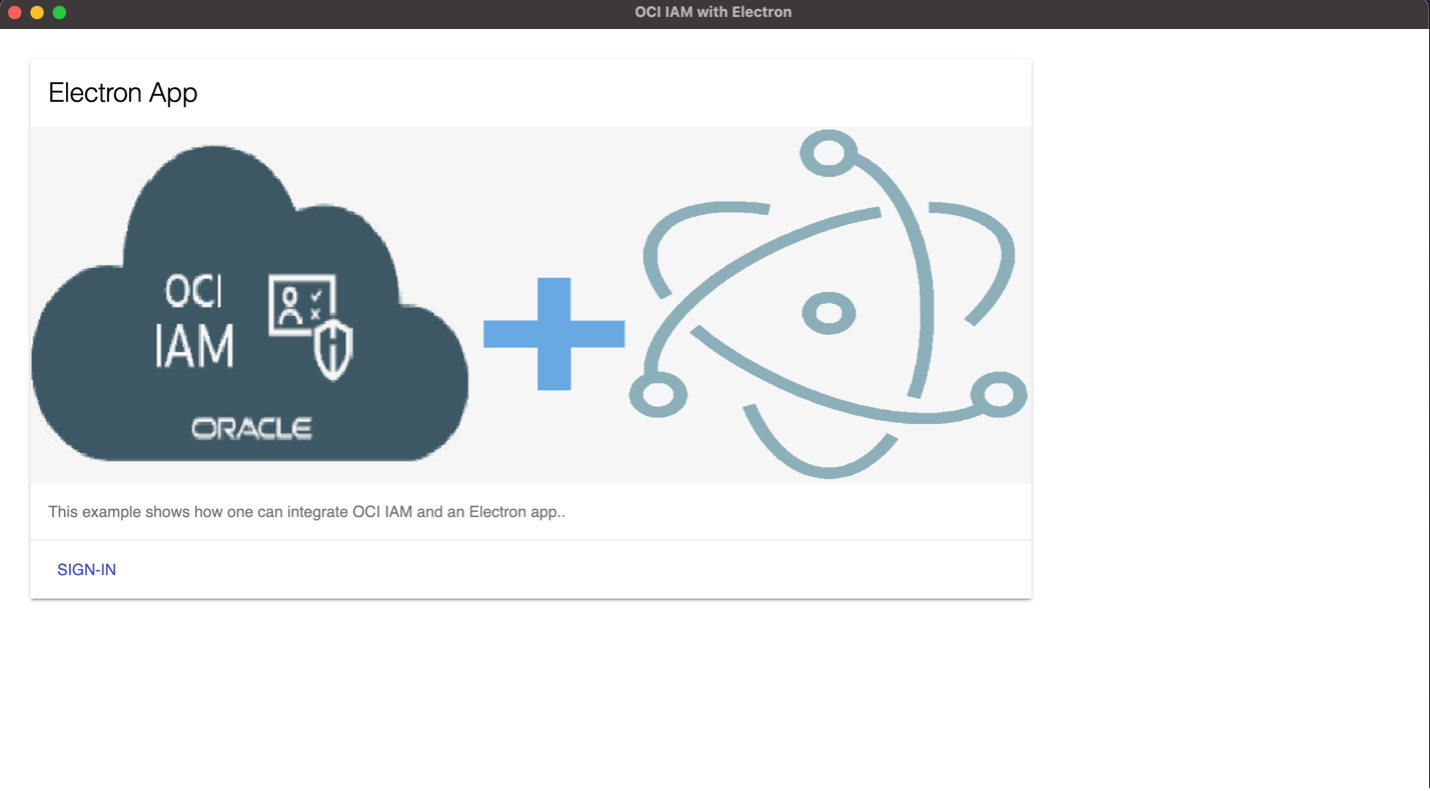
It should start the app and show a Sign-In link.
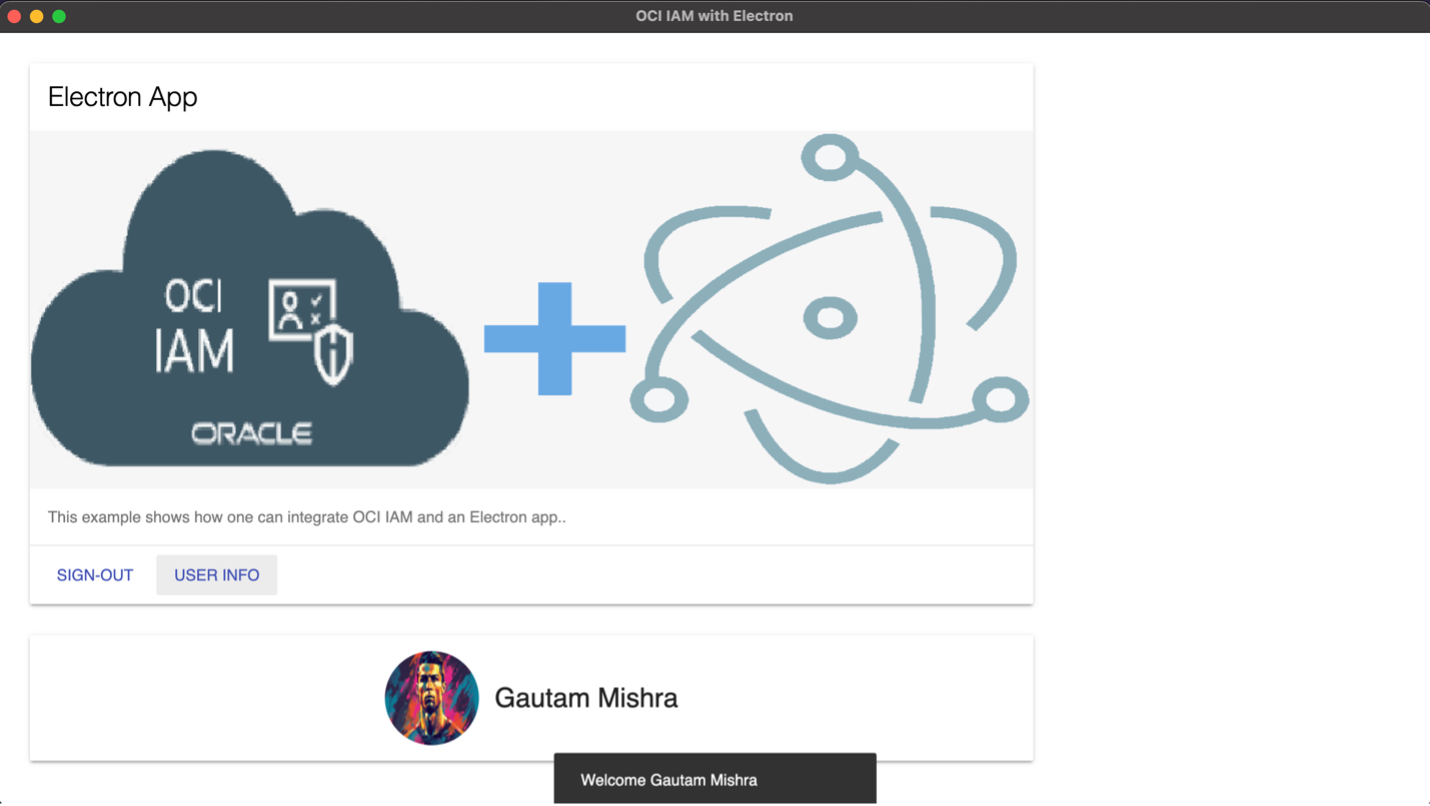
You should be able to login once you click SIGN IN and provide OCI IAM credentials. Now when you click on USER INFO, you should see your user’s name or avatar.
Adding a Profile Picture in OCI IAM
To add a photo attribute to your user, perform a PATCH operation to this endpoint {{HOST}}/admin/v1/Users/{{userid}}. The respective userid could be derived from the list of users using the endpoint {{HOST}}/admin/v1/Users.
{
  "schemas": [
    "urn:ietf:params:scim:api:messages:2.0:PatchOp"
  ],
  "Operations": [
    {
      "op": "replace",
      "path": "photos",
      "value": [
        {
            "primary": true,
            "value": "https://cdn.pixabay.com/photo/2023/05/18/13/40/cristiano-ronaldo-8002334_1280.png",
            "type": "photo"
        }
      ]
    }
  ]
}
Conclusion
Using AppAuth with Electron simplifies OAuth 2.0 integration while enhancing security through PKCE (Proof Key for Code Exchange). PKCE protects the authorization code exchange by ensuring that only the intended client can complete the process, safeguarding against interception by malicious actors. This makes your Electron app’s authentication flow both modern and secure.