Introduction
Large Language Models (LLMs) have evolved significantly—from processing plain text to now understanding charts, tables, and images. In this blog, we’ll explore how to extract text from images and generate relevant and context-aware responses using Oracle Cloud Infrastructure (OCI) Generative AI Agents.
OCI Generative AI Agents is a fully managed service that combines large language models (LLMs) with advanced AI capabilities to build intelligent AI agents. It offers:
- Ready-to-use SQL Tool
Convert natural language queries into SQL statements and can run the SQL commands to generate responses against a connected database.
- Ready-to-use RAG Tool
Retrieve information from one or more knowledge bases and aims to respond with relevant and context-aware information in natural language.
- Ready-to-use Agent Tool (Agent as a tool)
Use to orchestrate a network of specialized agents that collaborate to accomplish a task.
- Custom Function Calling Tool
Call functions that you define to expand the features that the agent covers.
- Custom API Endpoint Calling Tool
Use to integrate and call OCI APIs and your own REST APIs.
This post is Part 1 of a two-part series. Here, we’ll go through setting up an agent with a RAG tool to extract text from images. Note that, while RAG tool can handle simple images like receipts well, complex visual data may pose limitations as of now. In Part 2, we’ll see how to expand the agent’s functionality programmatically using the Agent Development Kit (ADK) to make function calls.
Setup
Follow these steps to set up an agent with tools in OCI Generative AI Agents.
1. In the Oracle Cloud Infrastructure (OCI) Console, choose a region that supports Generative AI Agents—for example, US Midwest (Chicago).
2. From the navigation menu, go to Analytics & AI, and under AI Services, select Generative AI Agents.
3. Create a Knowledge Base
A Knowledge Base is the foundation for all data sources an agent can use to retrieve information for its chat responses.
In this solution, we’ll upload relevant data files to an Object Storage bucket, which the agent will use to build its knowledge base.
Notes:
-
Only one bucket is allowed per data source.
-
Supported file types: PDF, TXT, JSON, HTML, and Markdown (MD).
-
PDF files can contain images, charts, and reference tables but must not exceed 8 MB.
-
Refer to these guidelines for more details.
Follow the below steps to set up a knowledge base.
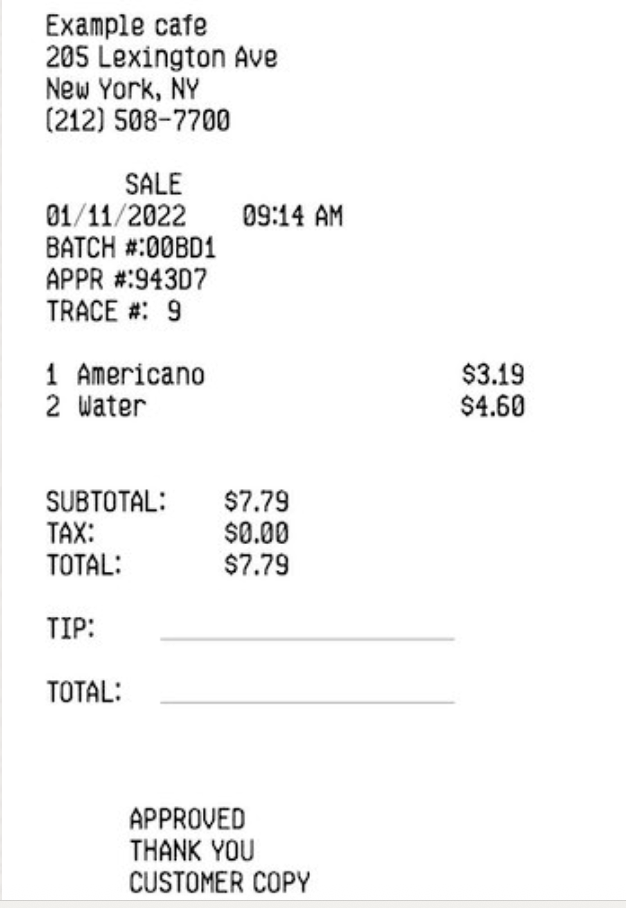
3.1 Create a PDF document with images of the receipts. For example, a receipt image I have used in this sample looks like this:
3.2 Upload the PDF file to an Object Storage bucket.
3.3 On the Knowledge Bases list page, click Create Knowledge Base. Follow the prompts, selecting the Object Storage bucket containing your PDF files as the data source.

Tip: Creating a knowledge base may take some time. During this process, a data ingestion job extracts data from the source documents, converts it into a structured format for analysis, and stores it in the knowledge base.
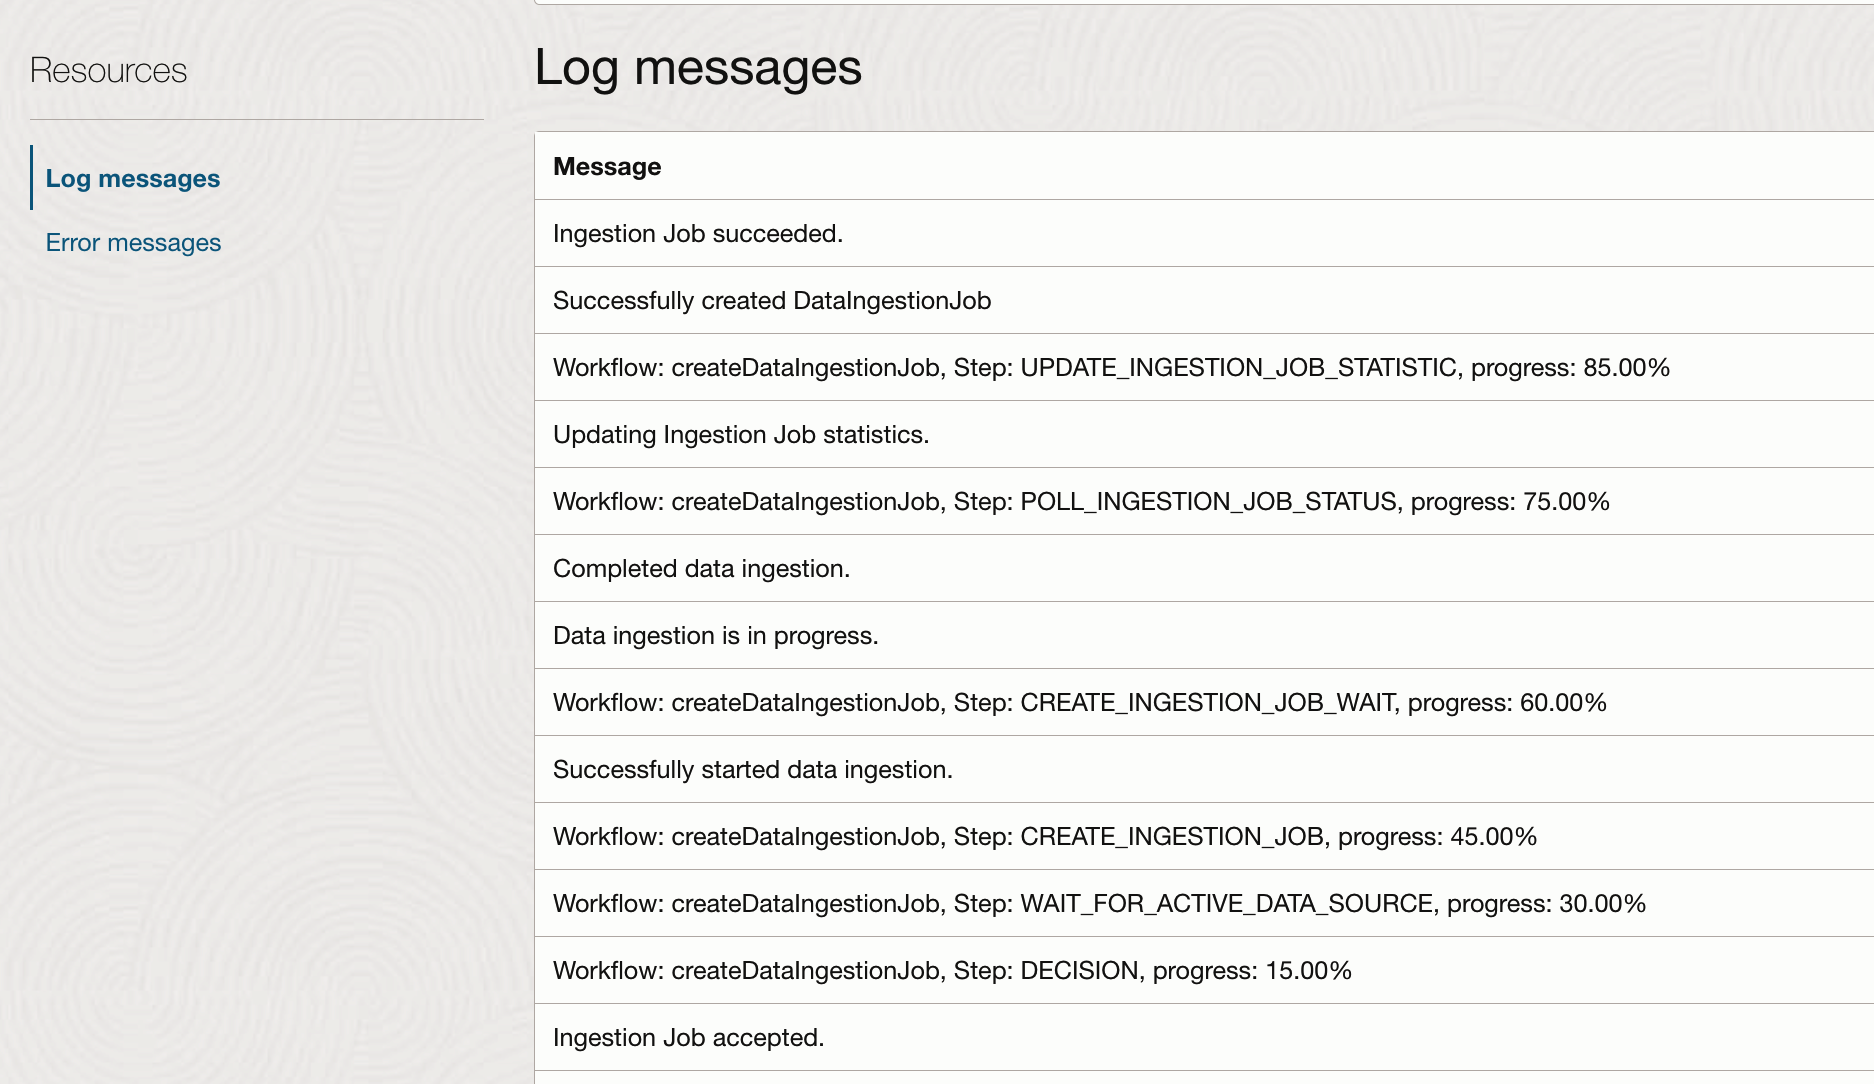
3.4 Verify the Ingestion Job
To check the progress and outcome of the ingestion job:
Select the data source for the knowledge base and Review the status logs to confirm that all files were successfully ingested. For more detailed information, refer to Getting a Data Ingestion Job’s Details.
4. Create an Agent and Add Tools
An agent is a program that uses AI to perform tasks covering various categories. These tasks are defined by the tools that you add to an agent.
To process images, we’ll use the ready-to-use RAG tool, which retrieves information from the knowledge base we created earlier.
4.1 Create the Agent
4.1.1 On the Agents list page, click Create Agent.
4.1.2 Name – Enter a descriptive name for the agent.
4.1.3 Compartment – Select the compartment where the agent will be created.
4.1.4 Welcome message (optional) – A message that greets users when they start the chat with the agent. If you leave this field blank, the agent starts the conversation with the default welcome message that’s displayed as a hint text in the text box.
4.1.5 Routing instructions (optional) – A prompt that guides the agent on which tools to use in certain scenarios.
Example: You are an AI agent assisting in receipt processing. When the user asks to scan receipts, call the Document_RAG_Tool.

4.2 Add a Tool
4.2.1 Under Create Tool, select RAG.
4.2.2. Name and Description – Provide a high-level description of the knowledge that this tool can retrieve. This allows the agent to make accurate decisions when choosing to invoke this tool.
4.2.3 (Optional) Custom instructions – Add specific guidance on how the agent should respond.
Example:This tool scans the pdf and finds all receipts in the PDF. Then for each receipt image, retrieve receipt fields like Receipt Amount, Receipt Date, Currency Code, Receipt Type, Location,Merchant name. Choose Receipt Type from Food, Air, Taxi or Hotel based on the receipt contents. Receipt Amount is the total amount, and Receipt Date is the receipt date in yyyy-mm-dd format.
4.2.4. In the Add Knowledge Bases section, select the knowledge base you created in the previous step.

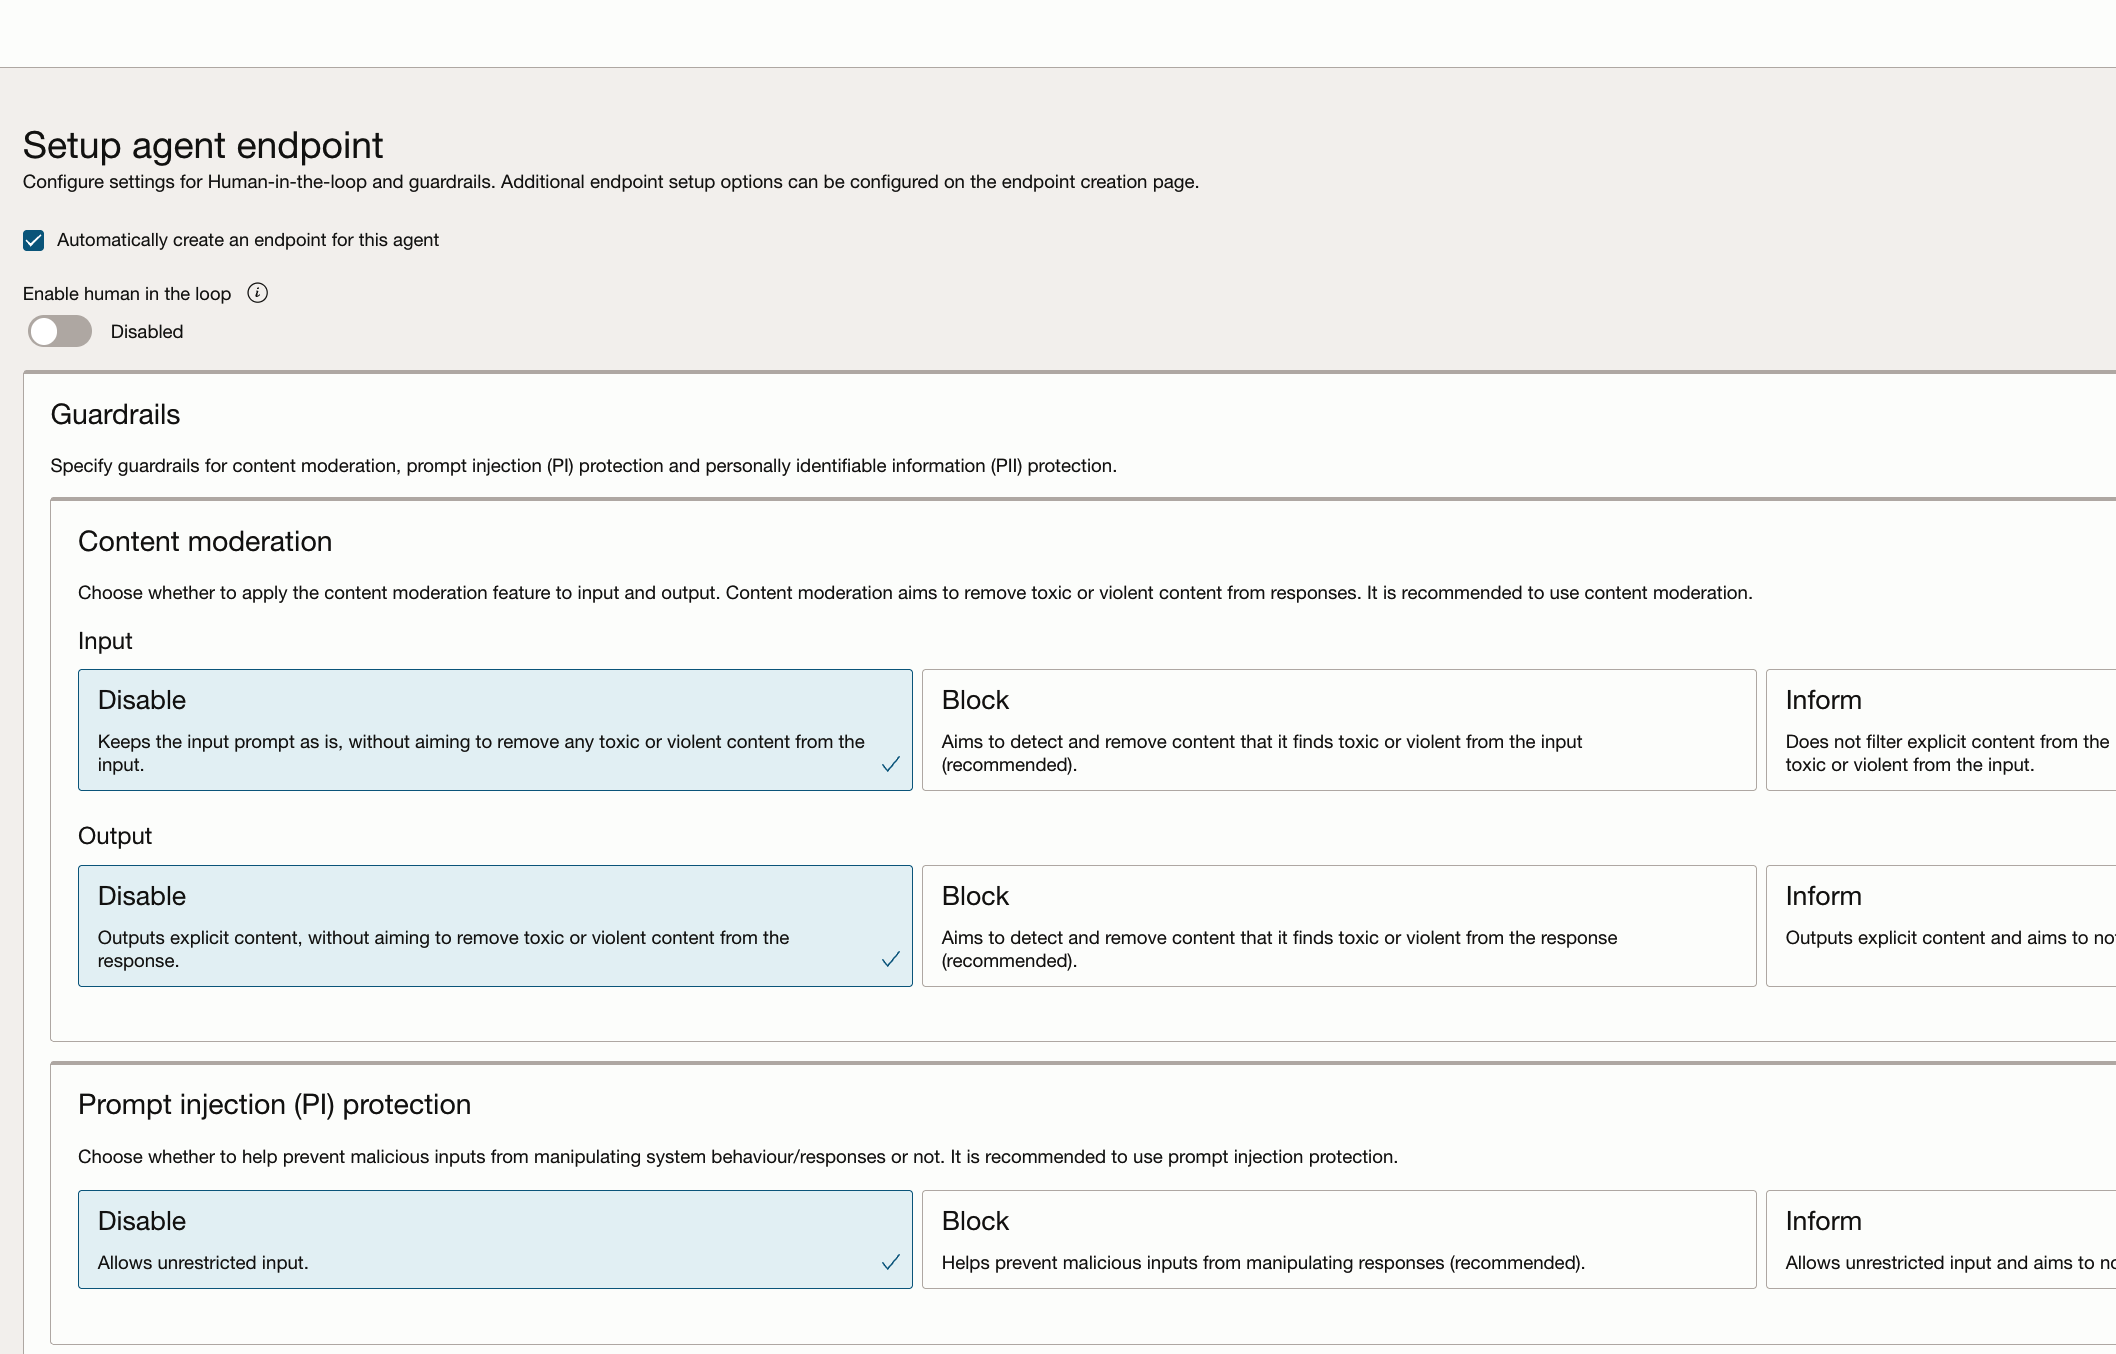
4.3 The final step is to set up an endpoint.
4.4 Review the details. and Select Create agent.
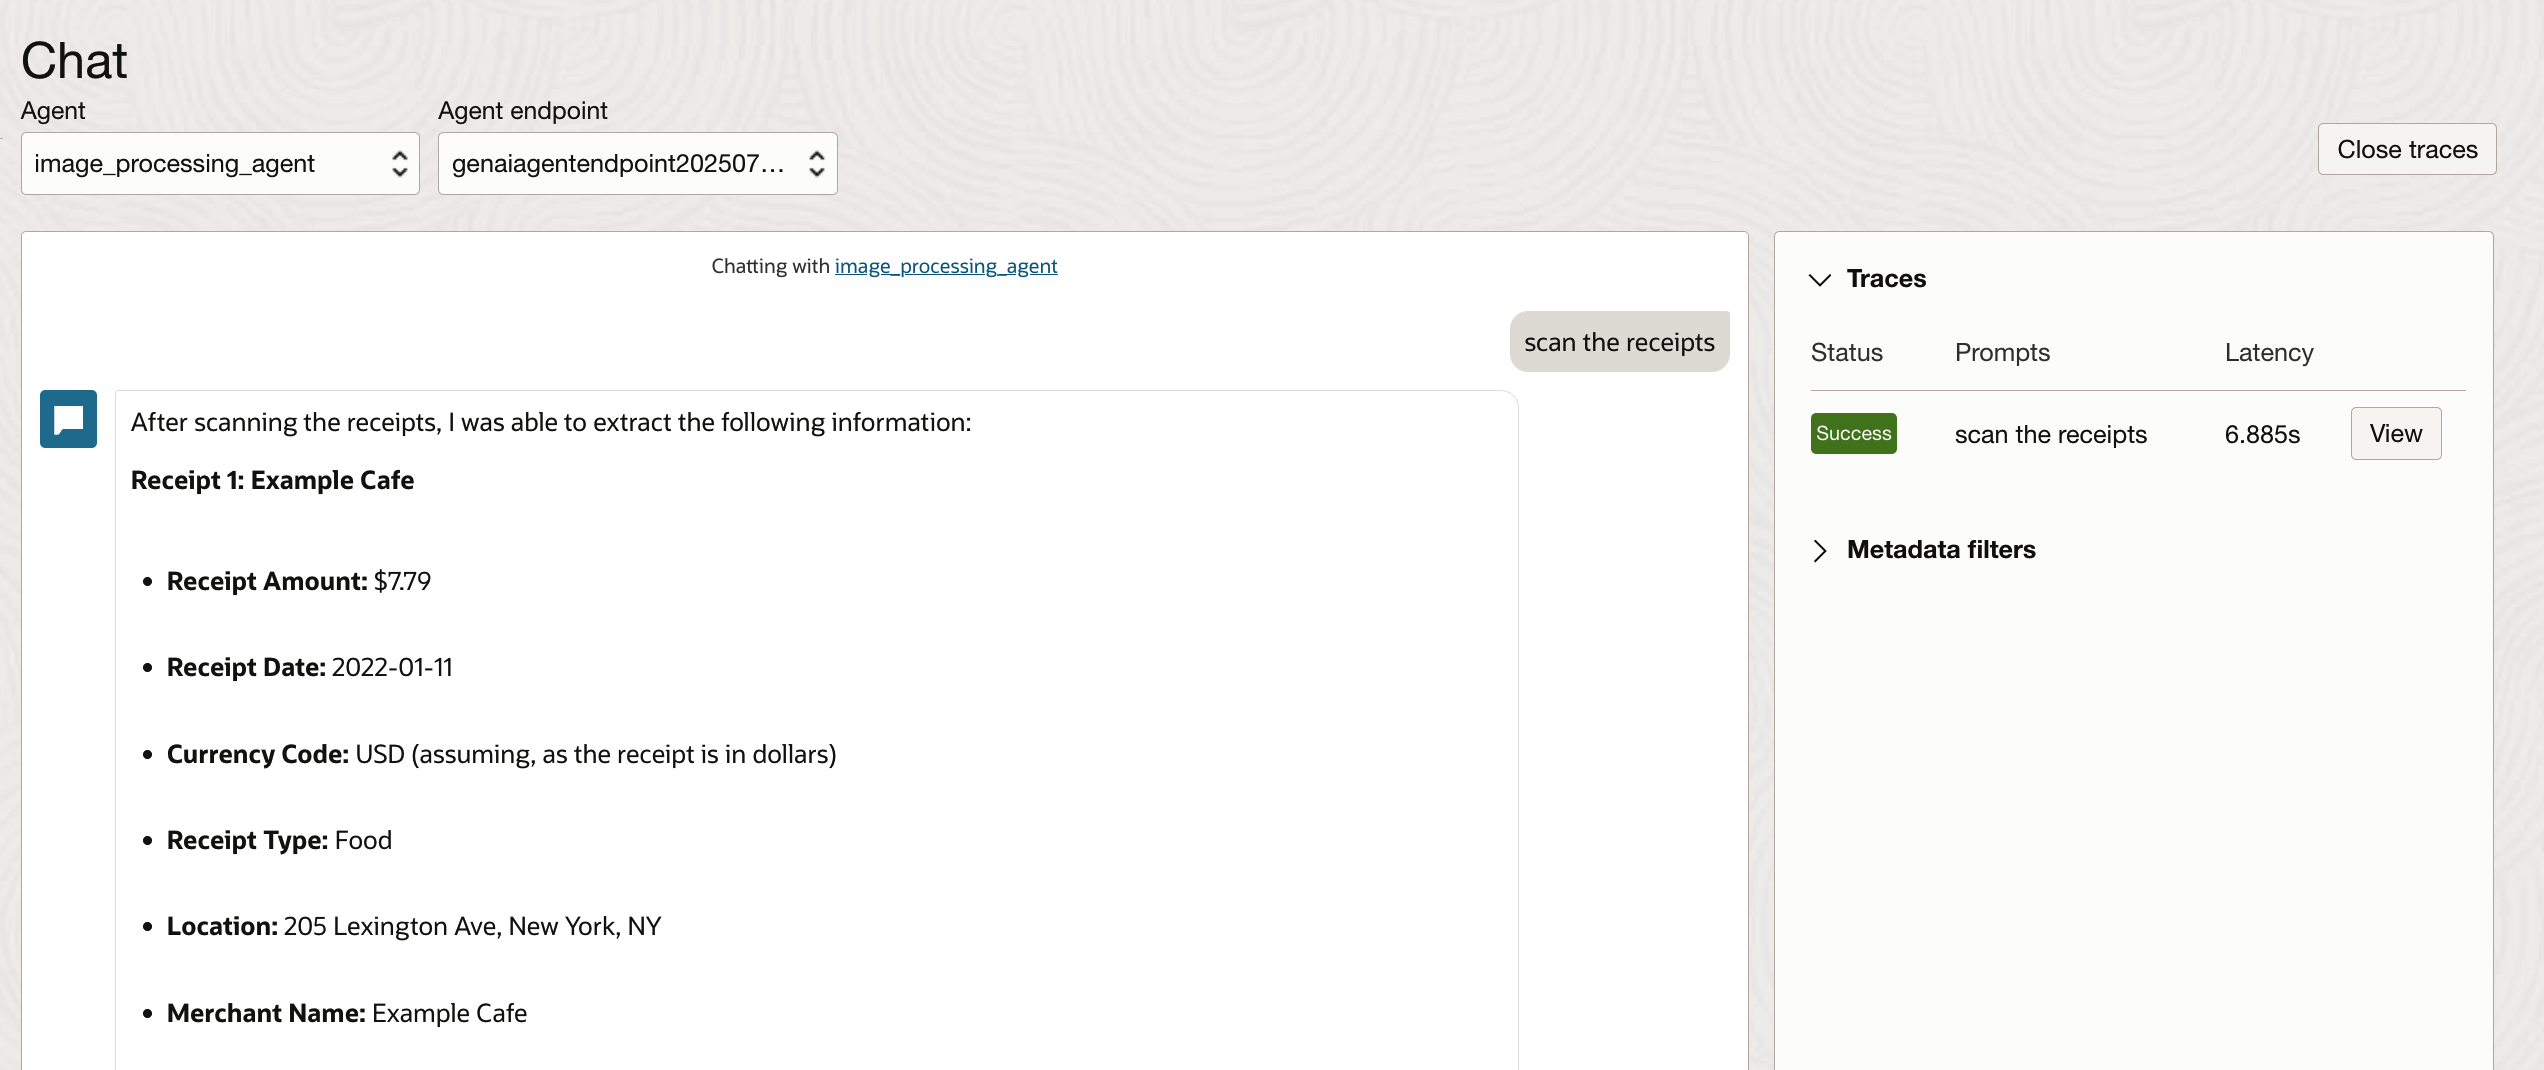
5. Once the agent is created and active, select Launch Chat to test it in real time.

6. Type a message to the agent and validate the results. You can adjust the Custom instructions in the RAG tool to get the desired response. The Traces section lists the steps executed by the agent to respond with answers.
Conclusion
I hope this blog has provided an understanding of how you can use OCI Generative AI Agents and tools to converse with images, extract content, and derive insights. By integrating these capabilities into your workflows, you can transform static image data into actionable information.
The possibilities go far beyond simple Q&A—responses from the agent can be fed into APIs, trigger downstream systems, or even drive fully automated business processes.
In Part 2 of this series, we’ll build on what we’ve covered here by extending the agent’s functionality programmatically using the Agent Development Kit (ADK). You’ll see how to make function calls, connect to custom APIs, and bring even more automation power into your applications.