Intro
OCI Load Balancers provide great flexibility for building and scaling your cloud architecture. Our Load Balancers can take advantage of private IP addresses for backend servers. No matter if the backend resource is within OCI, On-Prem, or even a different Cloud Provider. This blog will show you how to scale and segment external web user traffic by routing requests to different private load balancers. This concept is known as “Nested Load Balancers”.
Click here to quickly deploy this scenario in your OCI tenancy with OCI Resource Manager!
Prerequisites:
Basic Understanding of OCI Load Balancers
Understanding of Load Balancer Routing Policies
Inter-VCN Routing with the Dynamic Routing Gateway
Notes: The load balancer listener must be configured for layer 7 HTTP or HTTPS traffic types. This configuration will not work with a layer 4 TCP listener.
Agenda
For this scenario, we will simulate an architecture that needs to support web services for many customers in isolated VCNs. Using one public-facing load balancer and two private load balancers in the Phoenix Region. The public load balancer is located on a public subnet, in a VCN with an Internet Gateway. The private load balancers are each located in their own VCN in a private subnet. Behind each private load balancer are two web server VM instances with custom URL paths.
Demo Diagram
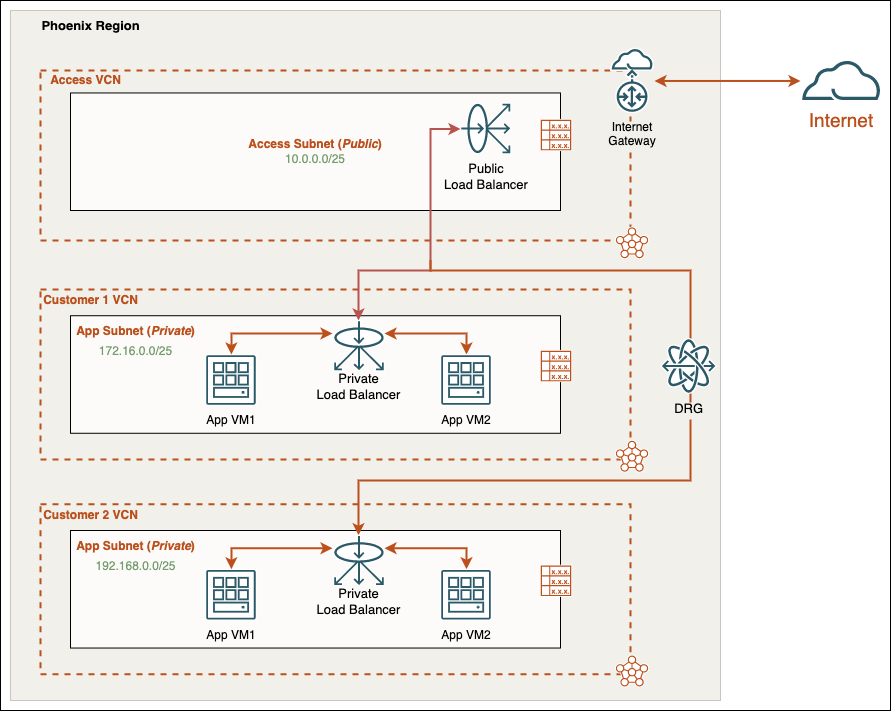
We will focus on the “Parent” Public Load Balancer configuration to route traffic to the “Child” Private Load Balancers. In this example, I have pre-configured the private load balancers and web server VMs. For general information on how to configure load balancers, please check the prerequisites section above.
Steps
- Create Public Load Balancer
- Configure Backend Set
- Configure Routing Policies
- Create Listener
Create Public Load Balancer
On the OCI Console top left menu, hover over the Networking section, select Load Balancers, then select Create Load Balancer. Keep the default Load Balancer selection, and click Create Load Balancer once more:
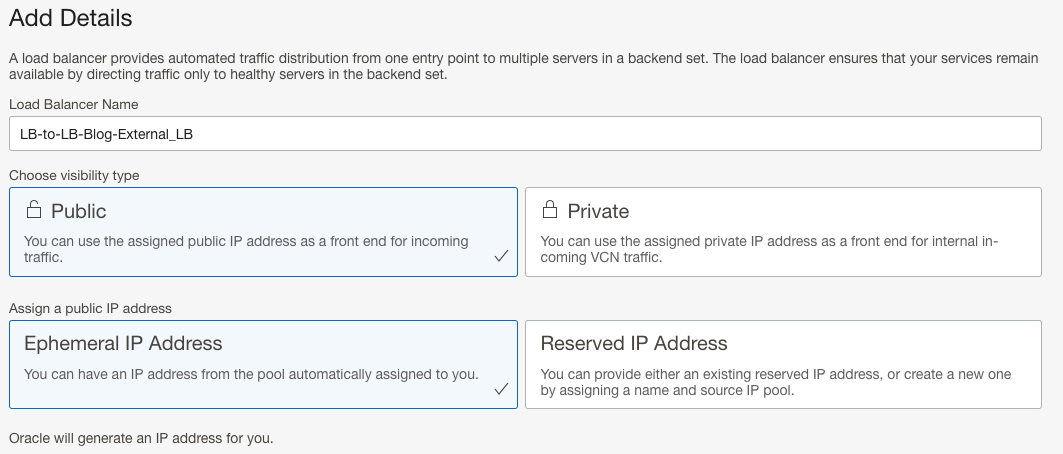
- Give your Public Load Balancer a descriptive Name:
- Choose Public visibility along with public IP address type:
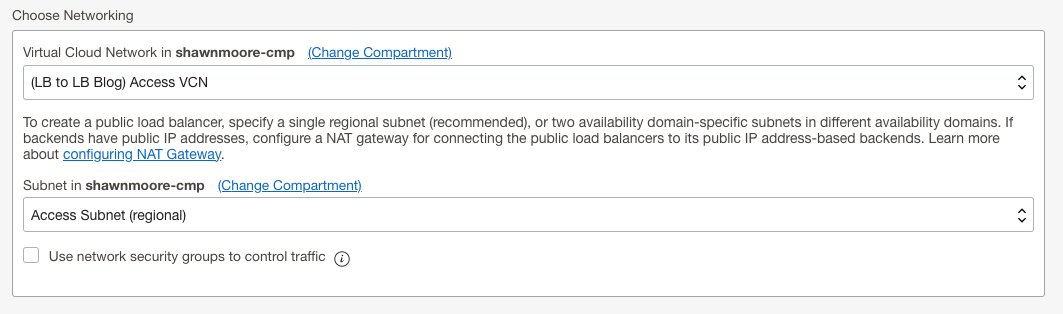
- Select the appropriate, size, VCN, and public subnet for the resource then click next:
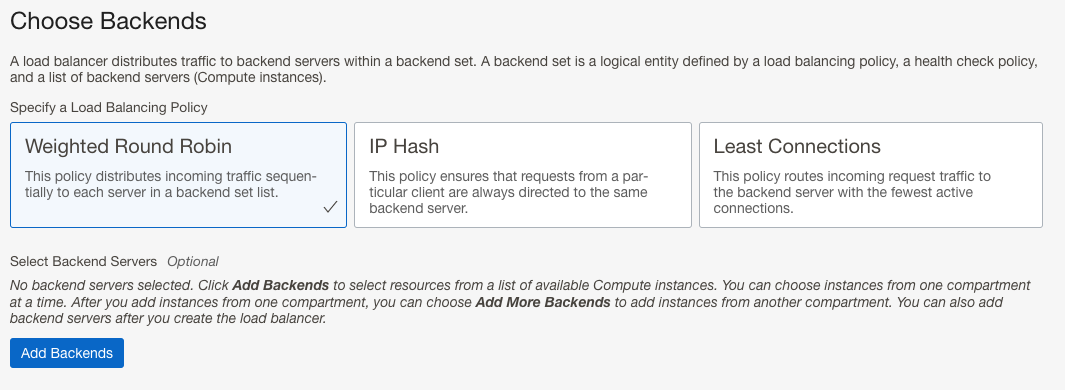
- On the Choose Backends page skip the Add Backends section and keep all other defaults. Click next, we will create the backend sets after the Load Balancer deploys:
- Give the default Listener a descriptive name, and select HTTP for traffic type, click next.
- Set up logging options then click Submit to create the load balancer.
Configure Backend Set
Wait for the Public Load Balancer to finish the deployment. Then select Backend Sets from the Load Balancer menu selection. Followed by Create Backend Set. We will create two backend sets, one for the Customer 1 Private Load Balancer, and another for the Customer 2 Private Load Balancer.
Perform the following for both Private Load Balancers (Customer 1 & Customer 2):
- Give your Backend Set a descriptive name.
- Select desired Traffic Distribution Policy. For this demo, I chose the Weighted Round Robin policy.
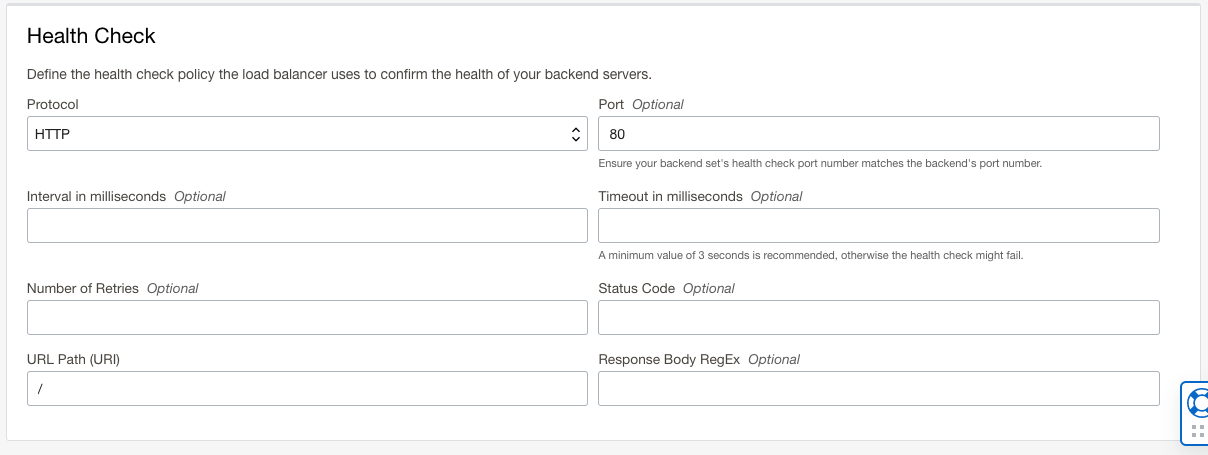
- Create your Health Check, for this lab we’ll use HTTP port 80 with the root URL Path:
- Add only the Customer 1 Private Load Balancer as a backend server by selecting the “IP Addresses” dial. Enter in the private IP for the Private Load Balancer along with corresponding Port. We can leave the default for Weight since we only have one backend.

- Save changes then repeat Steps 1-4 for the Customer 2 Private Load Balancer Backend Set.
Configure Routing Policies
For this example, I didn’t assign public DNS names to my web servers. Instead I’ll use unique URL paths to differentiate traffic. On the Load Balancer main menu, select Routing Policies and then click Create Routing Policy.
- Give your Routing Policy a descriptive name.
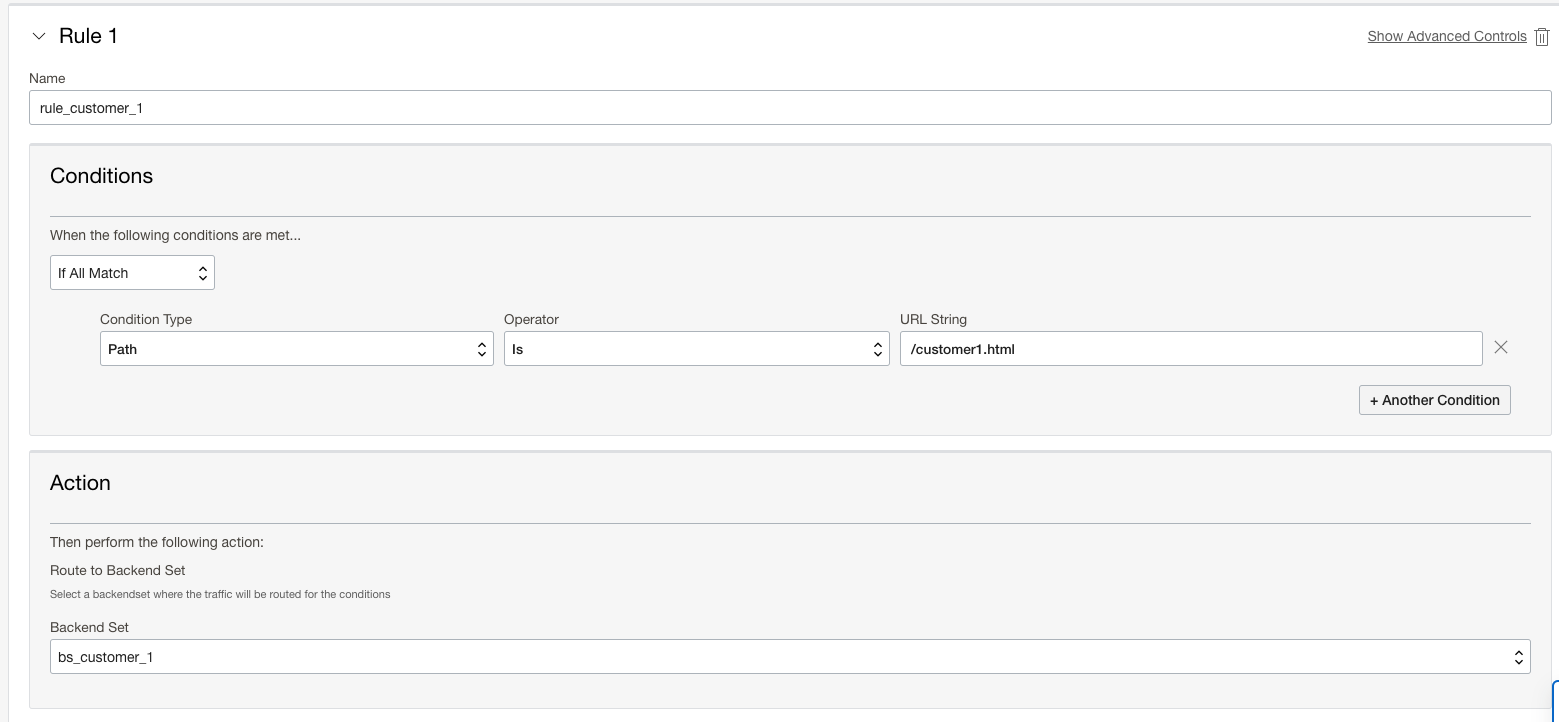
- Create the first rule with the following:
- Conditions: If All Match Condition Type Path Operator Is URL String /customer1.html
- Action: Route to Backend Set “Name_For_Customer_1_Backend_Set”
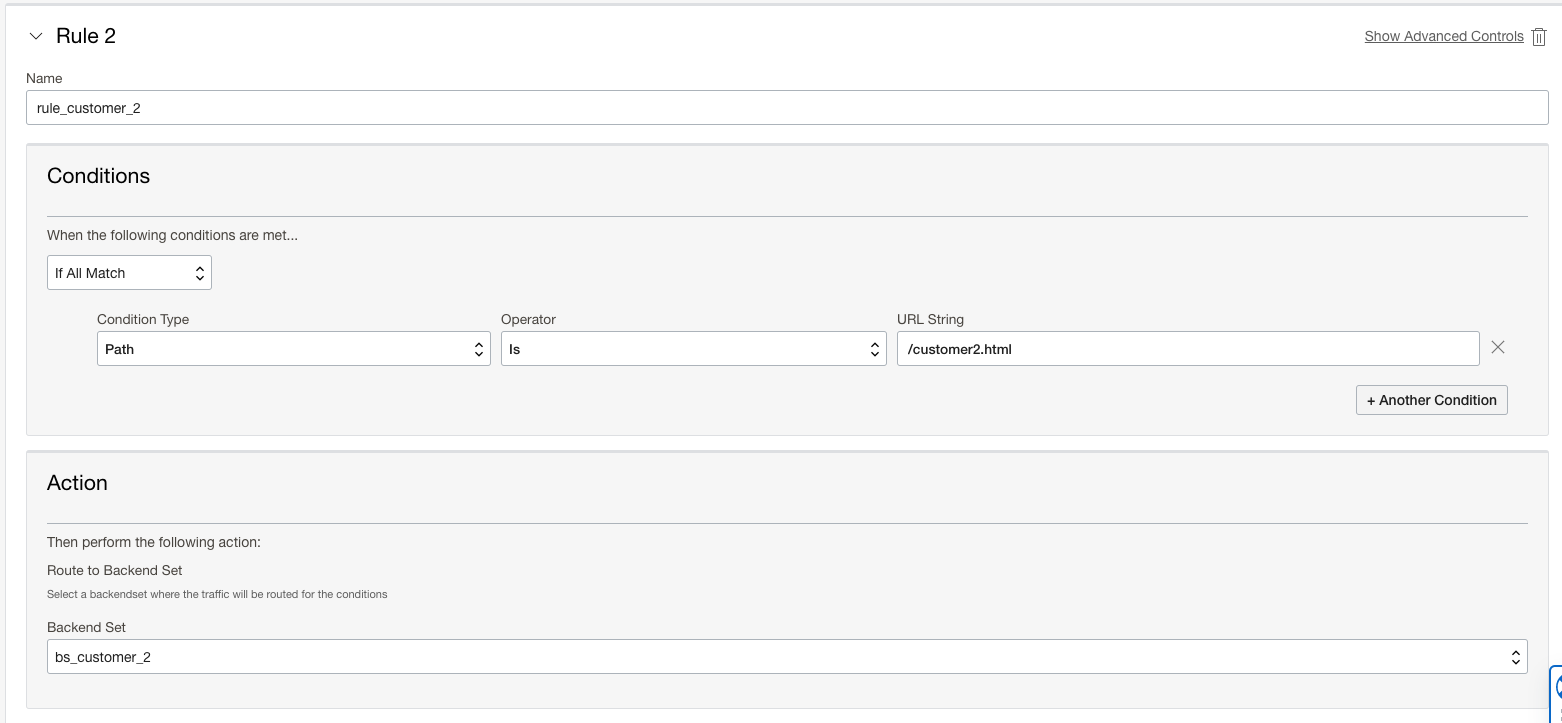
- Create the second rule with the following:
- Conditions: If All Match Condition Type Path Operator Is URL String /customer2.html
- Action: Route to Backend Set “Name_For_Customer_2_Backend_Set”
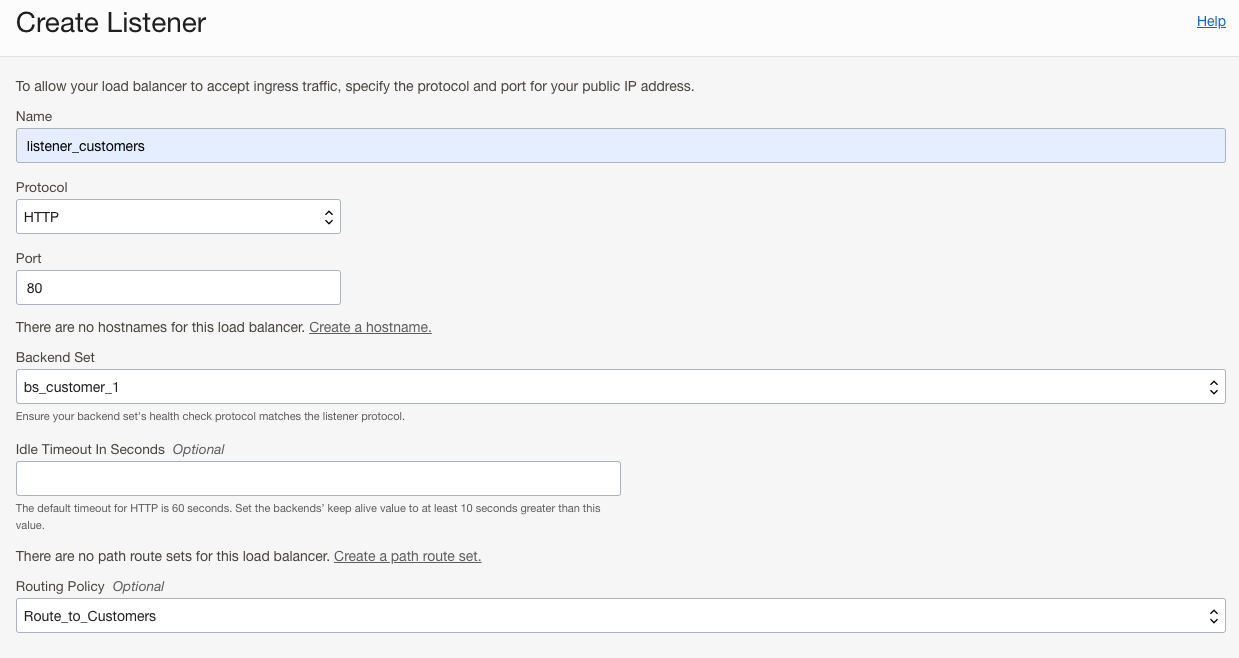
Create Listener
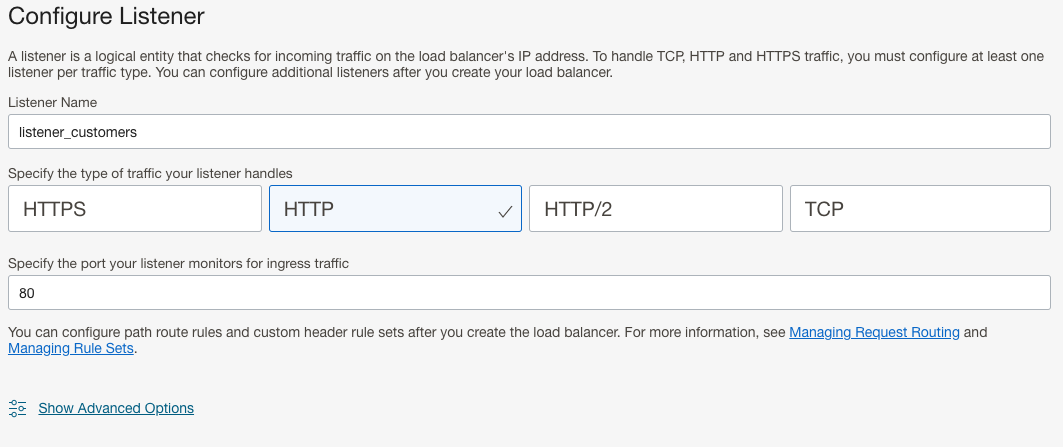
The final step is to create the Listener, which will tie all the pieces we created above. On the Load Balancer main menu, select Listeners, followed by Create Listener.
- Give your Listener a descriptive name.
- Select the appropriate Protocol (HTTP) and Port (80).
- Select a default Backend Set. Any traffic that doesn’t match the routing policy will be sent to this Backend Set
- Note: All traffic without a specific customer URL path balances traffic between the private LBs regardless of this setting.
- Select the Routing Policy that we created in the above step. Create Listener.
Test Results
Now it’s time to confirm that our configuration is working. Since I did not configure DNS for my Public Load Balancer, I will test using its assigned public IP address (covered for security reasons). First I’ll connect to the Public Load Balancer without any unique URL:
I’m directed to a default home page when connecting by just the public IP address or adding the default index.html URL path:
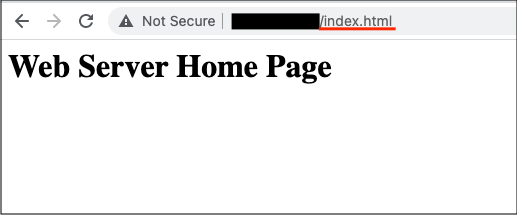
As you can see, this provides a generic response that I’ve set across all the Web VMs in its index.html file.
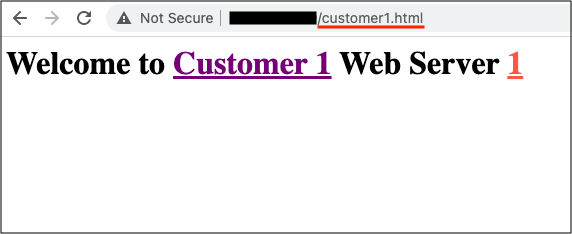
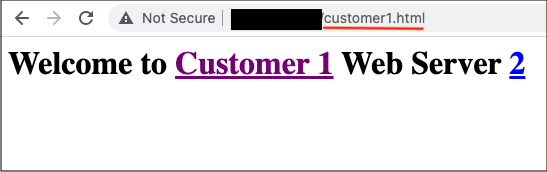
Customer 1 URL
Using the URL set for customer 1 /customer1.html. All web requests routes to the appropriate Private Load Balancer across both servers. I confirmed this by refreshing the page multiple times:
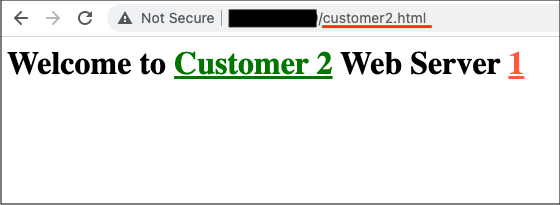
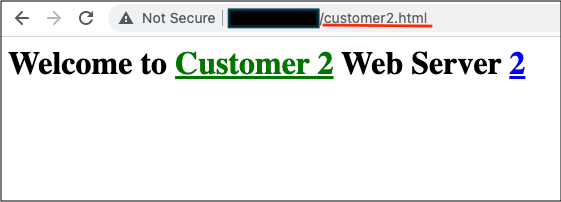
Customer 2 URL
Using the URL set for customer 2 /customer2.html. All web requests routes to the appropriate Private Load Balancer across both servers. I confirmed this by refreshing the page multiple times:
Conclusion
As you can see, what you can do with our OCI Load Balancers is the tip of the iceberg. Other common use cases include:
- Routing traffic to private load balancers in a different region for DR.
- Load balancing incoming traffic to customer on-premise servers.
- Sending customer traffic to services located with a different cloud provider. Using a private connection such as Azure Interconnect.