Installation of Cisco Firepower Management Center ( FMCv) on OCI
This is the second part of my Cisco firewall blog series.
Let’s dive in! Navigate to the hamburger menu from the OCI portal and click on Marketplace.
Click on All Applications and search by Cisco.
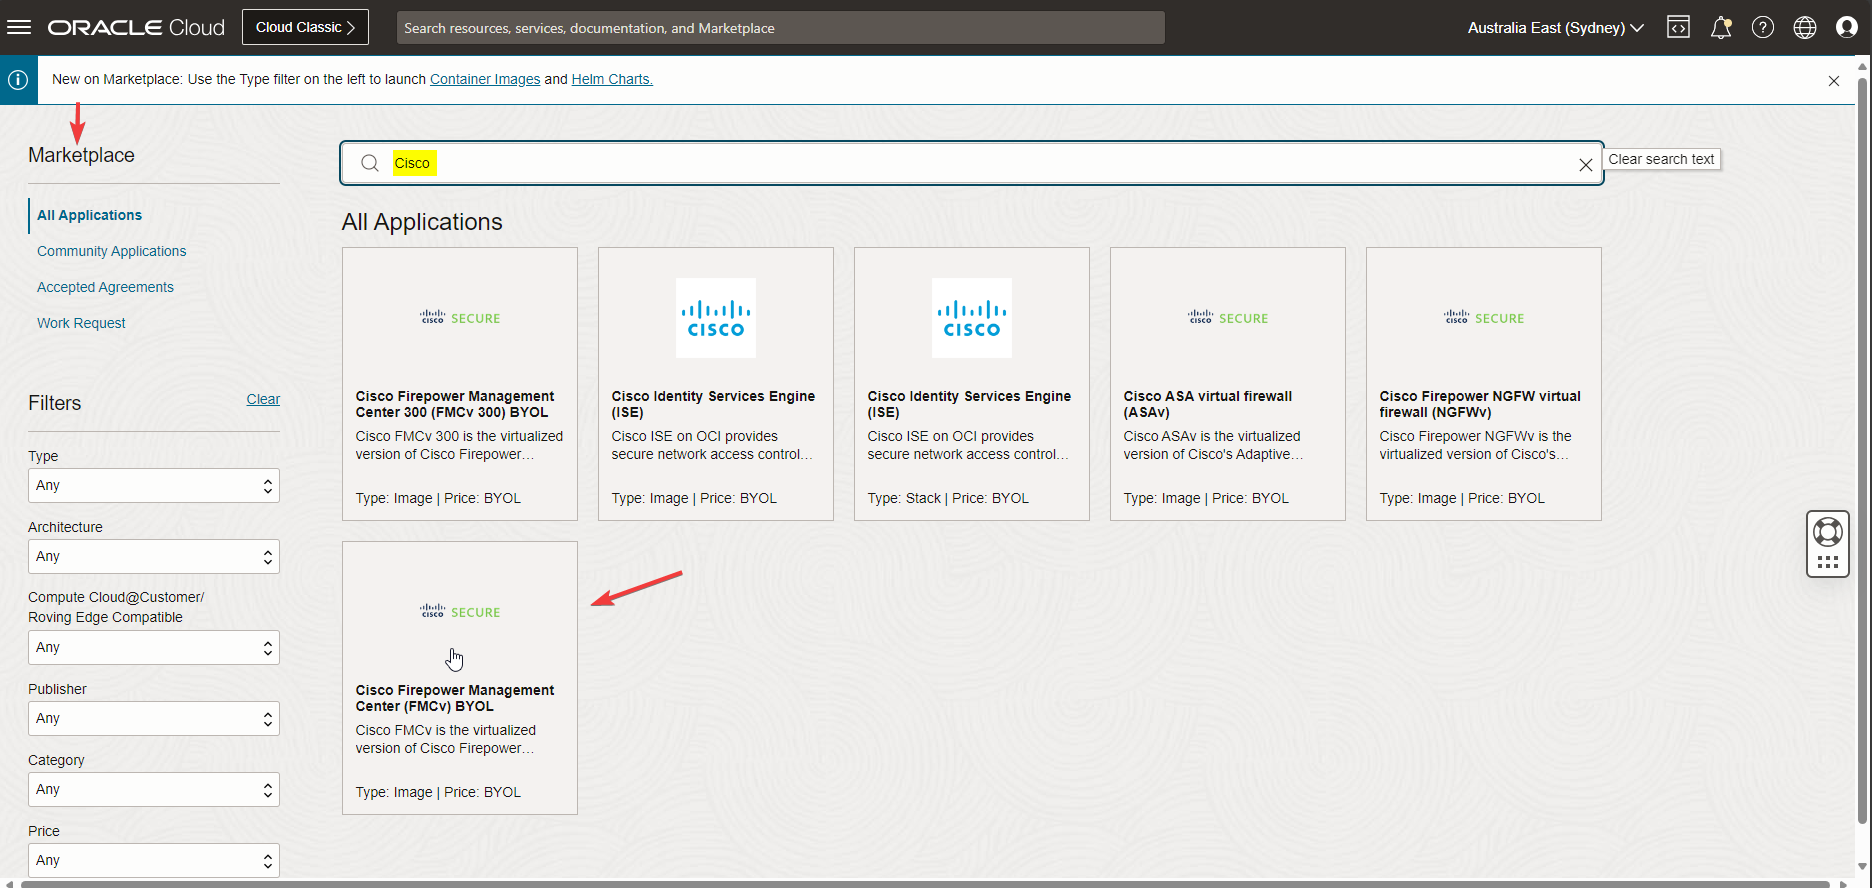
Choose Cisco Firepower Management Center (FMCv) BYOL from the available options.
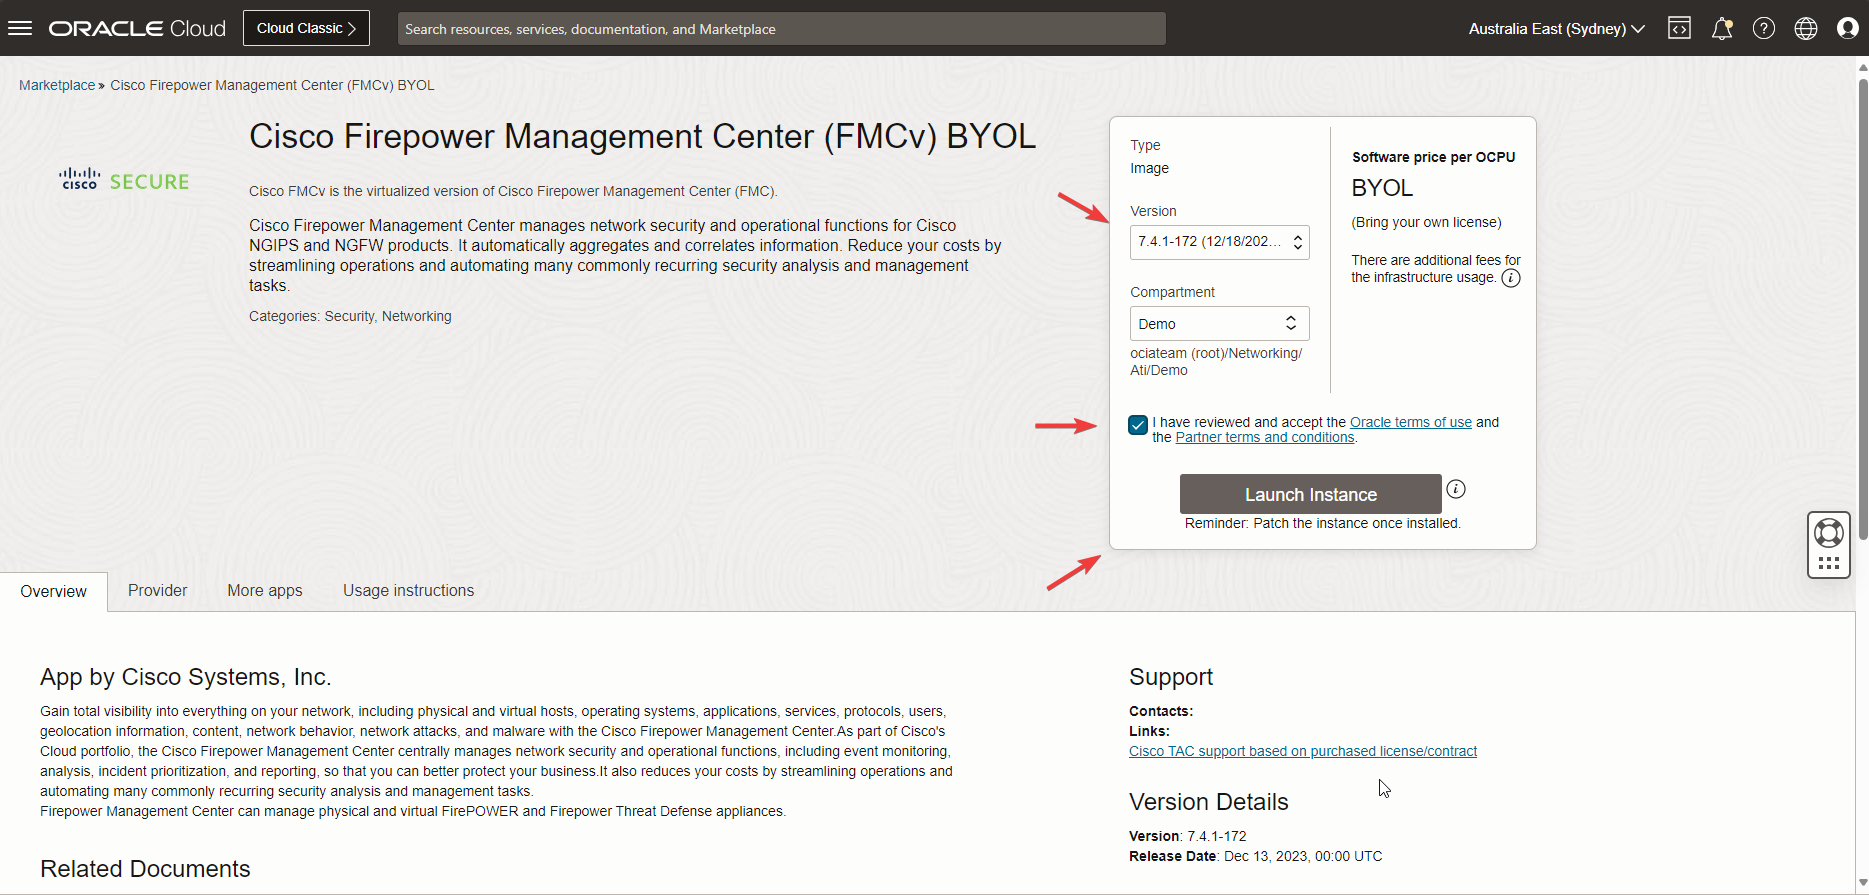
Select your version, and after reviewing Oracle and Cisco terms of use and conditions, check the box and click on Launch Instance.
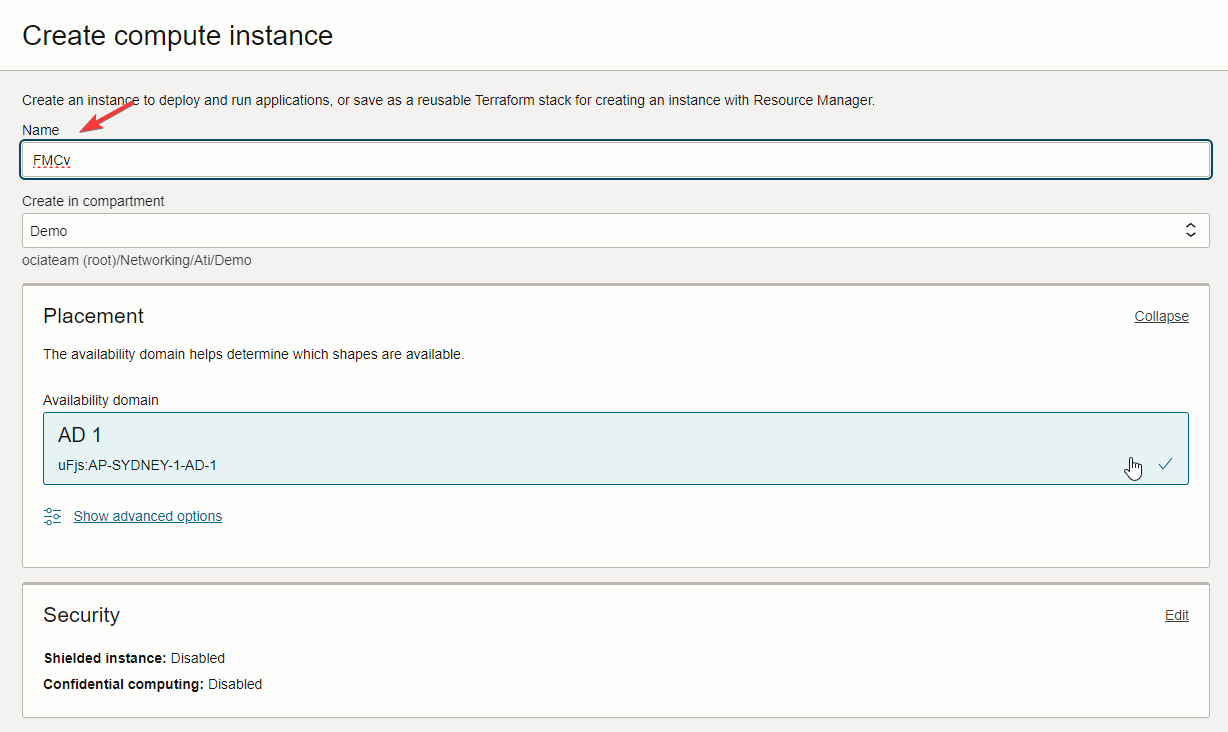
Navigate to the Compute Instance page to continue with your FMCv configuration. Check the screenshot below.
 It would be best if you changed shape to meet the FMCv minimum OCPU requirements. Click on change shape.
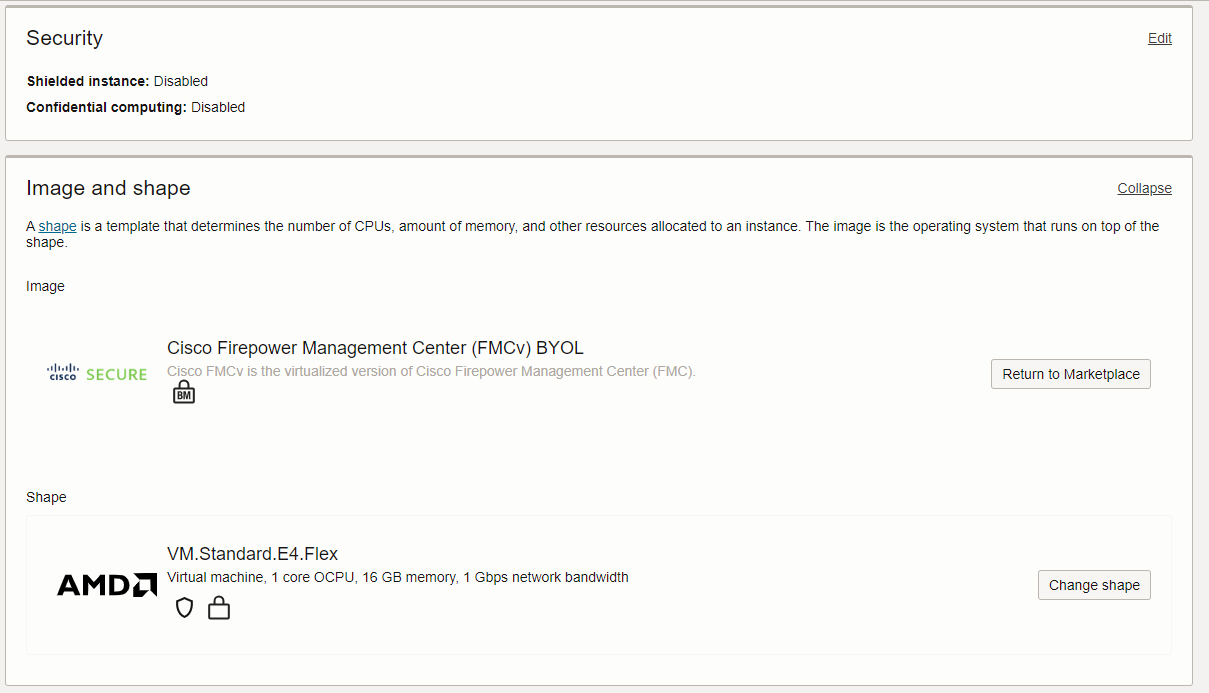
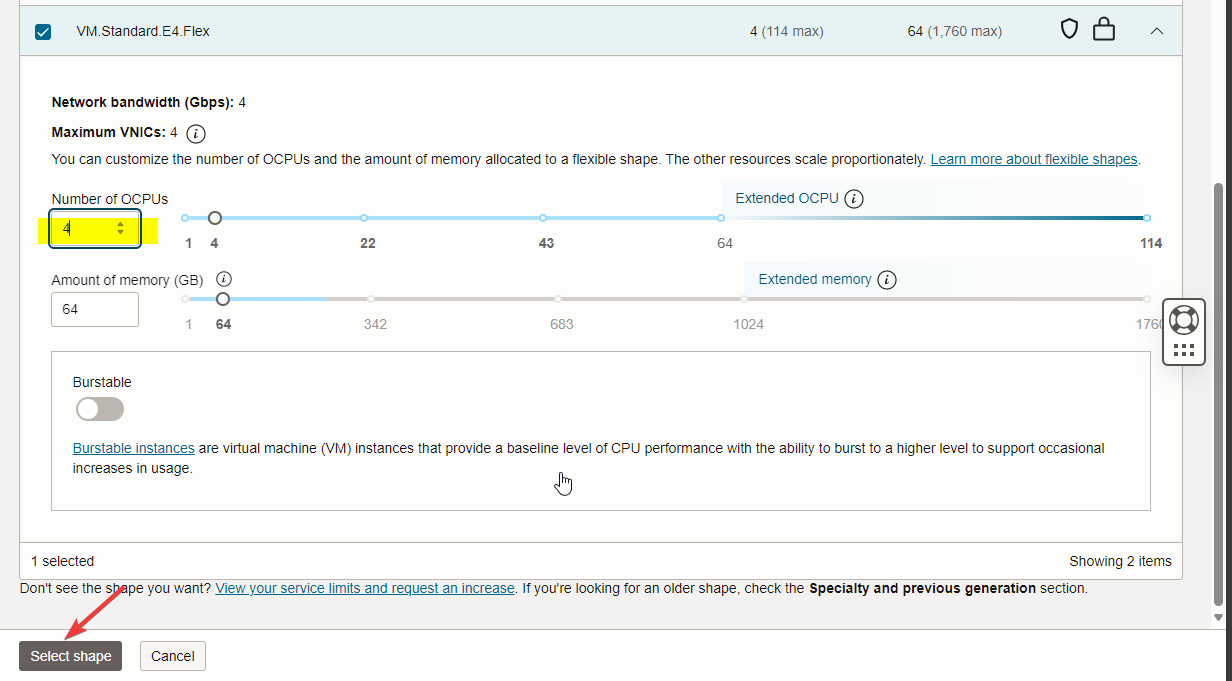 After you change it, you will see the OCPU value changed to 4.
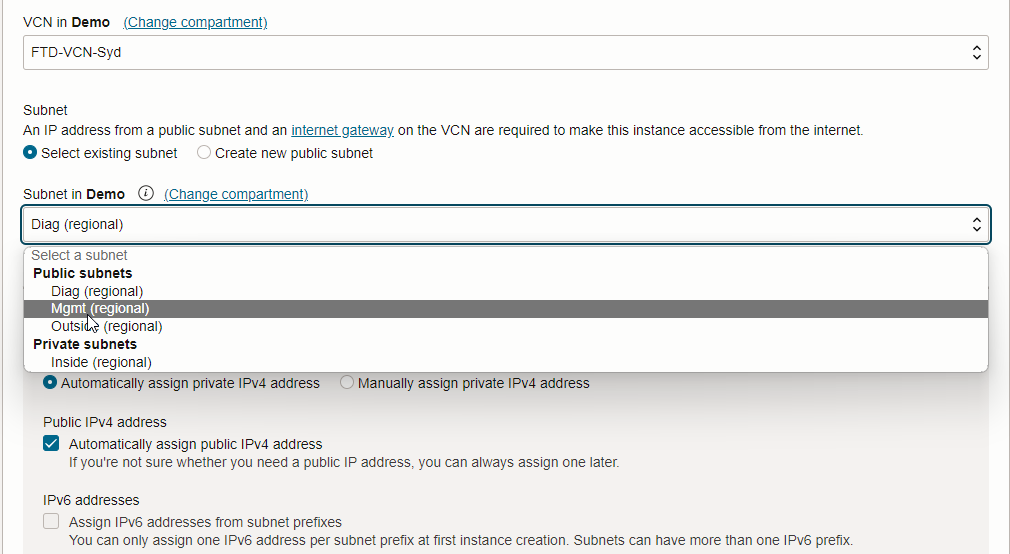
 Choose your available VCN and create it in the Mgmt public subnet.
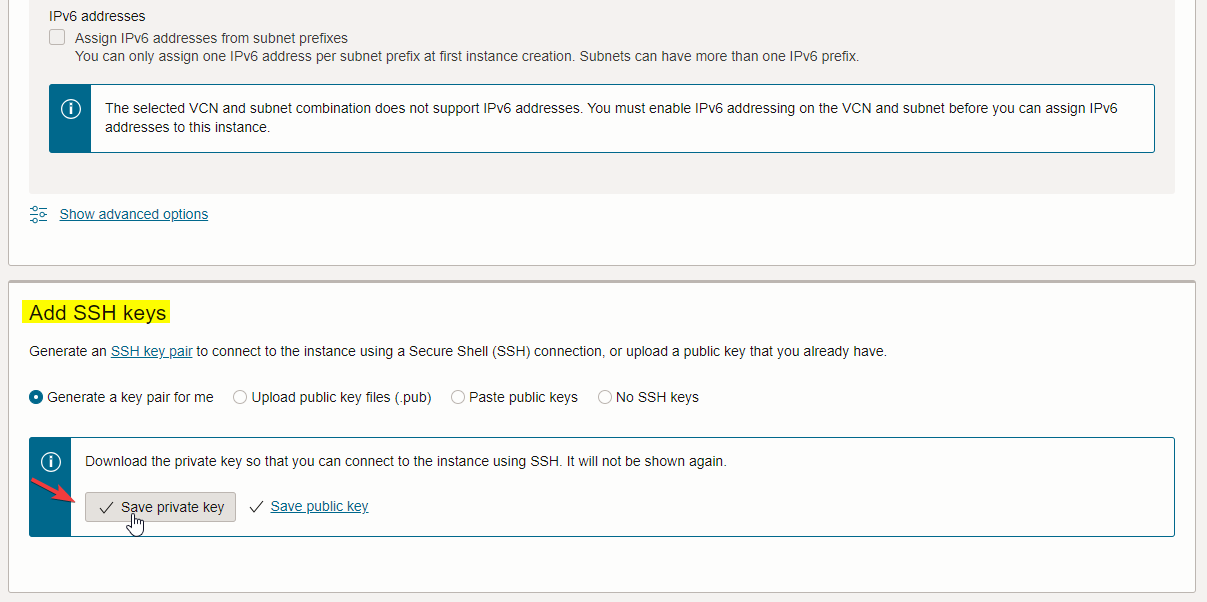
Next, move to SSH key info, save the key pair, or upload and paste your existing one if there is any.
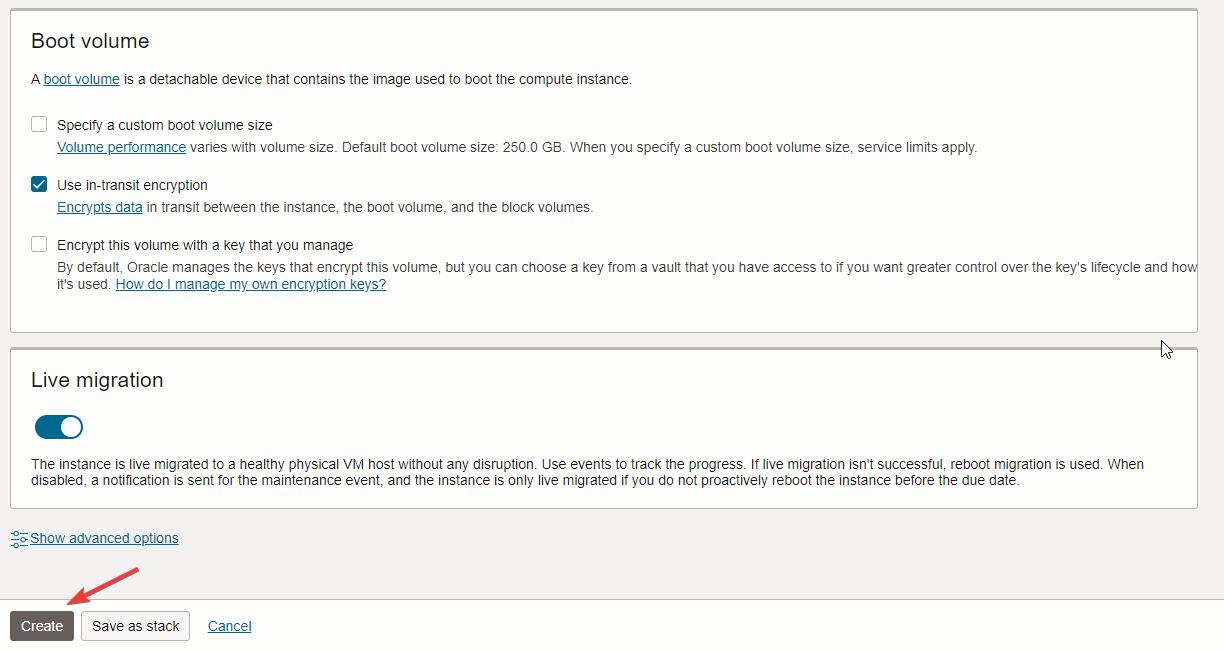
Click on Create.
After a few minutes, your will see you FMCv is up and running.
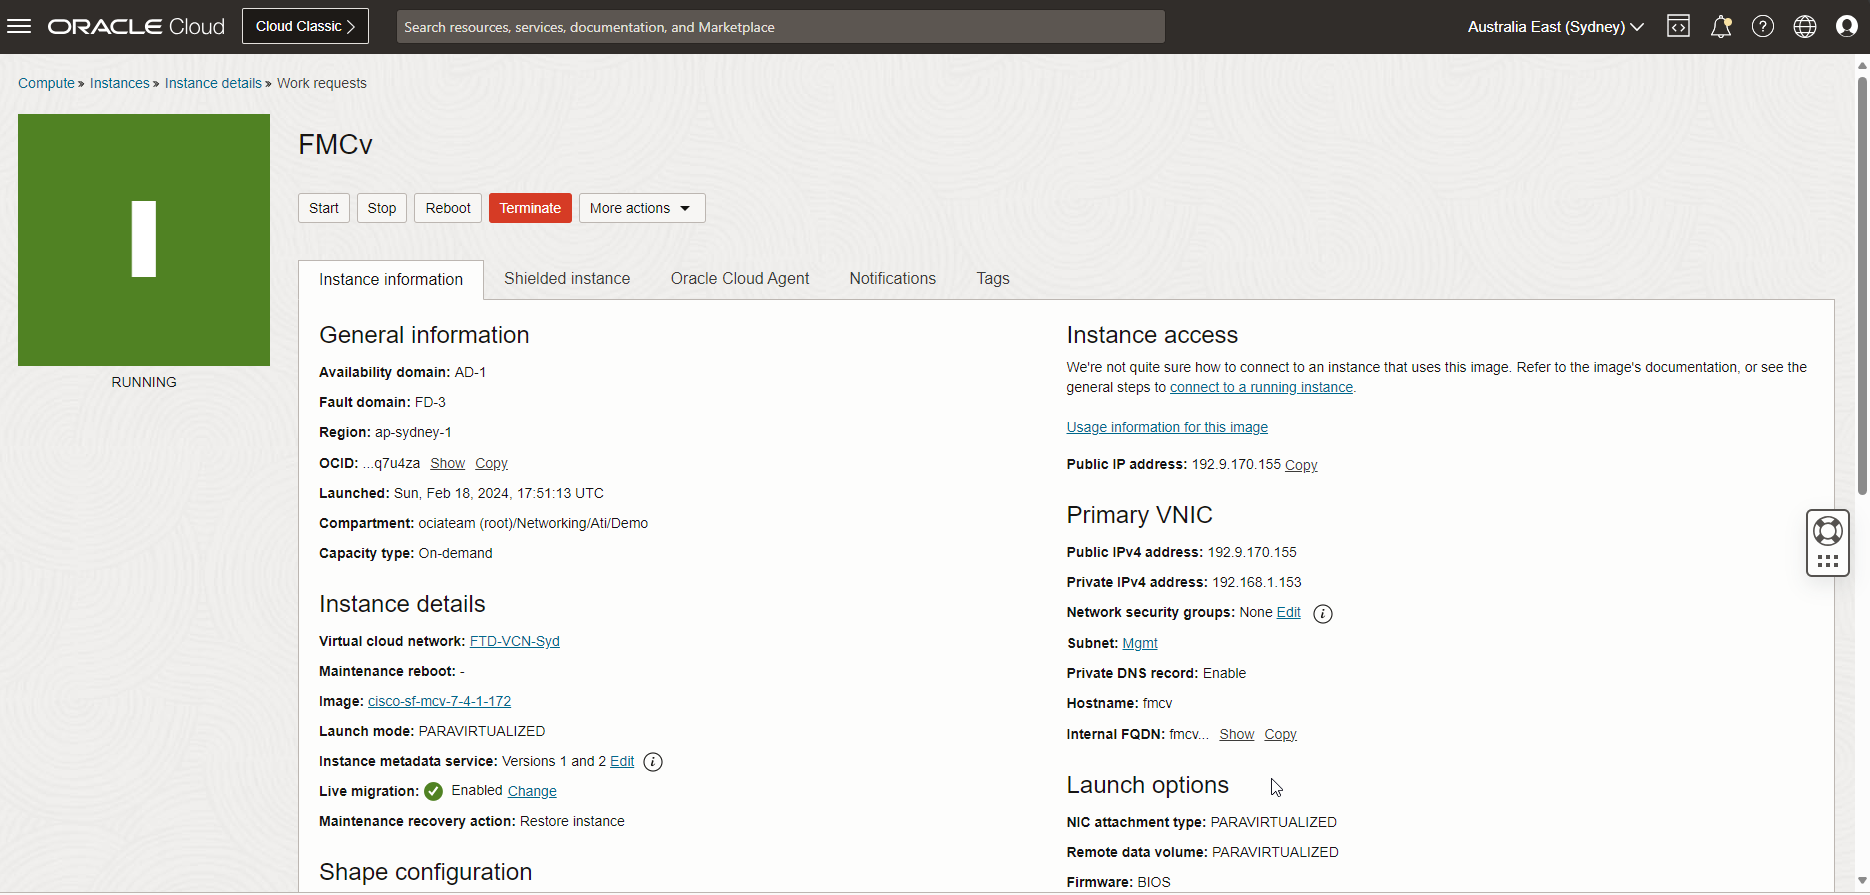
Now, SSH into the FTDv to add the manager information with the command below.
“configure manager add {hostname | IPv4_address | IPv6_address | DONTRESOLVE } regkey [ nat_id ] [ display_name ]”
Note: 192.168.1.153 is the FMCv Primary VNIC private IP address, and Cisco123 is the registration key. I don’t use the NAT ID here.

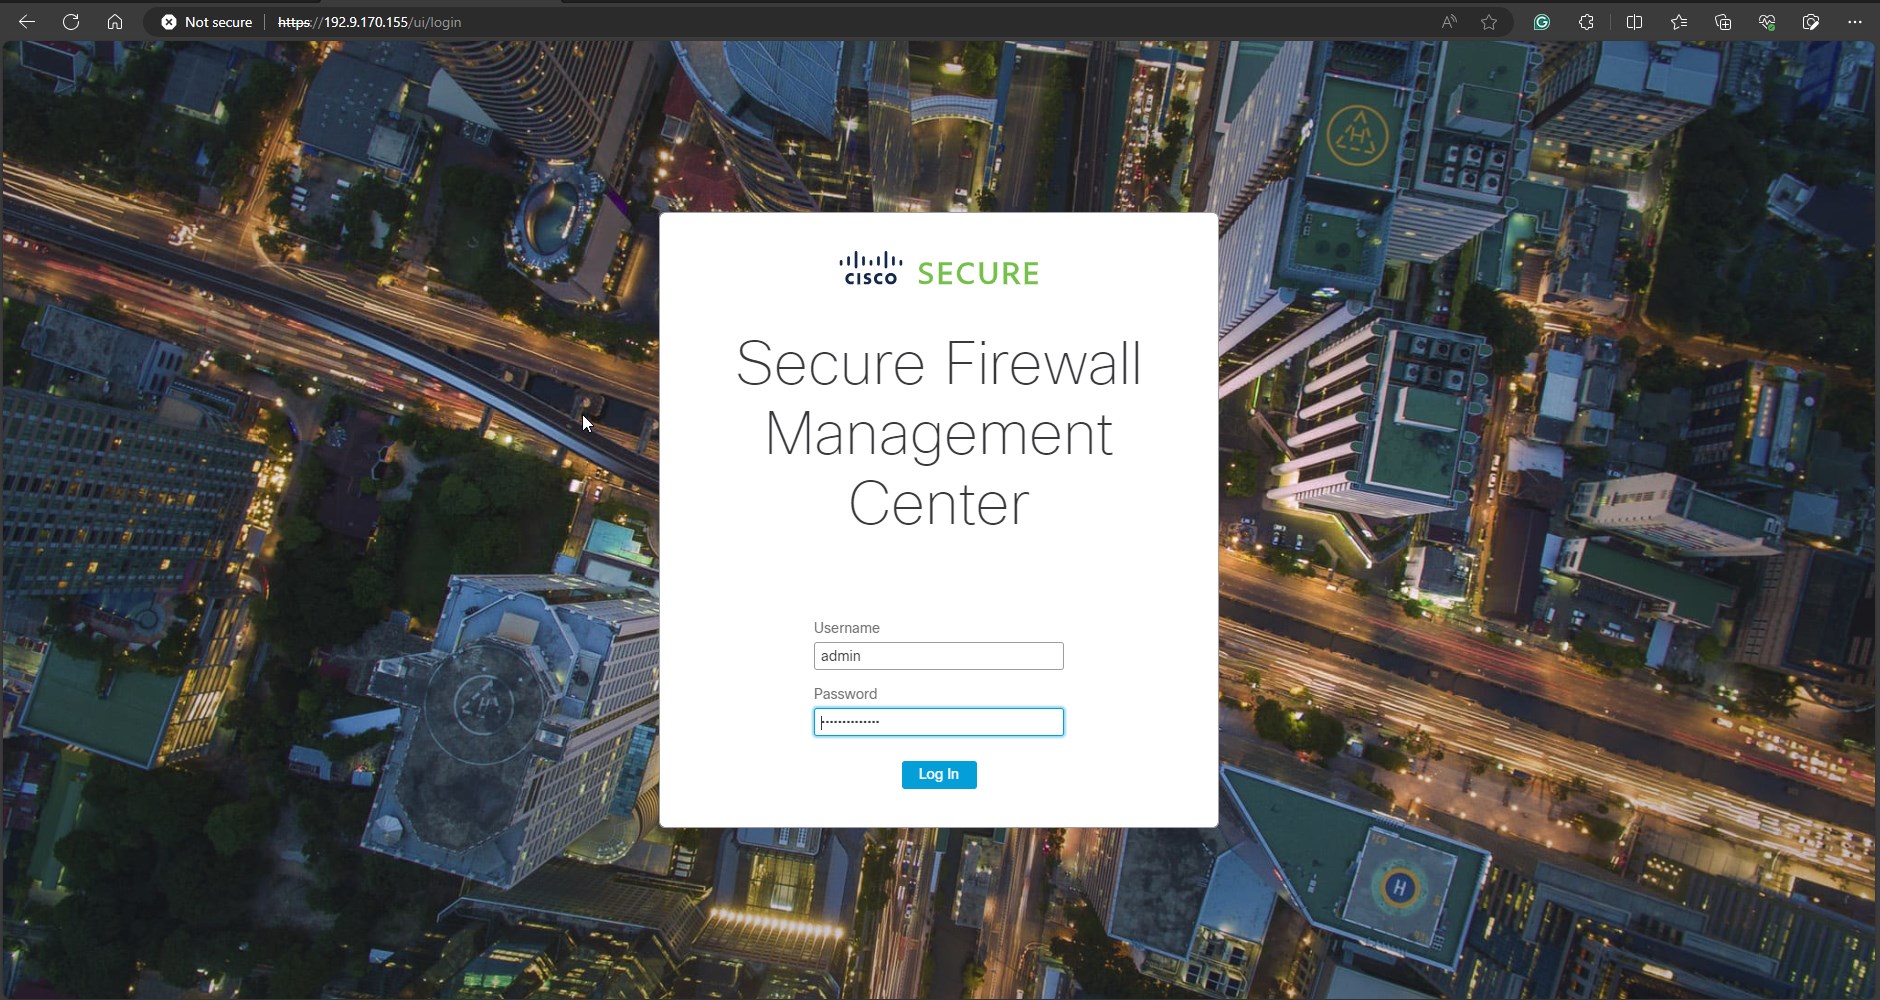
Next, let’s SSH to FMCv.
Note: For the first time, you need to SSH to FMCv. After changing the password, you will access it by GUI.
Note: 192.9.170.155 is FMCv’s primary VNIC public IP address.

Enter the new password, confirm it, and log into the GUI.
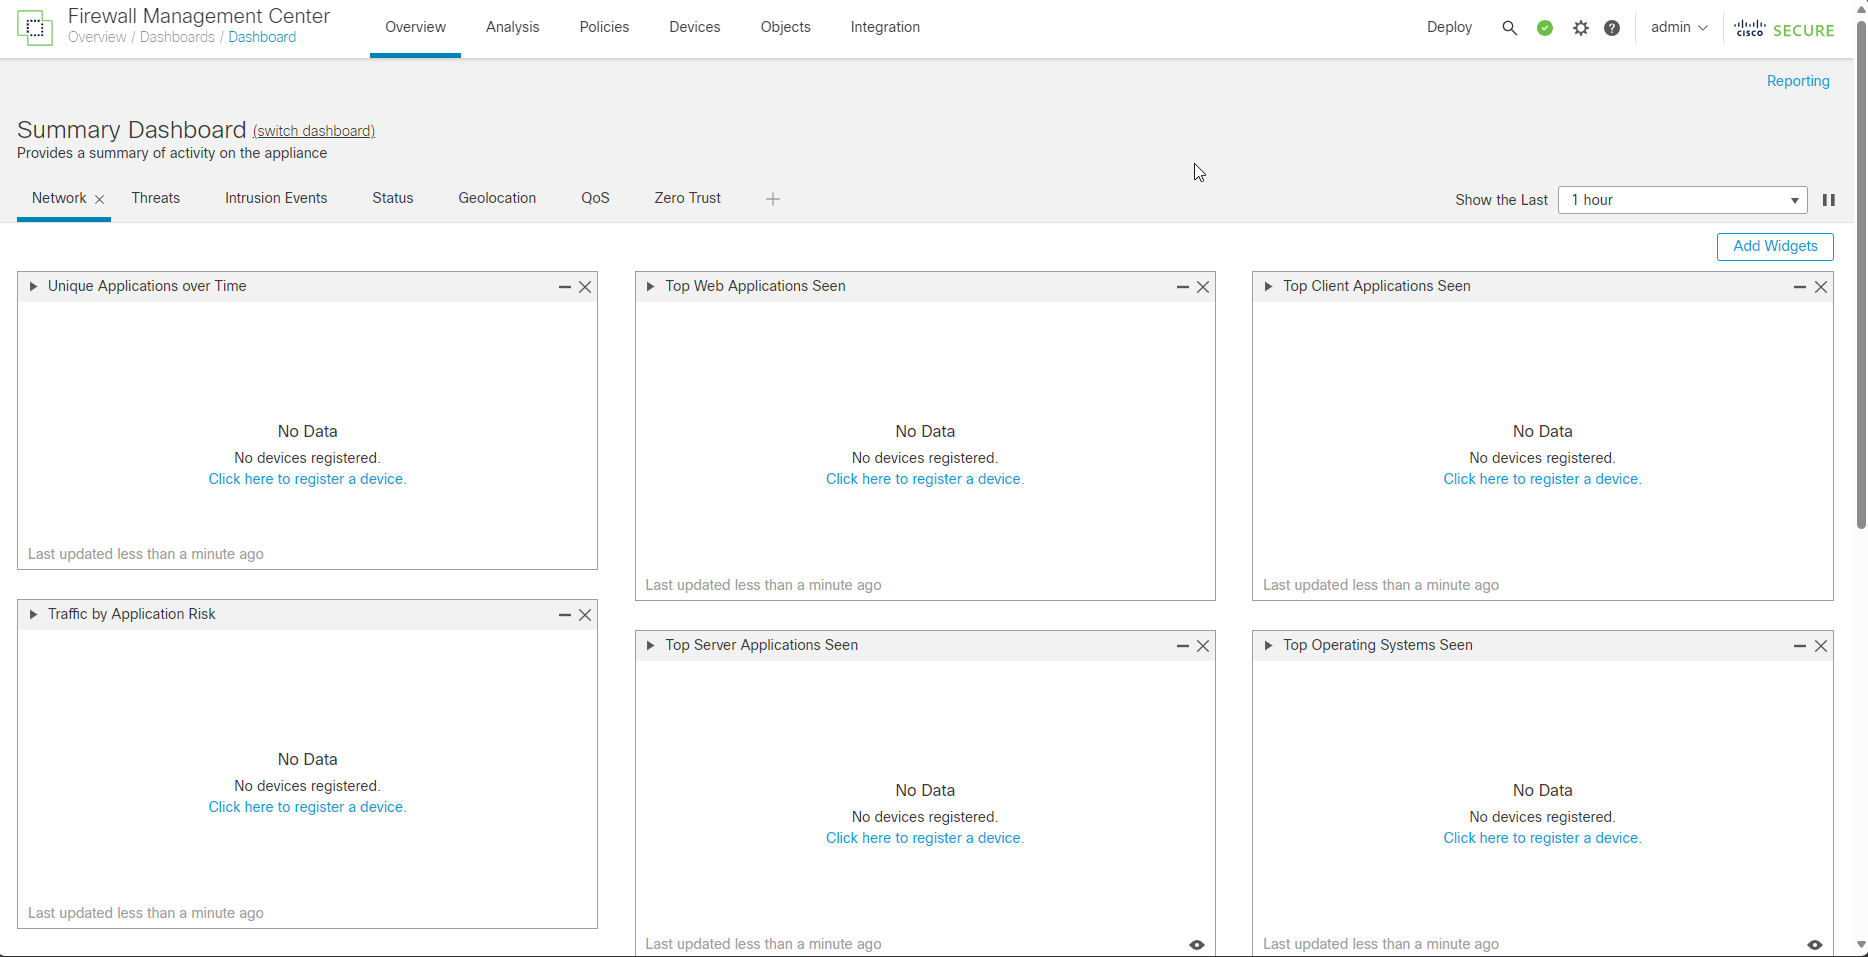
The FMCv dashboard is accessible; let’s move to the next step.
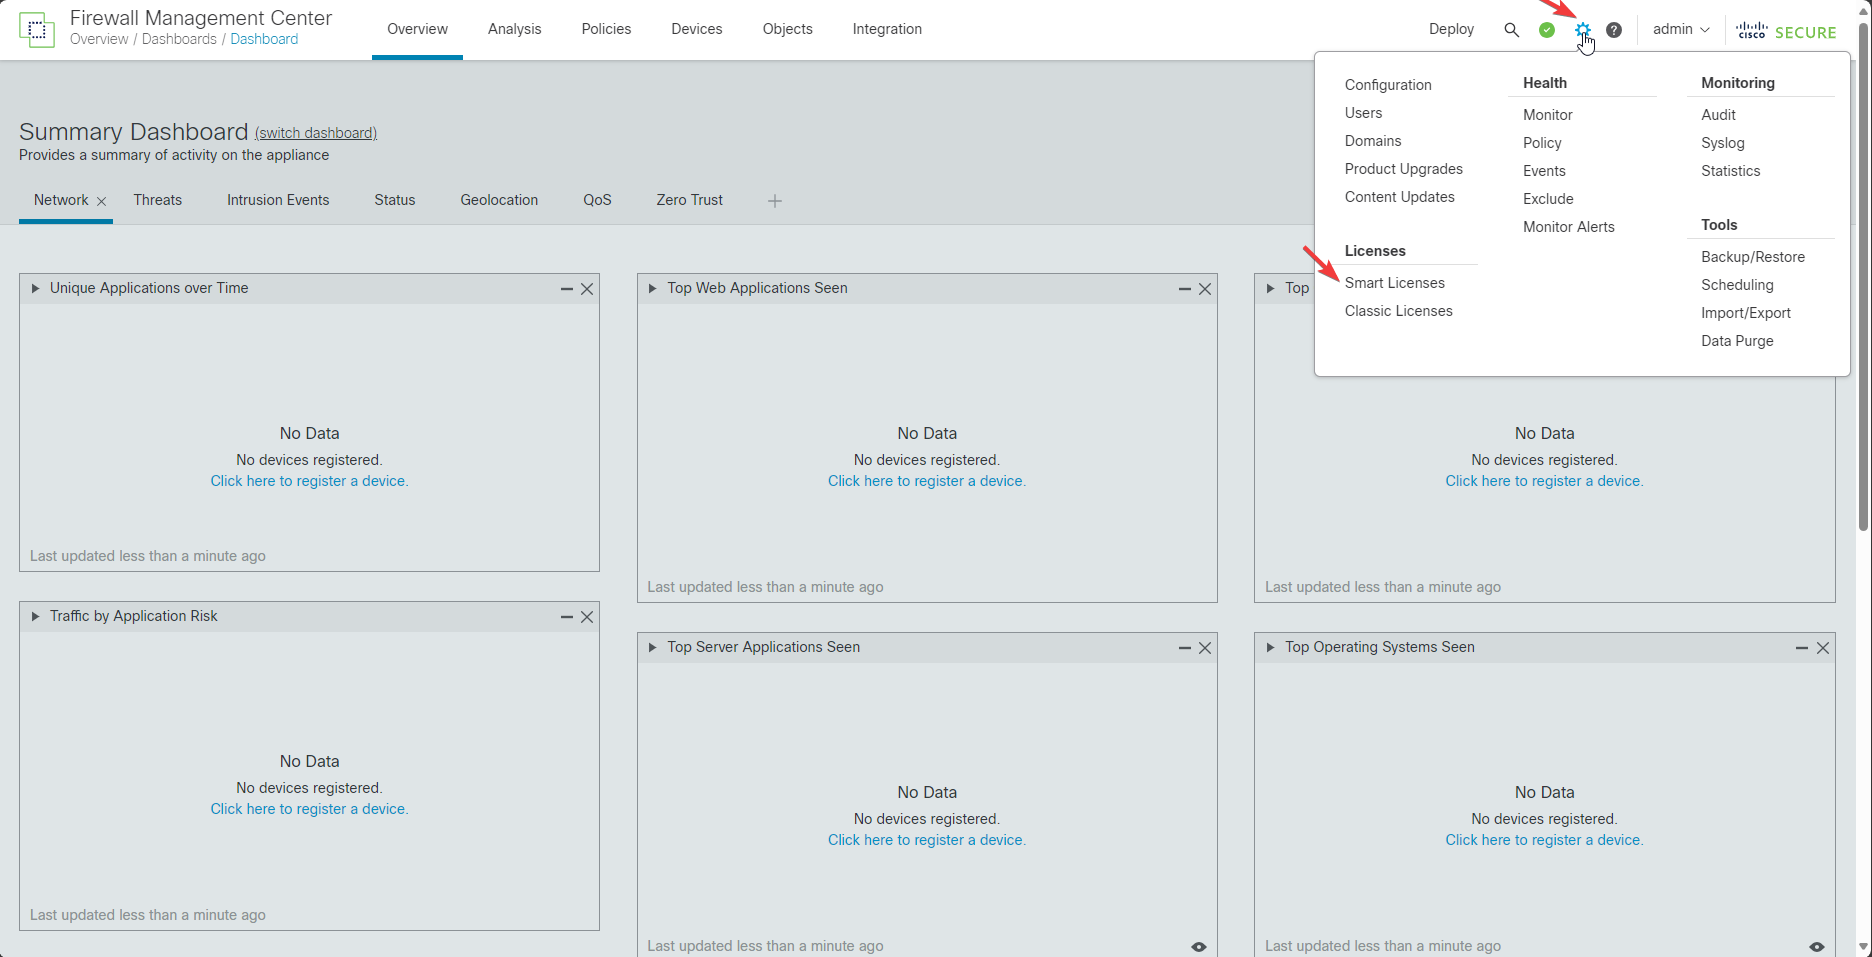
Managing Smart License in FMCv
From the FMC dashboard, navigate to the setting icon and then click on Smart License.
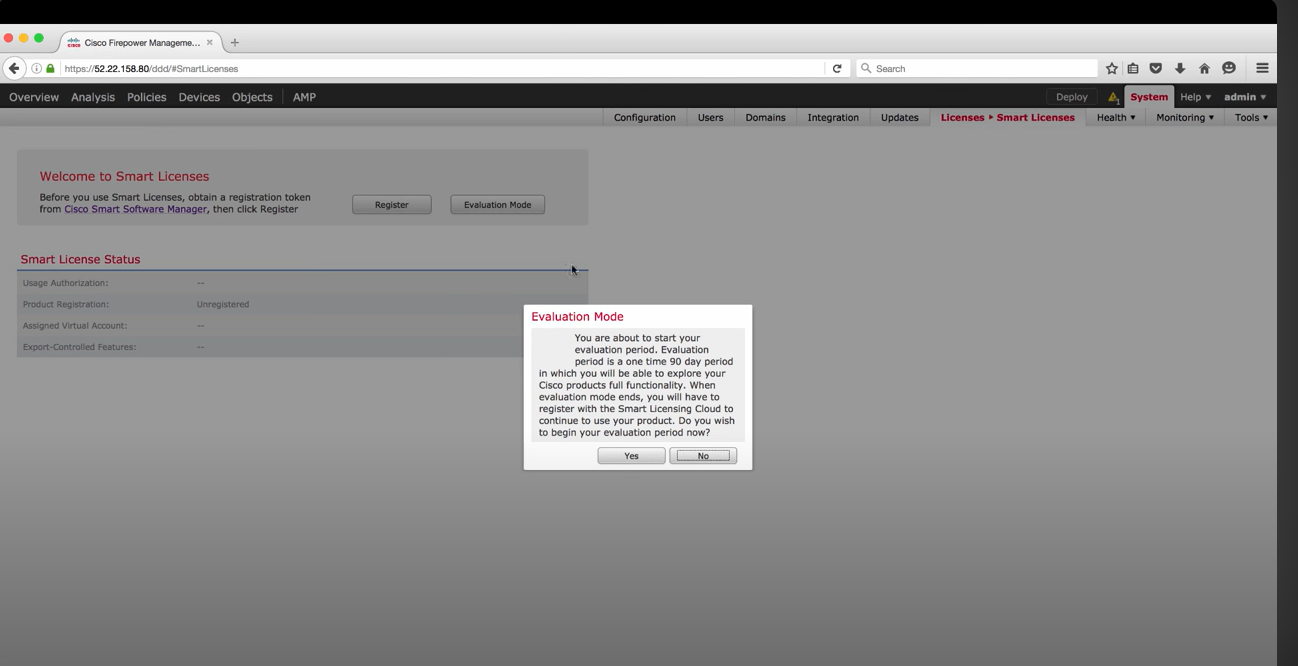
With licensing, you would have two options available in the FMC dashboard: on the first option, you need to obtain a registration token from Cisco Smart Software Manager, or you can go with Evaluation Mode and then register any time later (You have 90 days)
Let’s start with Evaluation Mode; I will also show you a token registration in my future blog.
 Click on Evaluation Mode and enable it.
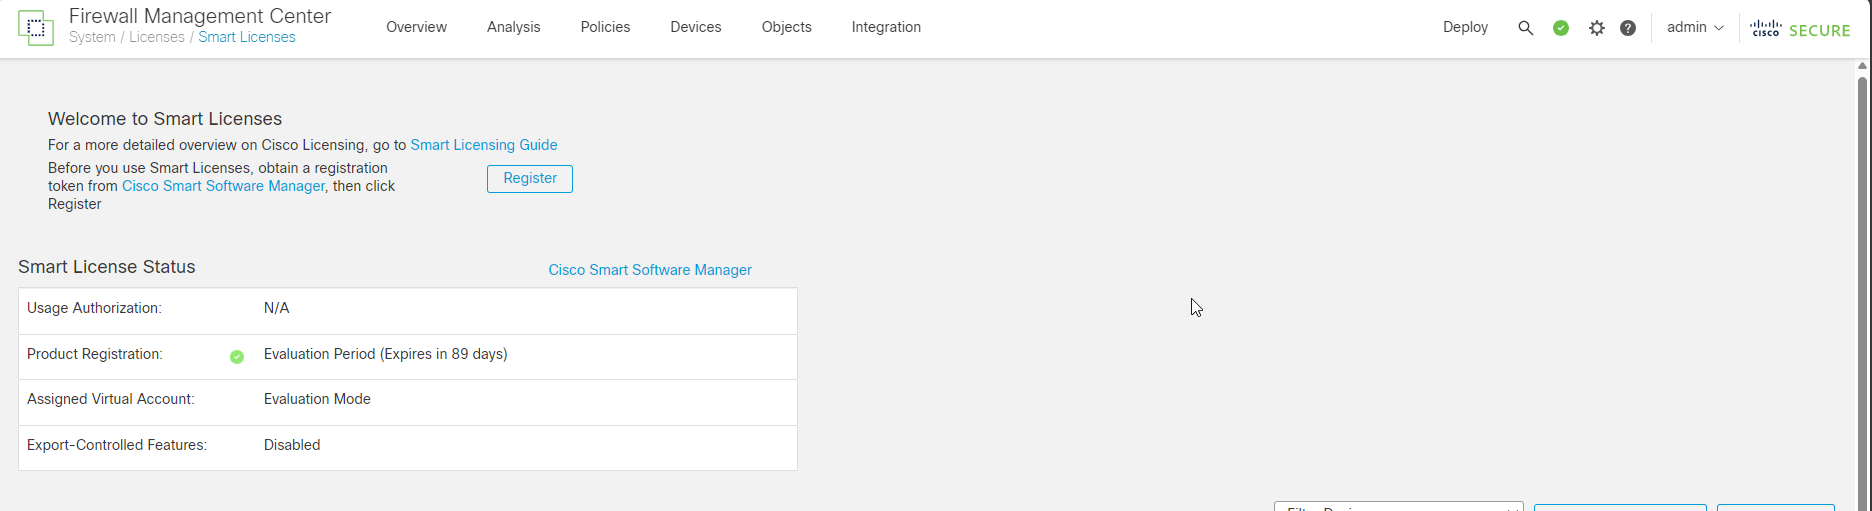
Now, the Evaluation Mode is enabled, and you can explore your firewall capability with OCI; however, for more features like having a robust VPN encryption mode, which I will blog about soon, you need to have a Smart licensing product registration key.
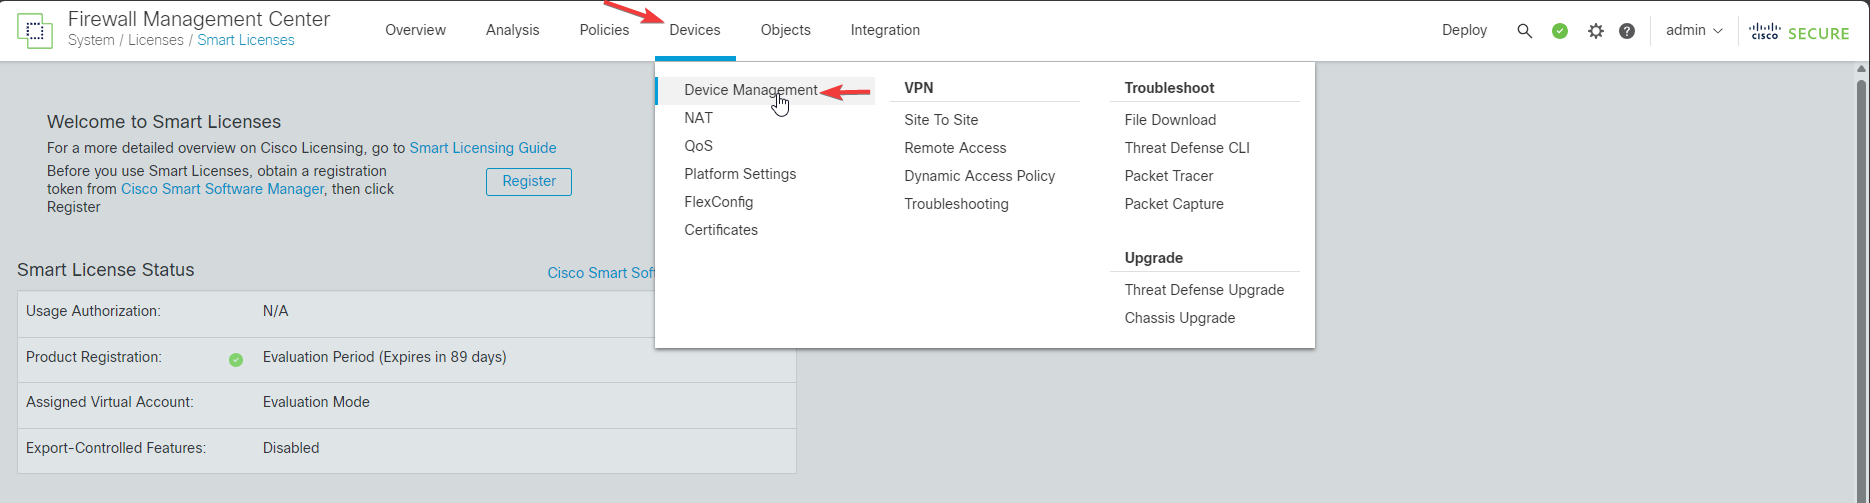
Add FTDv to FMCv
For the next step, click on Devices from the main menu and add FTD to the firewall management center.
 Fill out the required information and check the screenshots below.
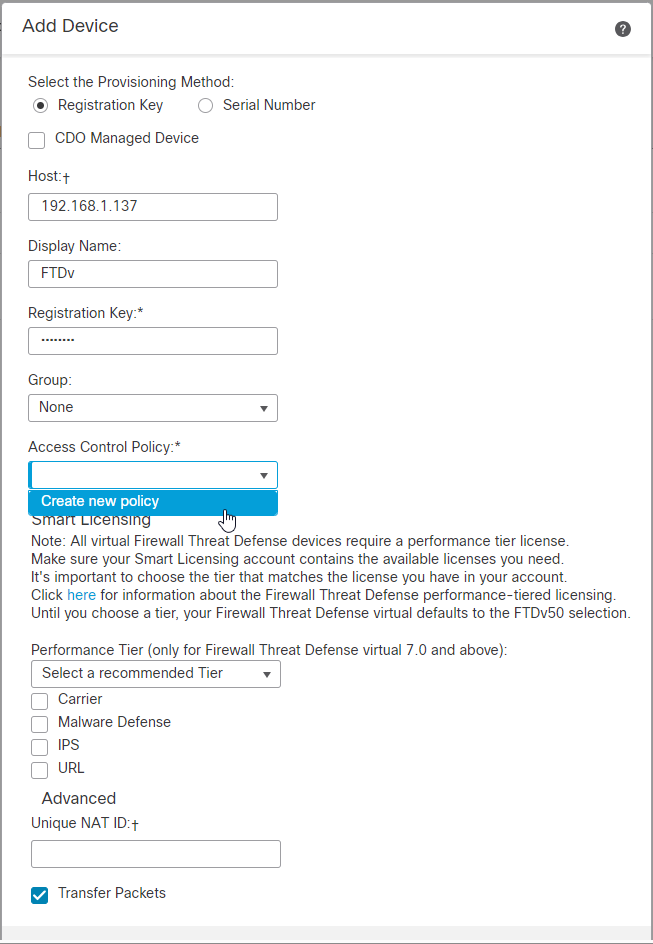
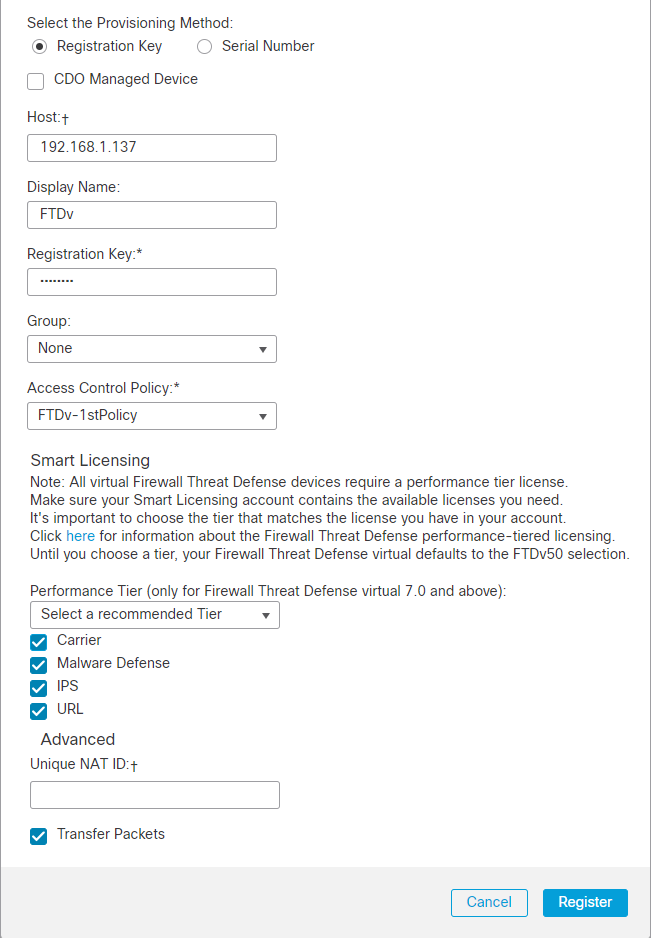
Note: The host is FTDv Primary Vnic private IP address, and the registration key is the same Cisco123 that we used in the configure manager command earlier above.
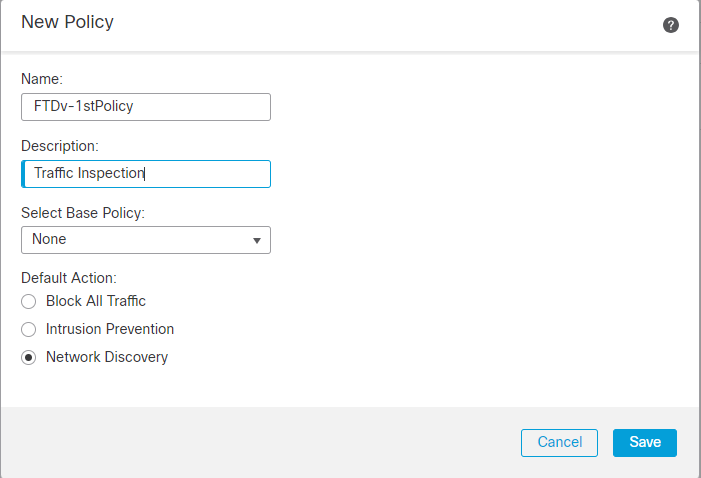
Note: You need to create a policy here; I didn’t block any traffic for blogging. Click on Network Discovery; I will publish a third part of this blog to explain a traffic inspection soon.
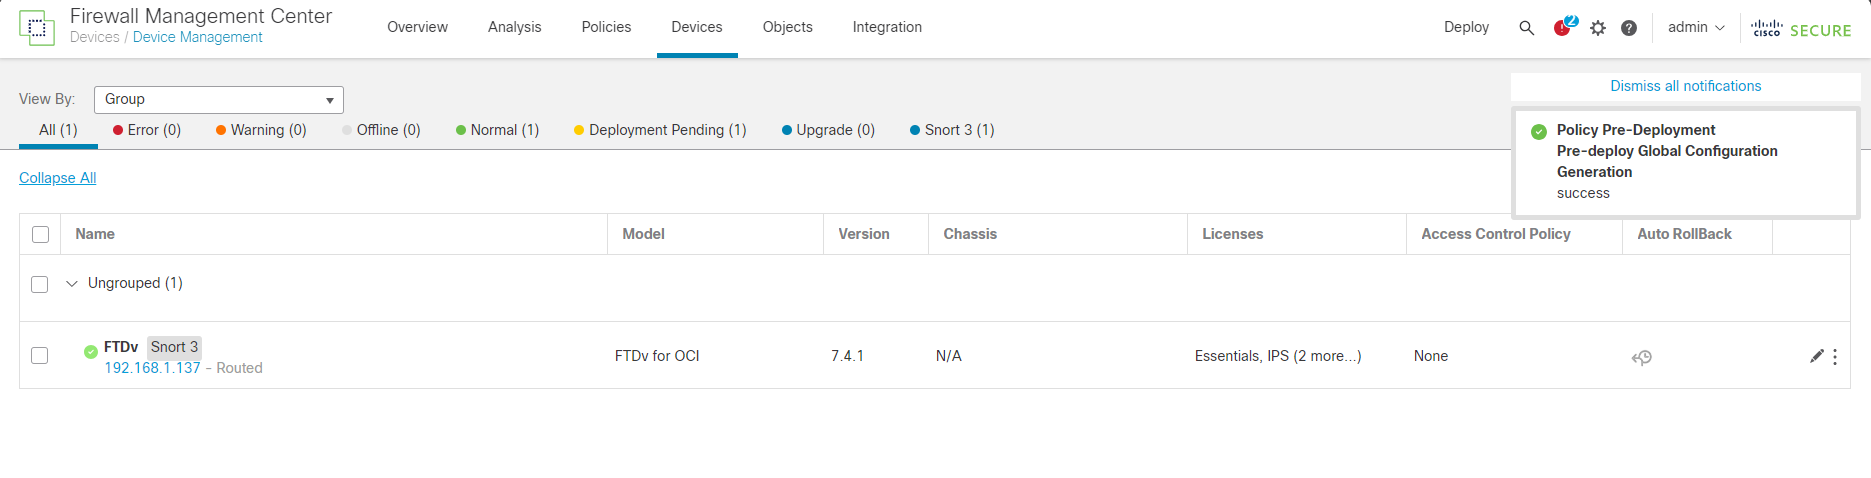
When you click on register, you will get a pop-up message, and the system will notify you that registration has started; this process will check for connectivity between FMC and FTD, and it will take 1 to 2 minutes to register it.
FTDv is registered with FMC virtual in OCI now.
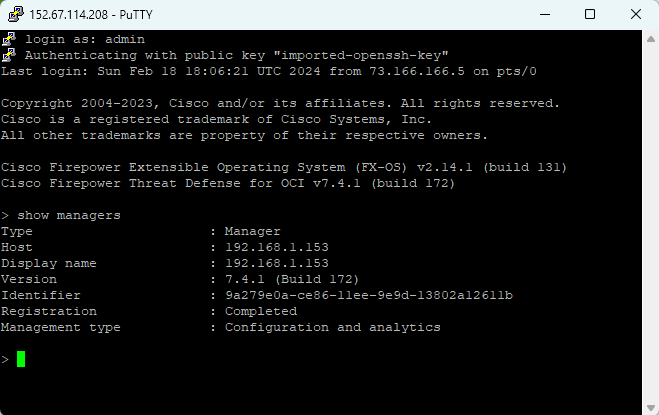
And if you SSH to FTDv and run the command “show managers.”
You will see registration completed, which means you can manage Cisco Thread Defense through FMCv now.
Note: The host 192.168.1.153 is FMCv Primary VNIC.
I hope you enjoyed it!