Introduction
In today’s increasingly regulated and security-conscious digital landscape, ensuring that your organization’s systems and processes comply with legal, regulatory, and internal policies is no longer optional. An efficient way of managing these complex environments is by leveraging automation in compliance checks. This will ensure that compliance data is updated regularly.
In this blog post, we’ll walk you through the steps to execute the CIS OCI checking compliance script as an automated OCI function.
How to Execute a CIS Compliance Script
Executing the compliance script typically involves the following steps:
- Read and understand the CIS OCI Benchmark available here: https://www.cisecurity.org/benchmark/oracle_cloud
- Identify which CIS Benchmark recommendations are relevant for your organization based on your industry, regulatory requirements, and the types of data you handle.
Then we can follow the directions below to run the compliance checker script via Cloud Shell or the Command line:
https://github.com/oci-landing-zones/oci-cis-landingzone-quickstart/blob/main/compliance-script.md
Now, we have a new approach to executing the compliance script using OCI Functions with the OCI Resource scheduler.
OCI Resource Scheduler is a service that helps you automate recurring tasks. It allows you to create CRON jobs or schedule tasks using simple rules without maintaining dedicated infrastructure.
To run the compliance script as an OCI Function, you must first follow the sections A,B,C in the Functions Quick Start Guide. Before going to section D, perform the steps below:
1. Create your function
2. In a terminal window:
3. Change directory to the compliance-script directory created in the previous step:
4. Add the following to the requirements.txt file:
fdk
requests
oci
pytz
response
xlsxwriter # Optional
numpy # Optional
matplotlib # Optional
5. In the func.yaml change the memory from 256 to 2048:
6. In the func.yaml add the below to the end of the file:
timeout: 300
config:
  output_bucket:
  regions_to_run_in:
  obp:
  raw_data:
7. Download cis_reports.py: https://raw.githubusercontent.com/oci-landing-zones/oci-cis-landingzone-quickstart/main/scripts/cis_reports.py to the compliance-script directory:
8. Replace the code in func.py with the following:
import io
import json
import logging
import oci
from cis_reports import CIS_Report
from cis_reports import create_signer
from fdk import response

def handler(ctx, data: io.BytesIO = None):
#Create the signer
    signer = oci.auth.signers.get_resource_principals_signer()
    config = {'region': signer.region, 'tenancy': signer.tenancy_id}
    try:
        cfg = ctx.Config()
        bucket = cfg["output_bucket"]
        region = cfg["regions_to_run_in"]
        obp_string = cfg["obp"]
        obp = bool(obp_string)
        logging.getLogger().info(obp)
        raw_data_string = cfg["raw_data"]
        raw_data = bool(raw_data_string)
        logging.getLogger().info(raw_data)
    except Exception as ex:
        print('ERROR: Missing configuration key')
        raise

    report = CIS_Report(config= config, signer=signer, proxy=None, output_bucket=bucket, report_directory="/tmp", \
                    report_prefix=None, report_summary_json=None, print_to_screen="False", \
                    regions_to_run_in=region, raw_data=raw_data, obp=obp, \
                    redact_output=False, oci_url=None, debug=False, all_resources=False)
    csv_report_directory = report.generate_reports(int("2"))
    return 0
9. Enter the following single Fn Project command to build the function and its dependencies as a Docker image called compliance-script, push the image to the specified Docker registry, and deploy the function to OCI Functions in the compliance-script application that you created earlier:
fn -v deploy --app compliance-script
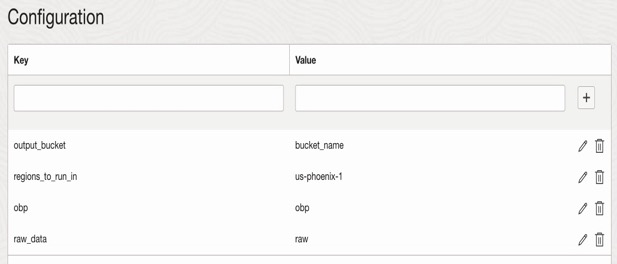
10. In the OCI console go to OCI Functions select the configuration for the function, update the configuration for Input variables to execute the compliance script:
-
output_bucket: Bucket name where the Compliance checking reports will be saved. Provide the available bucket name.
-
regions_to_run_in: Specific to region can be provided here to execute the script. “All” can be provided to execute I all the regions.
-
obp: If Oracle best practices report is needed, provide this variable input as obp.
-
raw_data: If discovery report is needed ,provide this variable input as raw.
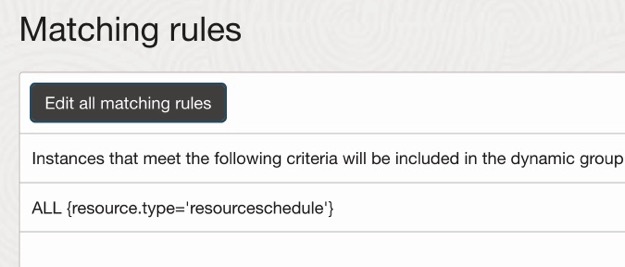
11. Create the Dynamic Group and IAM policy for the OCI Resource Scheduler to manage the function. With the below matching rule:
ALL {resource.type='resourceschedule'}
12. Create an OCI IAM policy for the Resource Schedule Dynamic Group above to execute OCI Functions. An example of the policy is below:
Allow dynamic-group <the name of the above dynamic group> to manage functions-family in tenancy
13. Create another Dynamic Group and IAM policy for the compliance script OCI Function. With the below matching rule:
resource.type = 'fnfunc'
resource.compartment.id = '<compartment ID where you compliance script OCI Function resides>'
14. Create the IAM Policy for the function running the compliance script. Please refer to the policy statements below:
allow dynamic-group <dynamic-group-name> to manage resource-schedule-family in tenancy
allow dynamic-group <dynamic-group-name> to inspect all-resources in tenancy
allow dynamic-group <dynamic-group-name> to read instances in tenancy
allow dynamic-group <dynamic-group-name> to read load-balancers in tenancy
allow dynamic-group <dynamic-group-name> to read buckets in tenancy
allow dynamic-group <dynamic-group-name> to read nat-gateways in tenancy
allow dynamic-group <dynamic-group-name> to read public-ips in tenancy
allow dynamic-group <dynamic-group-name> to read file-family in tenancy
allow dynamic-group <dynamic-group-name> to read instance-configurations in tenancy
allow dynamic-group <dynamic-group-name> to read network-security-groups in tenancy
allow dynamic-group <dynamic-group-name> to read resource-availability in tenancy
allow dynamic-group <dynamic-group-name> to read audit-events in tenancy
allow dynamic-group <dynamic-group-name> to read users in tenancy
allow dynamic-group <dynamic-group-name> to read vss-family in tenancy
allow dynamic-group <dynamic-group-name> to read usage-budgets in tenancy
allow dynamic-group <dynamic-group-name> to read usage-reports in tenancy
allow dynamic-group <dynamic-group-name> to read data-safe-family in tenancy
allow dynamic-group <dynamic-group-name> to read vaults in tenancy
allow dynamic-group <dynamic-group-name> to read keys in tenancy
allow dynamic-group <dynamic-group-name> to read tag-namespaces in tenancy
allow dynamic-group <dynamic-group-name> to use ons-family in tenancy where any {request.operation!=/Create*/, request.operation!=/Update*/, request.operation!=/Delete*/, request.operation!=/Change*/}
allow dynamic-group <dynamic-group-name> to read buckets in compartment <target_compartment_name_your_output_bucket_is_in> where target.bucket.name='name_fo_your_output_bucket_is_in'
allow dynamic-group <dynamic-group-name> to manage objects in compartment <target_compartment_name_your_output_bucket_is_in> where target.bucket.name='name_fo_your_output_bucket_is_in'
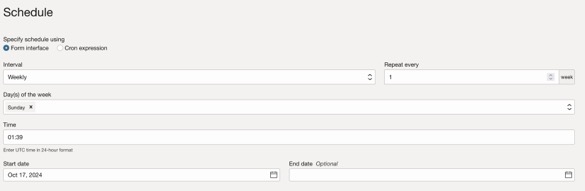
15. Create the OCI Resource Scheduler schedule:
- In the OCI console go Resource Scheduer
- Click Create a schedule
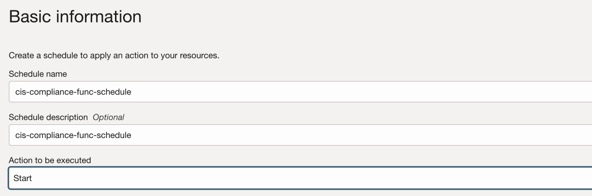
- Fill in the Basic information
- Schdule name
- Schedule description
- Action to be executed select: Start
- Click Next
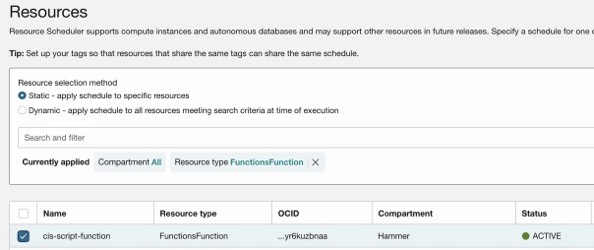
- Resource selection methd select: Static
- Select the function created above
- Click Next and then enter your prefered scheduling
- Click Next
- Click Create schedule
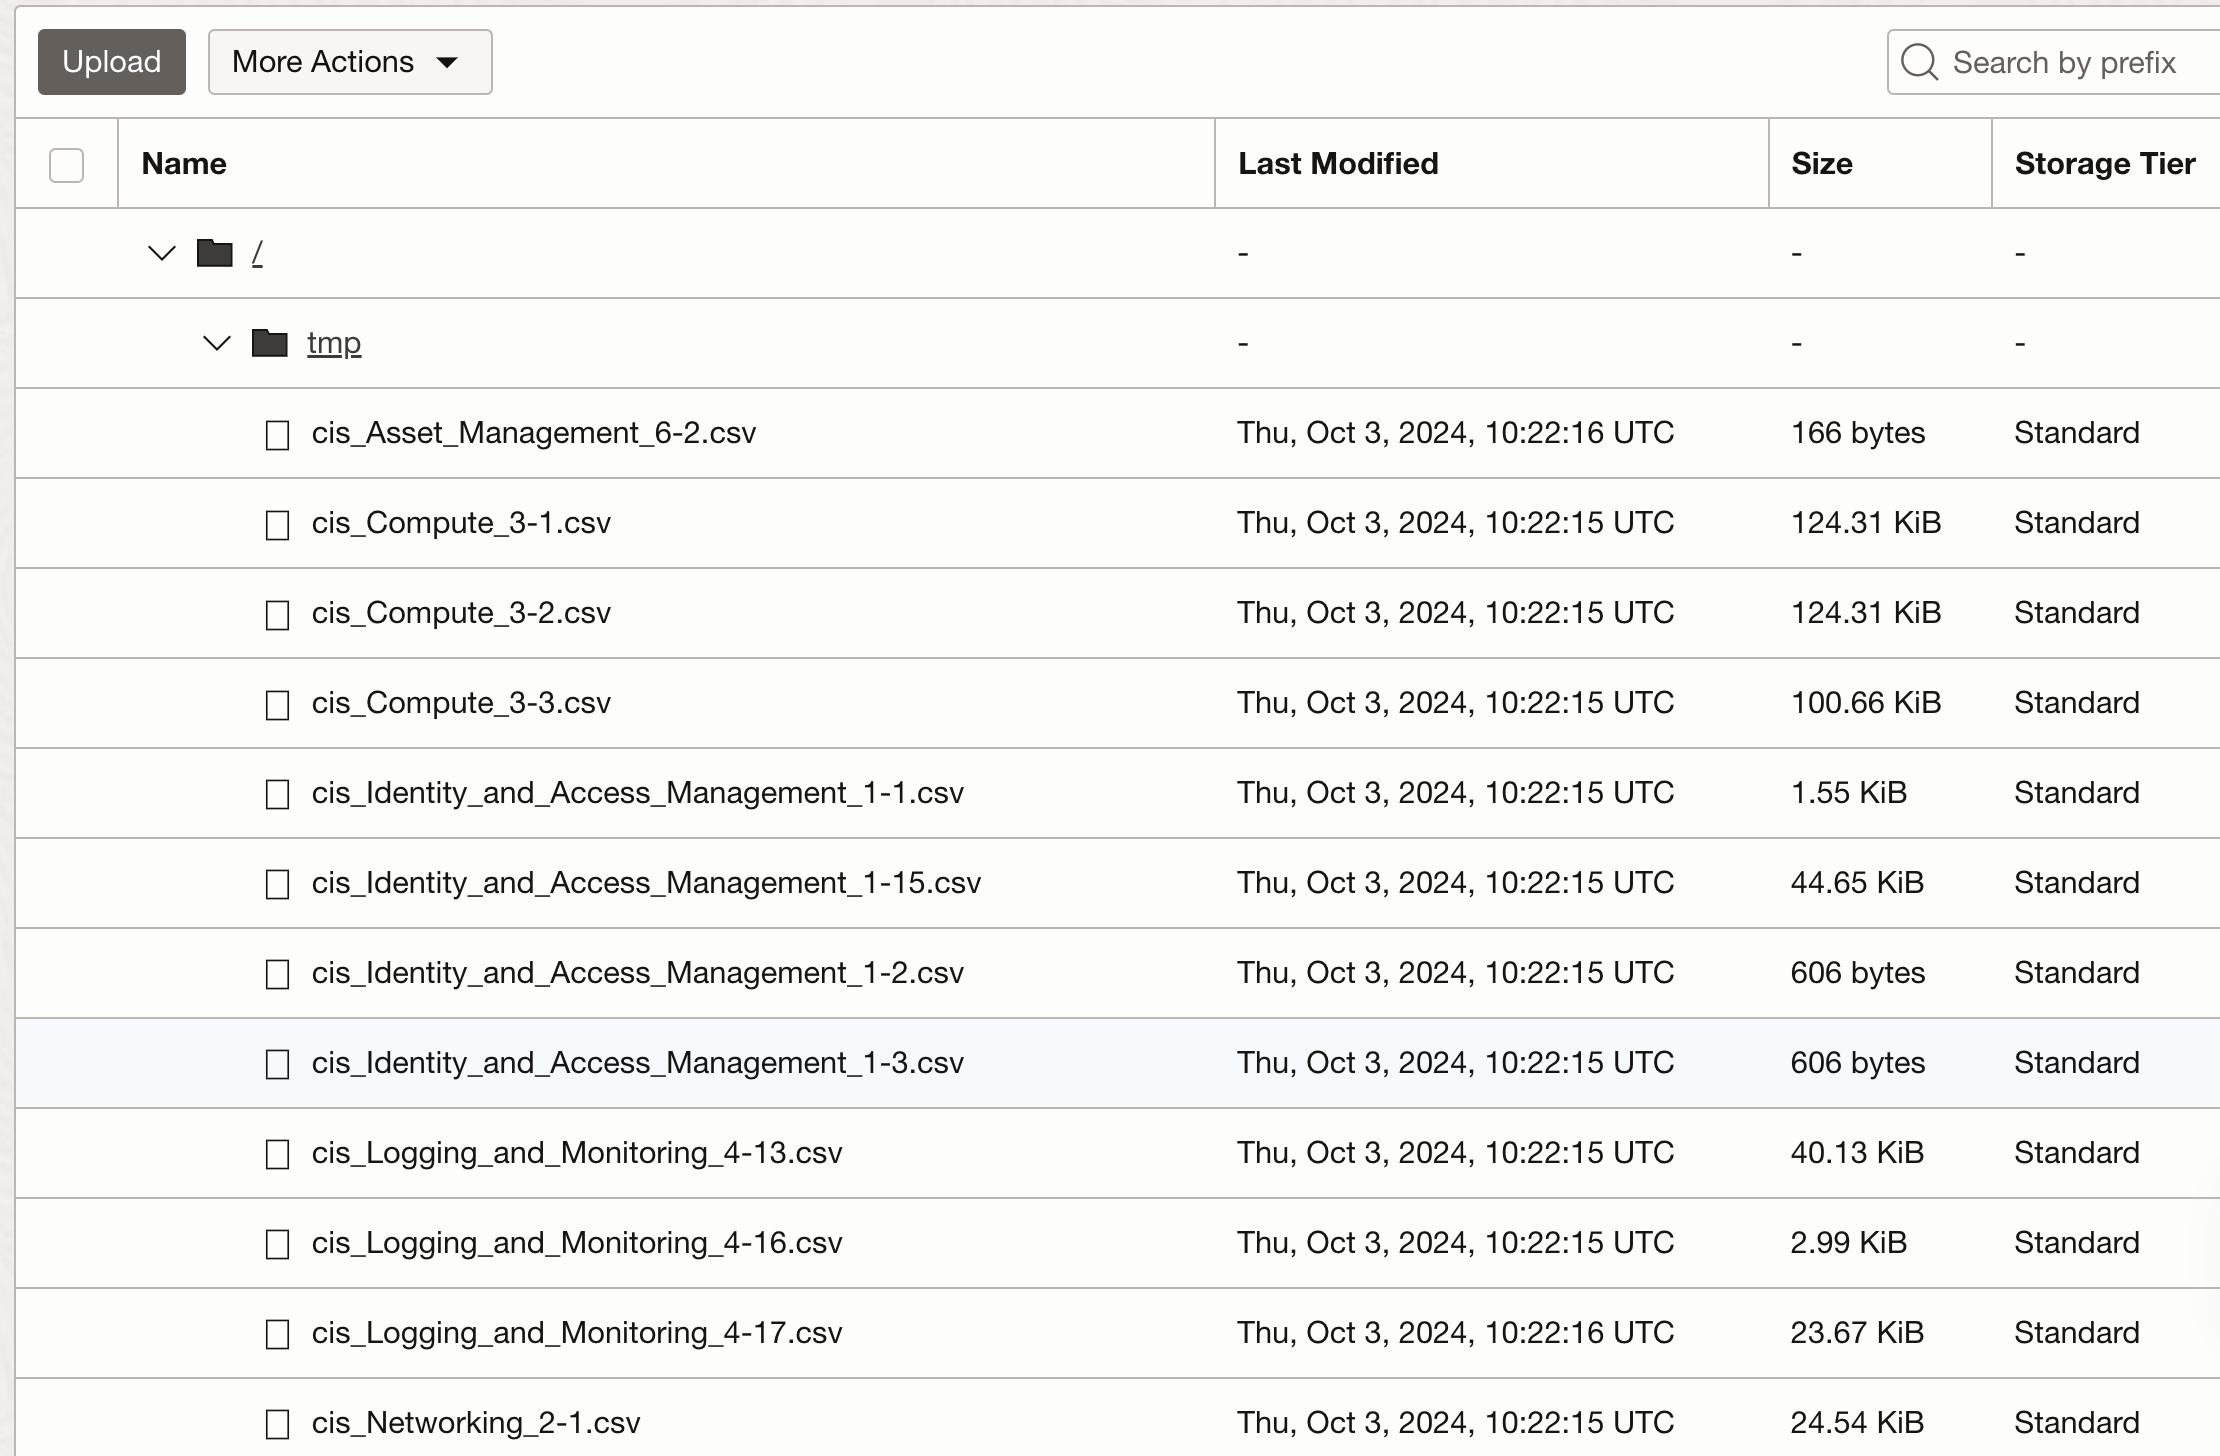
Once the OCI Function executes, the output will be saved in the specified Object storage bucket, which is supplied as an OCI Function configuration input variable. The data will be under /tmp in the bucket as per the image below:
Conclusion
This blog demonstrated how to combine OCI Functions, OCI Resource Scheduler, and CIS Compliance checking script to automate checking your OCI tenancy’s compliance with the CIS OCI Benchmark. The next step is to deploy this in your OCI Tenancy.