Oracle recently introduced private DNS services as a new feature for Oracle Cloud Infrastructure (OCI). Private DNS lets you access DNS data from resources inside a virtual cloud network (VCN).
A private DNS zone provides services similar to those provided by a public DNS zone, but it provides them only to requests that come from clients hosted in the VCN. With OCI DNS Management, you can provision a split-horizon DNS configuration, which lets you use the same domain name for public and private use.
In this post, I show you how to configure a split-horizon DNS zone. You can use any published DNS zone in OCI or elsewhere. In a previous blog post, I explained how to configure an internet DNS zone. Here, I use the internet DNS zone from that post, which is castro.cloud, and add the private DNS portion to complete the split-horizon configuration.
Internet DNS zone
The public IP address for the A record in castro.cloud is now 168.138.70.237. Everything else remains as configured in the previous post.
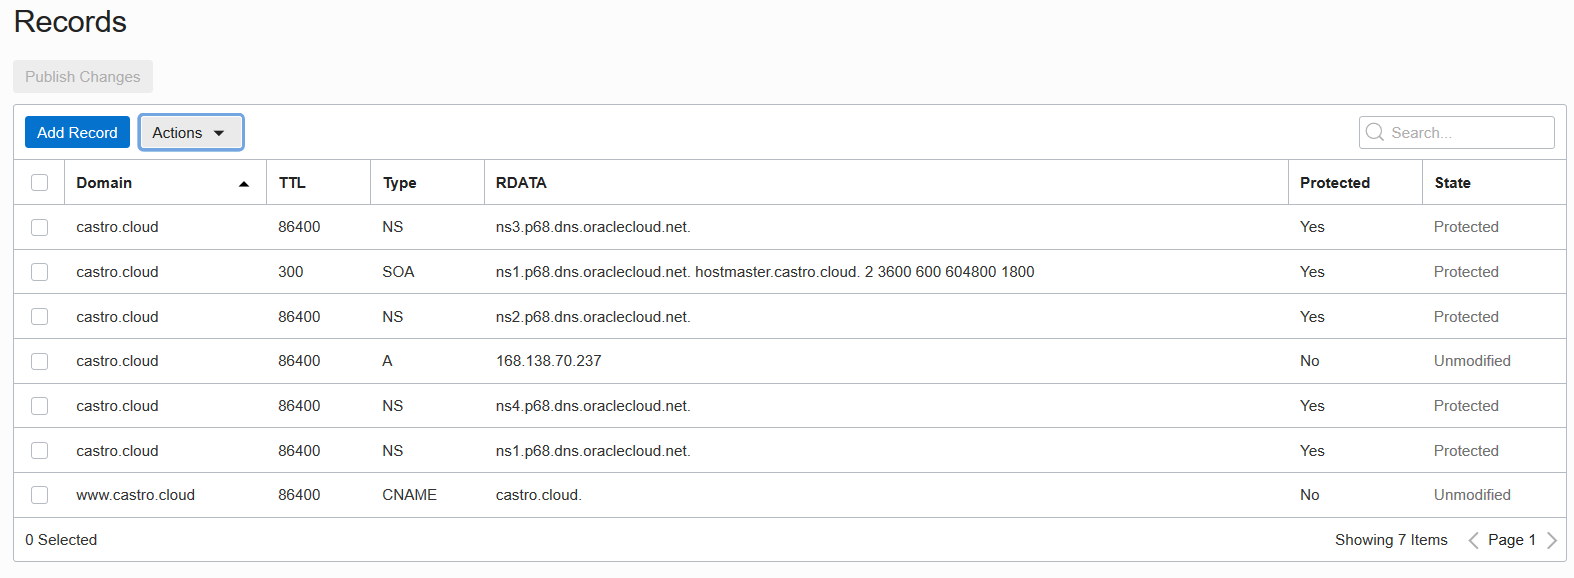
The castro.cloud and www.castro.cloud domains have been published, and are accessible through the open internet (until February 28, 2021).
Private DNS zone policy permissions
To create a private DNS zone, you need to be in a group that has the following special policy permission:
Allow group to manage dns in tenancy where target.dns.scope = ‘private’
Accessing DNS zones in the OCI Console
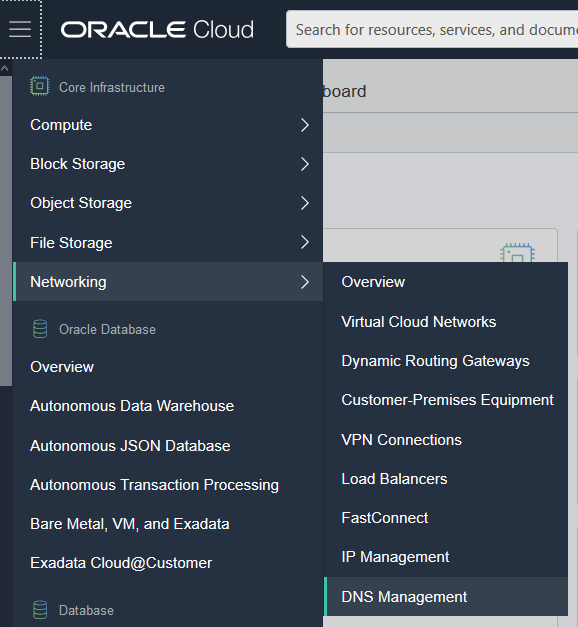
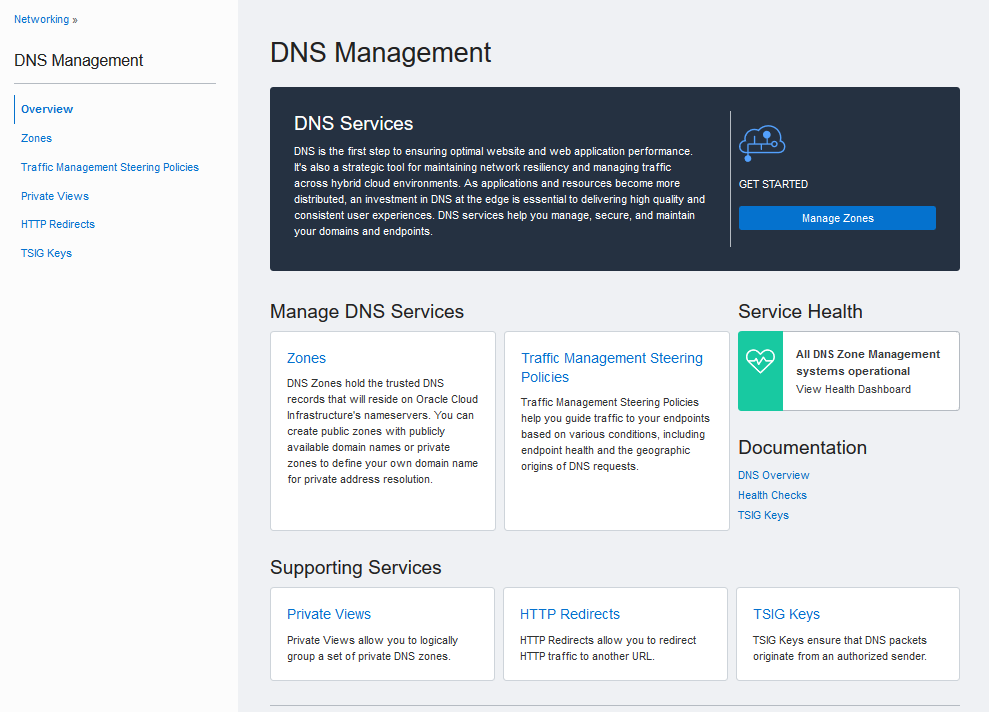
You can access internet and private DNS zones in the OCI Console by navigating to Networking and then DNS Management in the main menu.
In the DNS Management menu, click Zones to see internet DNS zones, and click Private Views to see private DNS zones.
You can also see private DNS zones from the details for a VCN.
Create a private DNS zone
Follow these steps to create the private DNS zone.
Step 1: Get the private IP address of the server
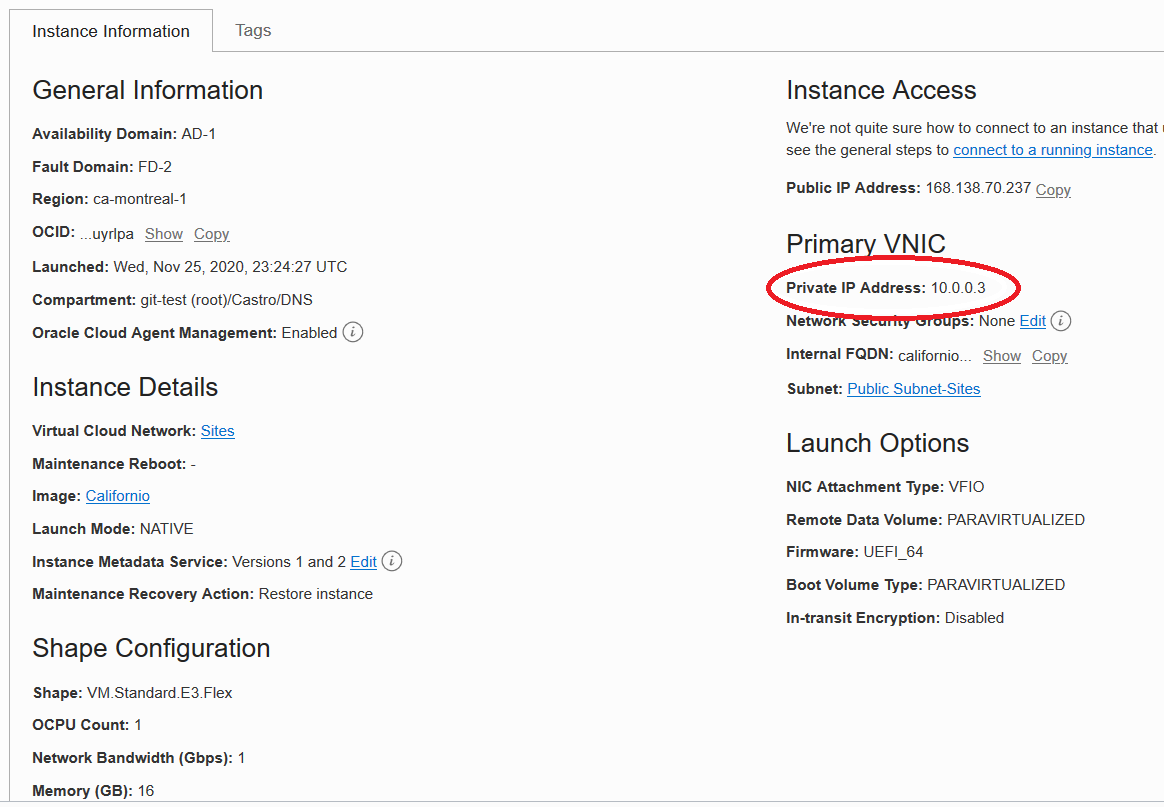
Before you create the private DNS zone, you need to get the private IP address of the webserver that hosts the internet DNS zone, in this example castro.cloud. The following image shows that the IP address of the server is 10.0.0.3 and that the server is in the public subnet.
Step 2: Resolve the DNS for the VCN
In this example, the VCN that hosts the castro.cloud webserver is named Sites. To see the details of this VCN, click the Sites link under Instance Details.
This VCN was created with the VCN wizard. The IP address CIDR prefixes for the VCN and its subnets are the standard ones that the VCN wizard assigns:
- 10.0.0.0/16 for the VCN
- 10.0.0.0/24 for the public subnet
- 10.0.1.0/24 for the private subnet
This information is shown in the following image.
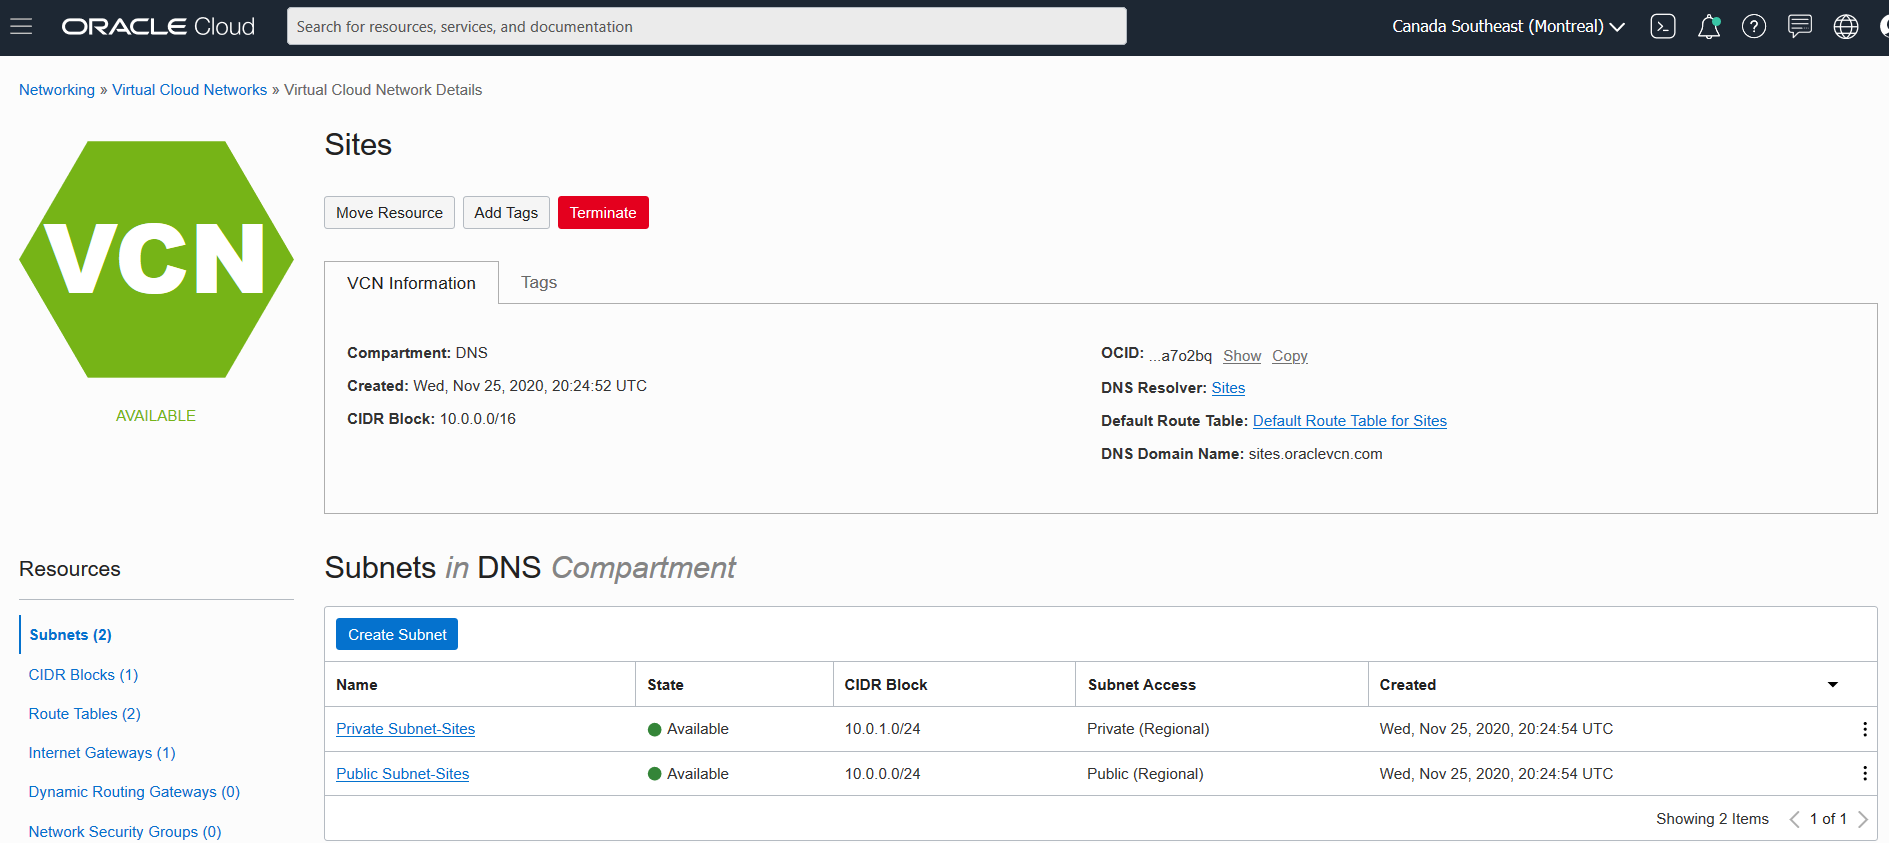
To configure the private DNS, click the Sites link next to DNS Resolver.
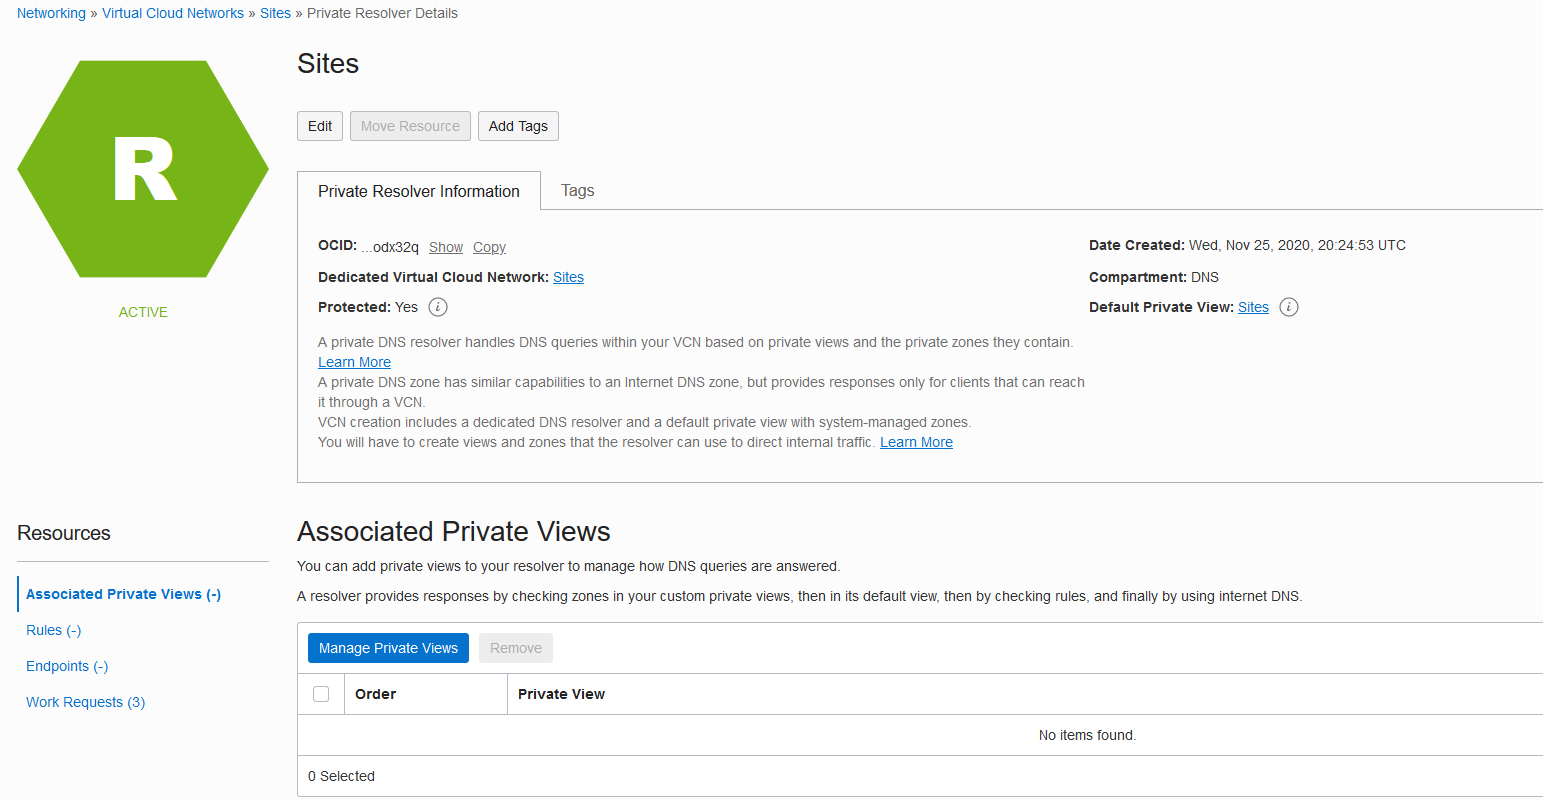
Notice the message on the Private Resolver Information tab:
“A private DNS resolver handles DNS queries within your VCN based on private views and the private zones they contain. A private DNS zone has similar capabilities to an Internet DNS zone, but provides responses only for clients that can reach it through a VCN.”
The private DNS resolver provides a view for several private DNS zones.
Step 3: Create the private zone
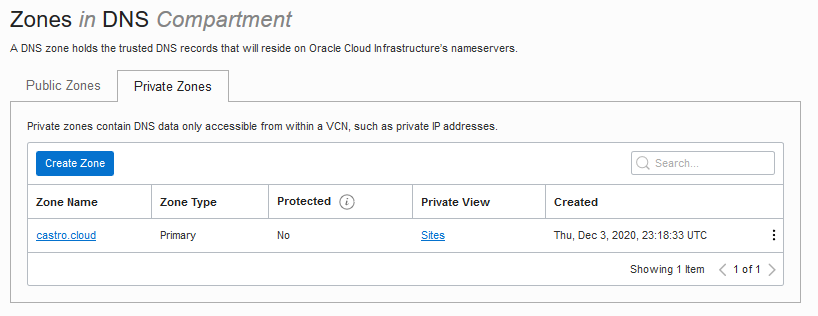
To create the private DNS zone for castro.cloud, click the link next to Default Private View, which is Sites in this example.
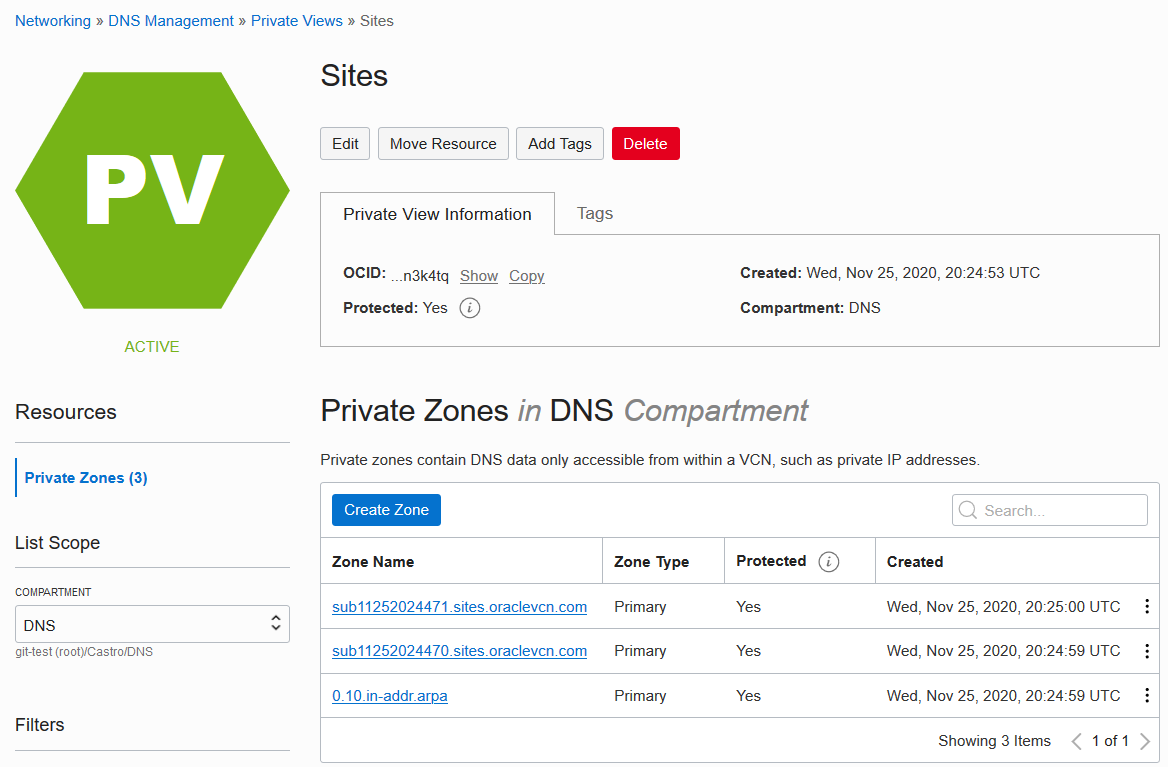
The zones that already exist are provisioned by default when the VCN is created. Notice that two of the zone names are the DNS domain names of the subnets. If you expand them, you see NS, SOA, and PTR records.
Click Create Zone.

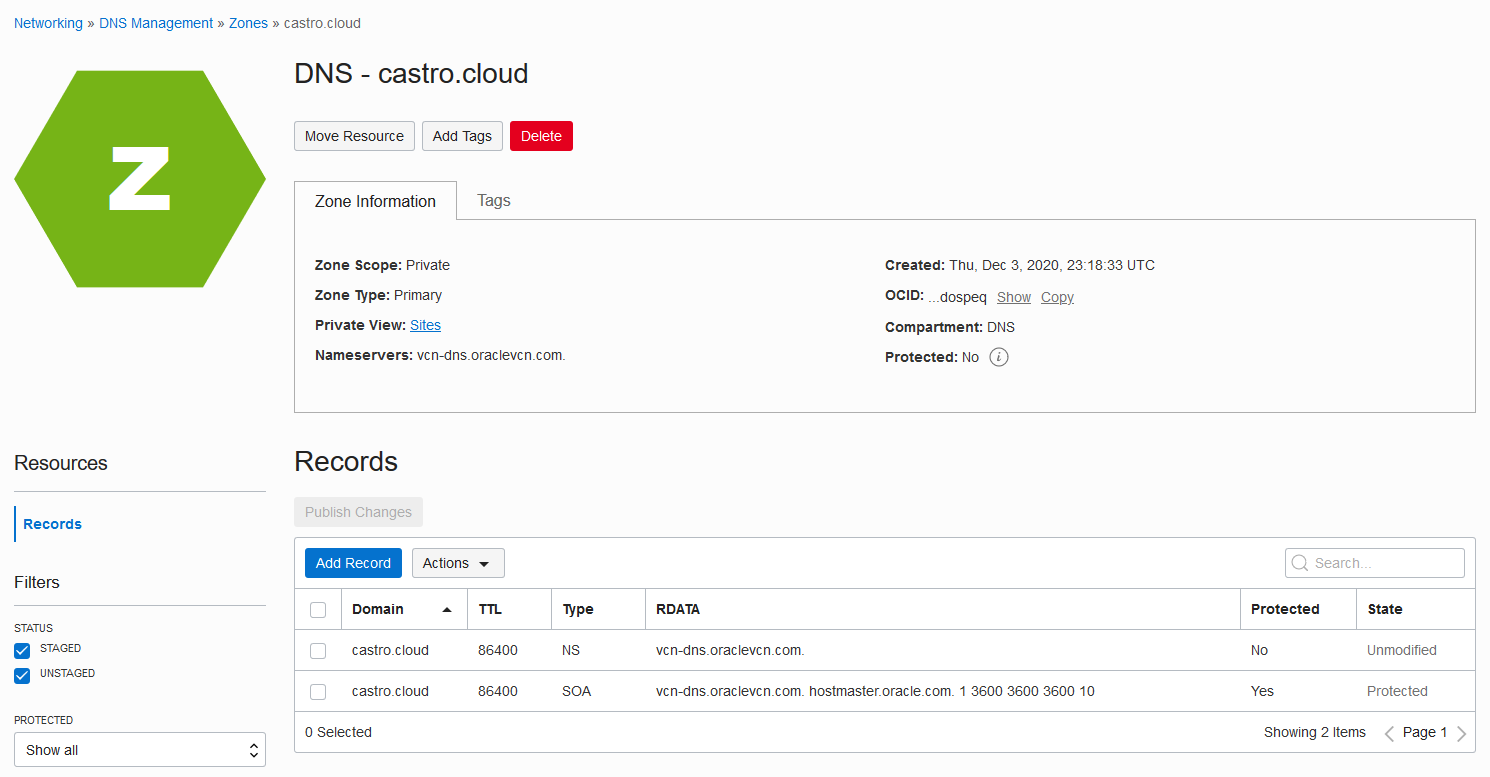
For Zone Name, enter the private DNS zone that matches the internet DNS zone, in this case castro.cloud. Then, click Create.
The new private DNS zone is created.
Step 4: Add the A record
Next, click Add Record and create an A record that maps castro.cloud to the webserver’s private IP address, which is 10.0.0.3.
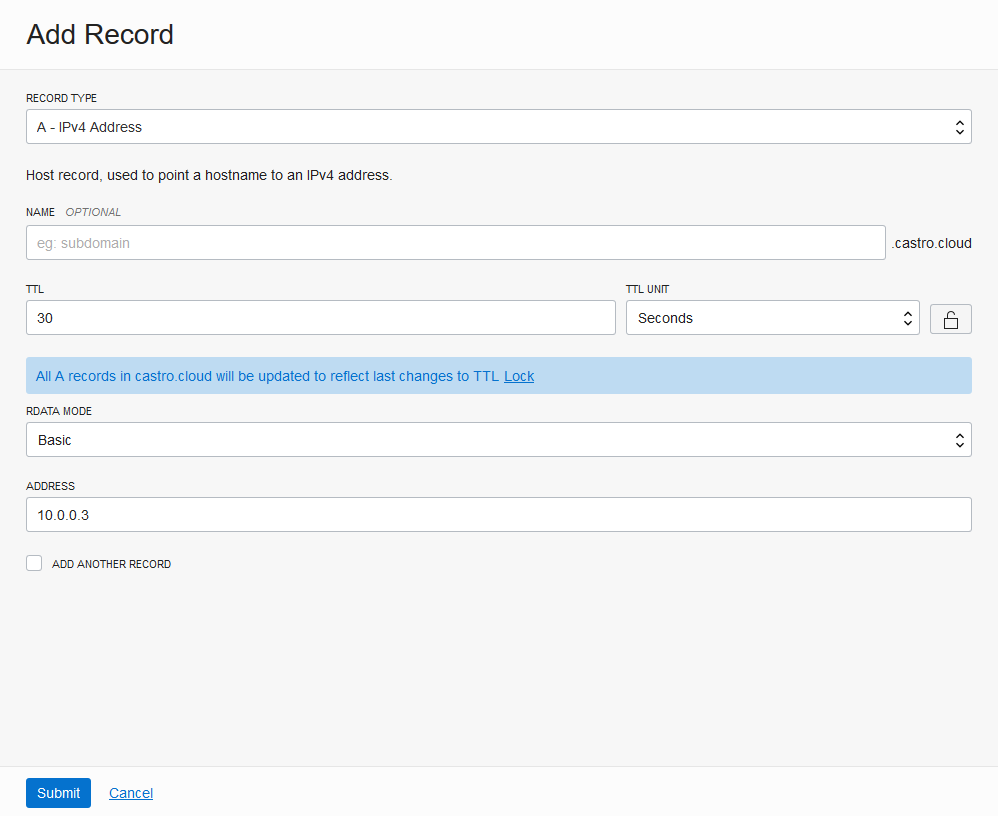
Click Submit.
The zone details page lists the A record.
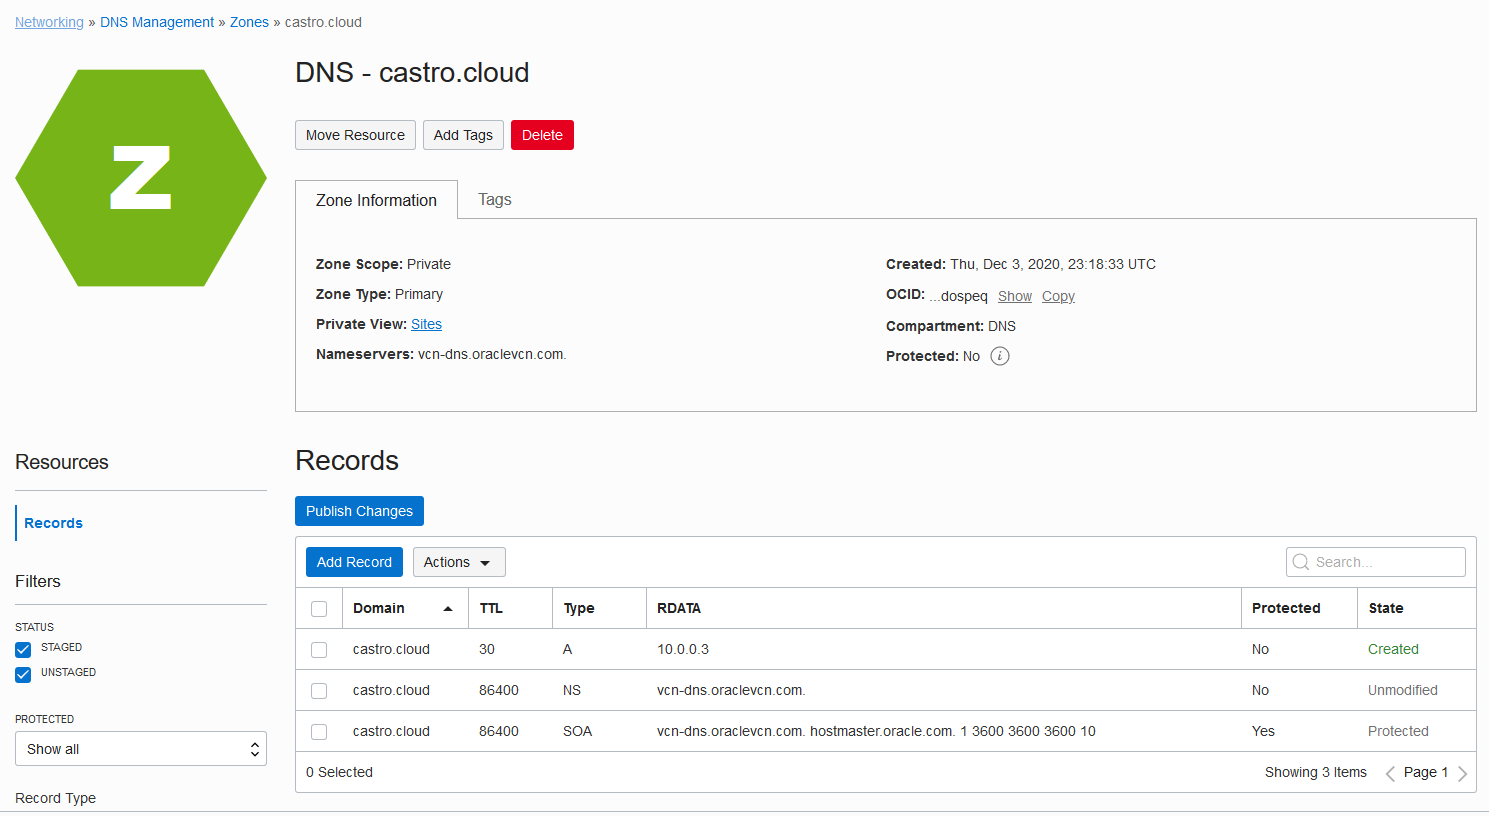
Step 5: Publish the zone
The next step is to publish this new private DNS zone. Before you do, you can optionally add another record for placing www in front of the naked domain name. This example skips that step.
Click Publish Changes. You have successfully created a split-horizon configuration on OCI!
Test the split-horizon configuration
To test the new split-horizon configuration, add a new public subnet to the VCN and a compute instance on it.
Step 1: Add a public subnet
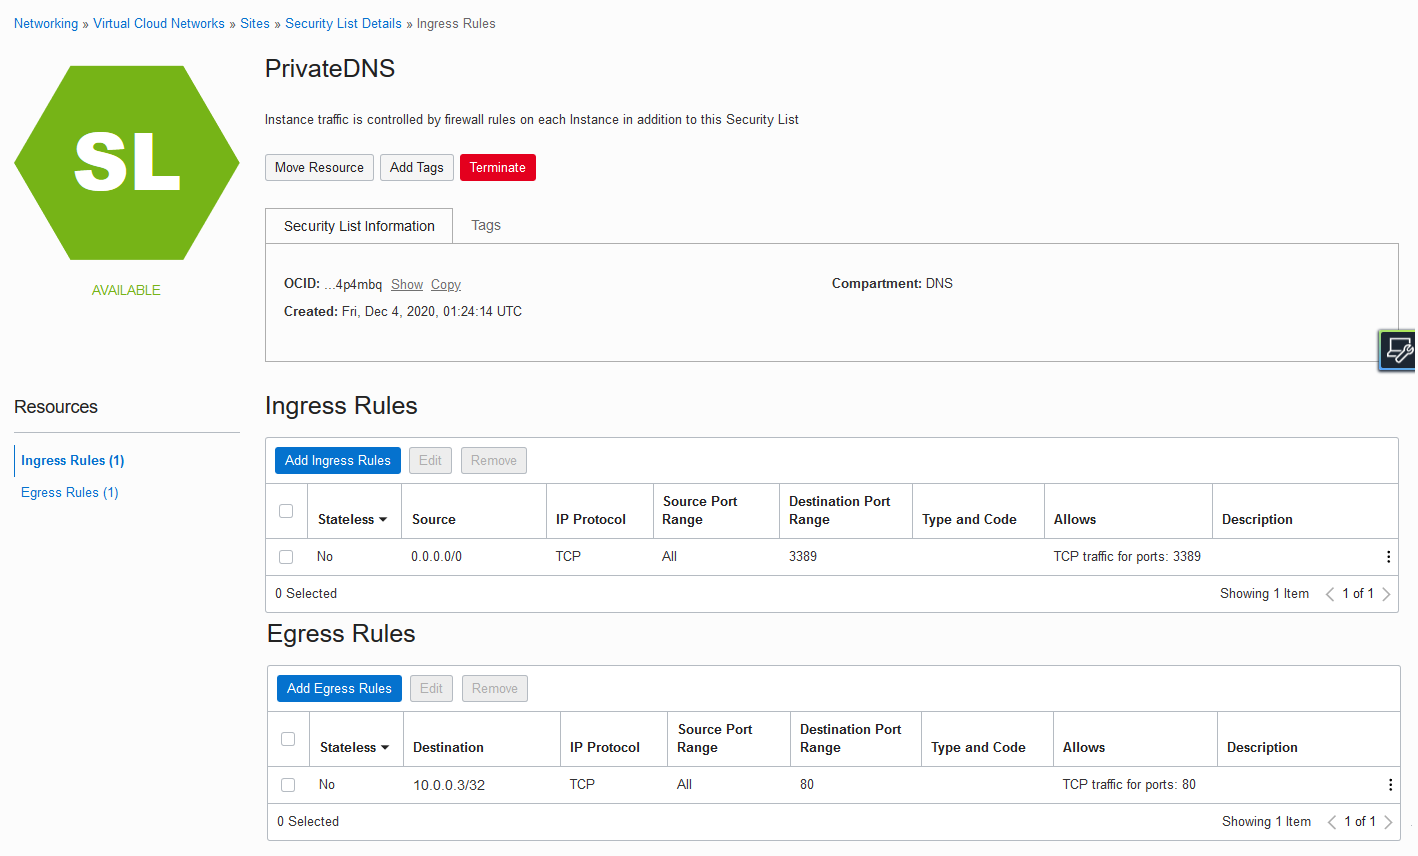
The security list on the current public subnet, where the webserver resides, allows traffic from anywhere to port 80.
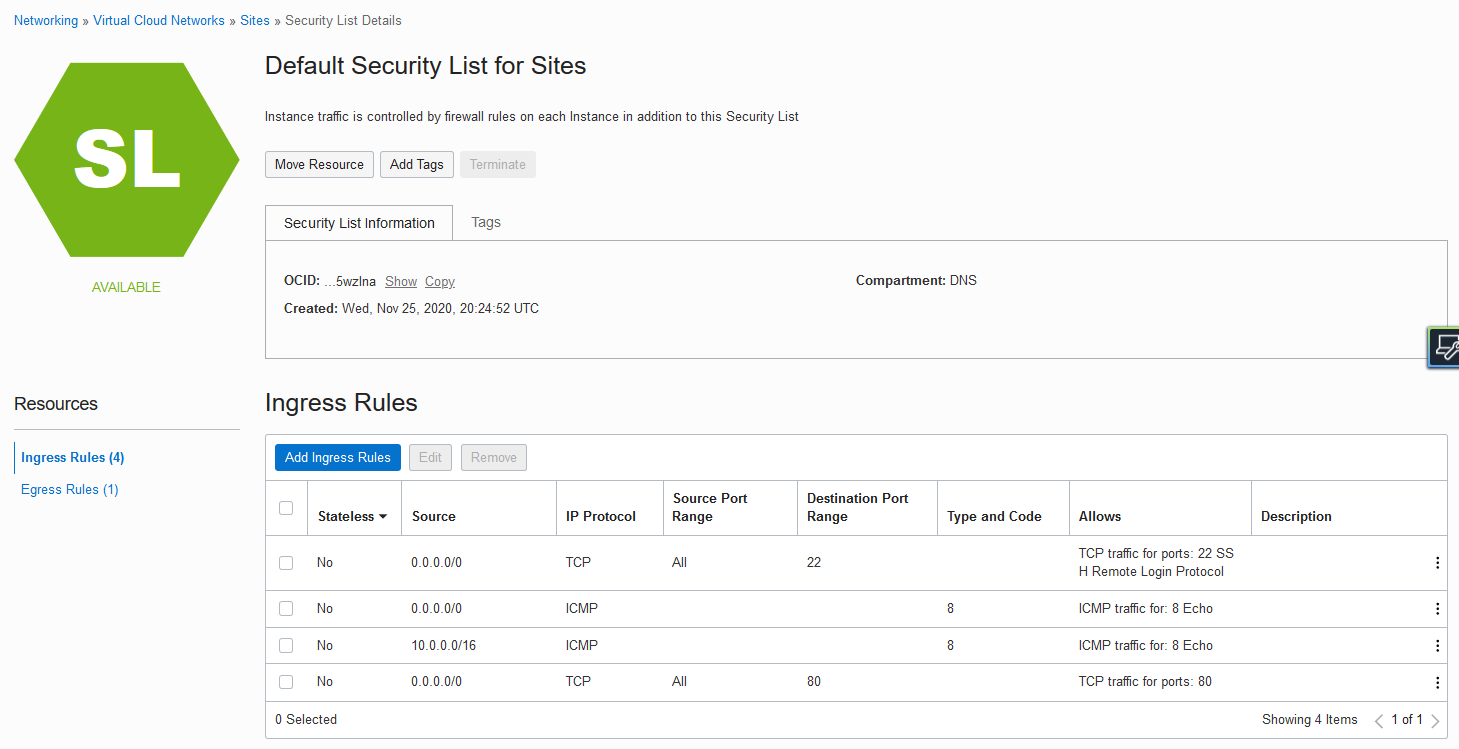
To ensure that you’re reaching the private DNS and not the internet DNS, use strict security list rules on this new subnet. The new security rule allows egress traffic only to 10.0.0.3 on port 80.
Create the security list. In this example, it’s named PrivateDNS.
- The ingress rule is a stateful rule that allows traffic from the internet on port 3389 for Remote Desktop Connection.
- The egress rule is a stateful rule that allows traffic to the VCN CIDR prefix 10.0.0.3/32 on destination port 80.
Next, assign this security list to the new subnet, which in this example is also named PrivateDNS. The subnet prefix is 10.0.100.0/24.

The default route table provides access to the internet gateway, which is used by this subnet for Remote Desktop Protocol (RDP).
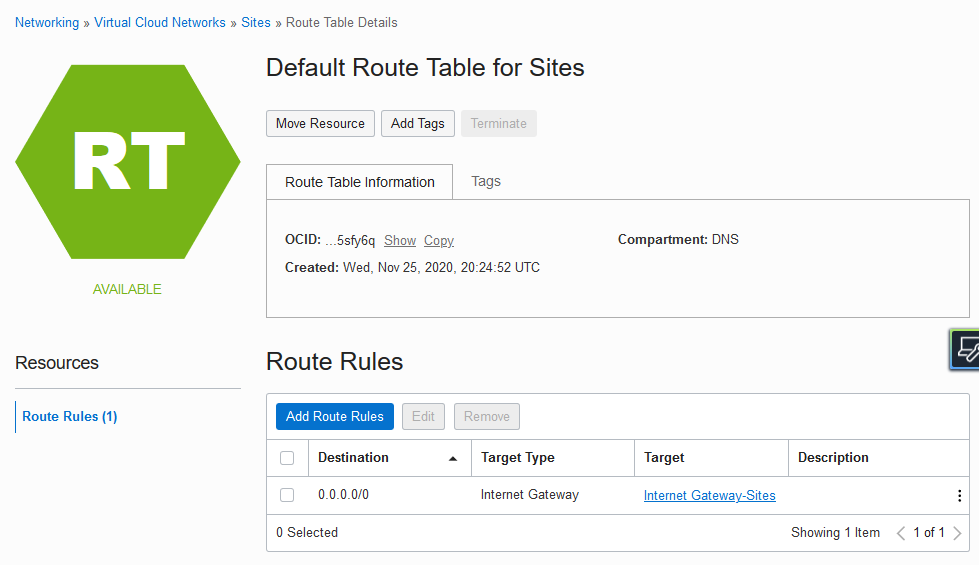
No route table is required for reaching the webserver because routing within VCNs is automatically enabled in OCI.
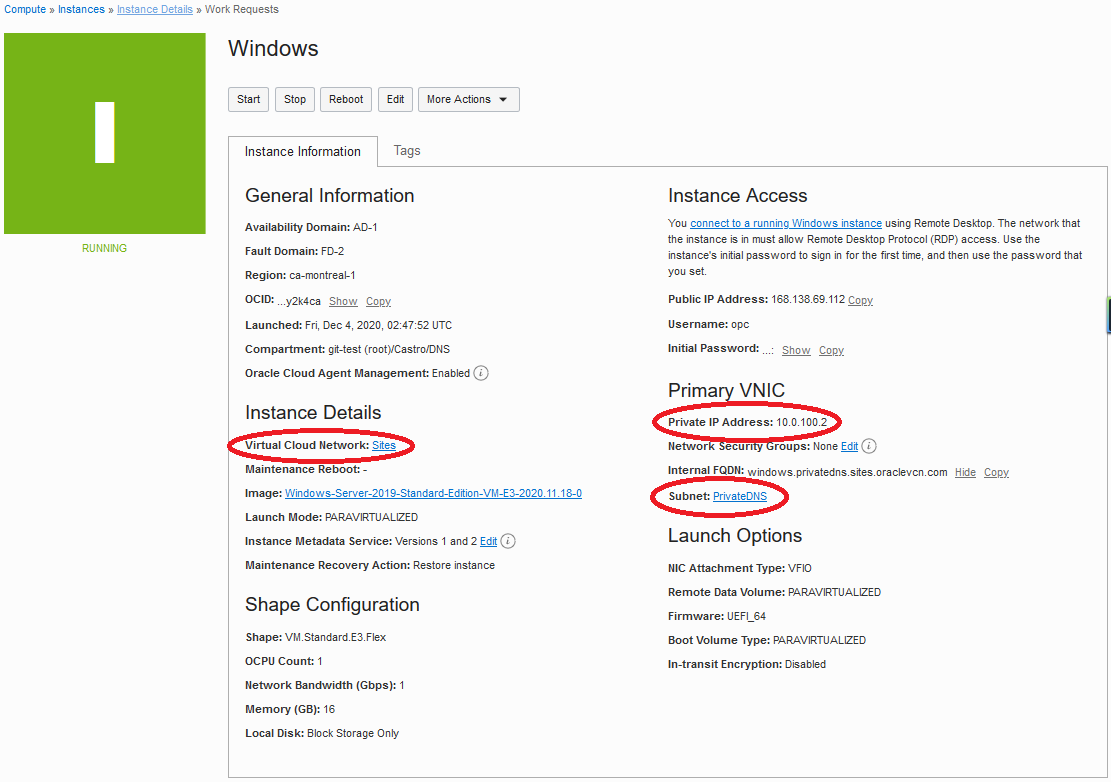
Step 2: Create a Windows instance
Create a Windows instance in the subnet that you created. The following image shows the details of the instance created for this example. It was created in the PrivateDNS subnet of the Sites VCN, and its private IP address is 10.0.100.2.
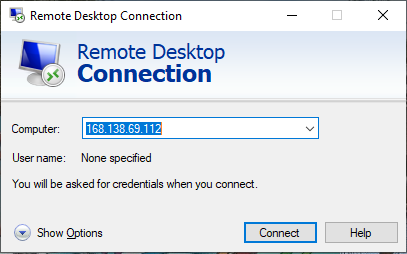
Step 3: Test the configuration
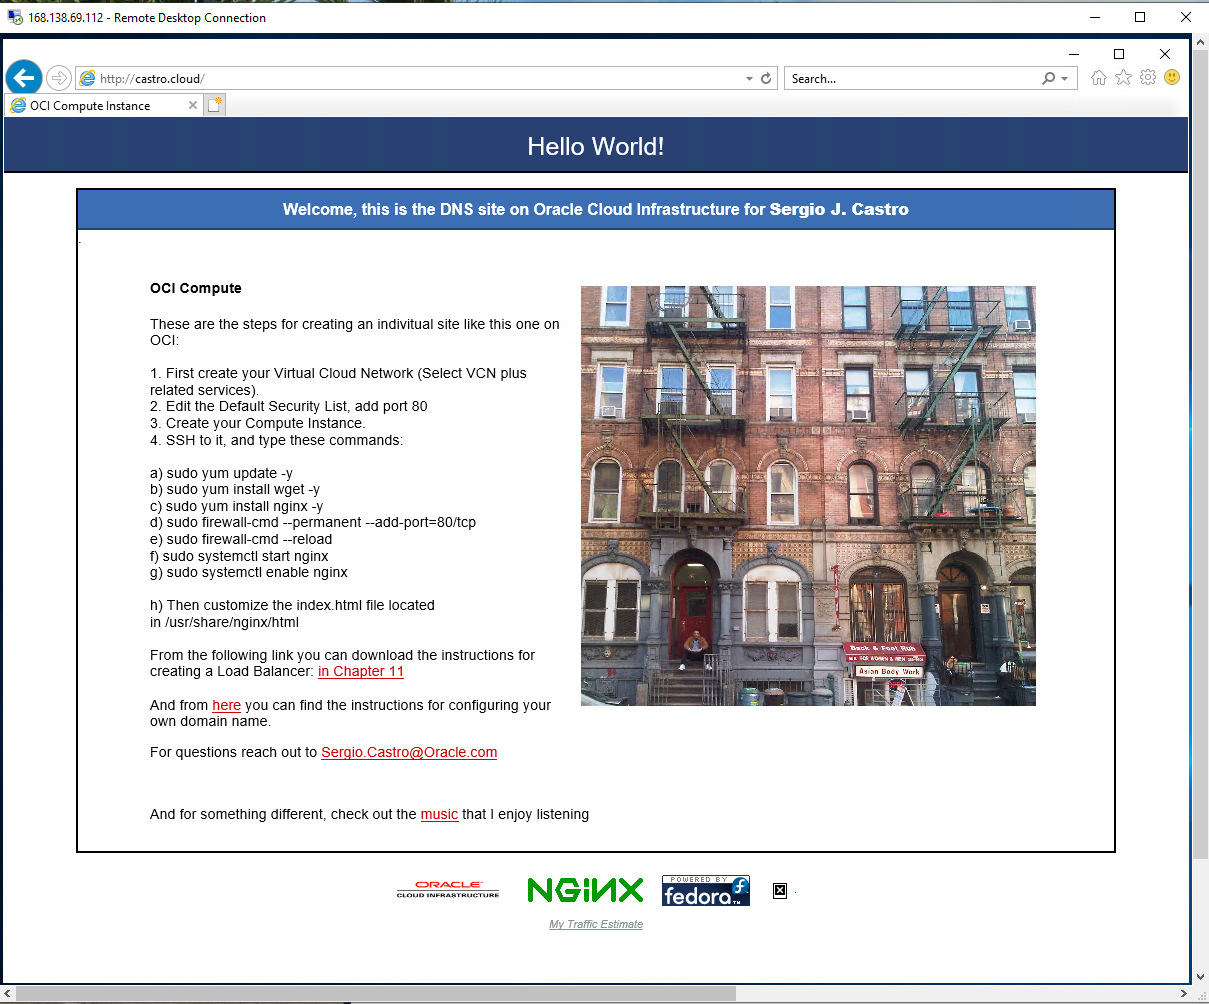
Use Remote Desktop Connection to connect to the instance. The public IP address is 168.138.69.112.
After you connect, open a web browser and navigate to the private DNS zone, castro.cloud in this example.
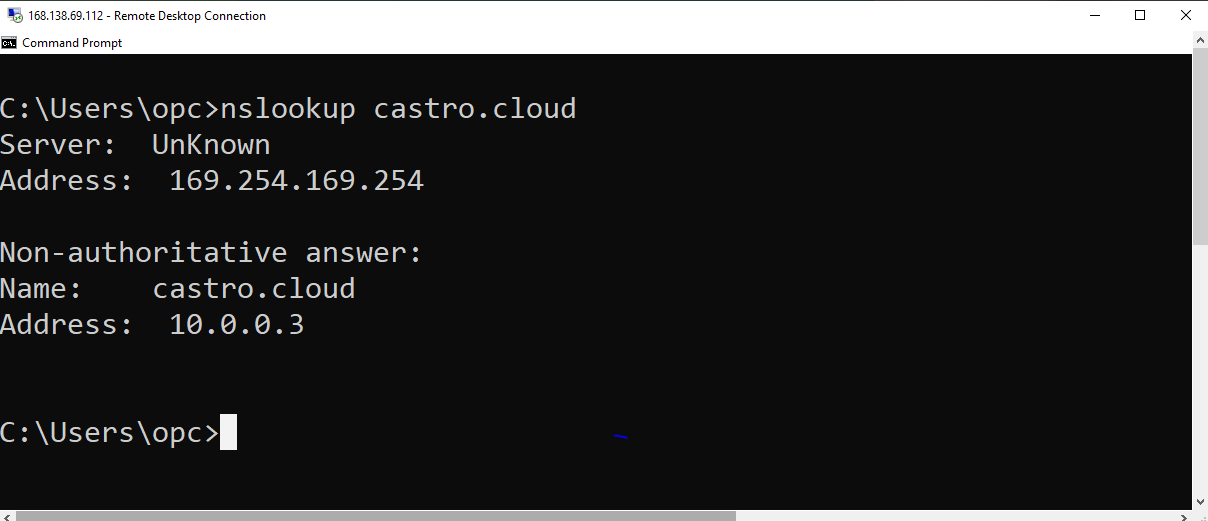
In addition, run nslookup on castro.cloud from this Windows instance.
Conclusion
This split-horizon configuration lets internet users resolve your webserver’s domain from anywhere outside your VCN while letting your Oracle Cloud Infrastructure users resolve the same domain inside the VCN.
For DNS peering between VCNs in OCI see Private DNS Implementation by Javier Ramirez.