Introduction
This post discusses the different strategies customers have to migrate Identity Cloud Service (IDCS) artifacts to another IDCS instance. Now with ‘multi-stripe’ support more customers may have the need to migrate/sync artifacts between stripes.
There are four methods described below each supporting specific use cases. Three of these methods will ‘copy’ the artifacts to the target system and one that will preserve the GUIDs which basically performs a clone.
I used Postman to test the APIs, I assume you have basic knowledge on how to use Postman, if not check out this
post. In order to keep this post relatively short I did not cut and paste all header/body data for each REST API call, just a few. You can see all of this within Postman once you import the JSON file. The out of the box IDCS REST endpoints can be found
here. In particular look at the end-points in the ‘Bulk’ folder; these endpoints are used in Method 1 and Method 2 below. I took this as a baseline and added some automation; you can download my modified
JSON file that I used for Method 1 and 3.
Export Jobs can be used to export Users, Groups or AppRole Members to a csv file. Import Jobs can then be used to import up to 100,000 Users, Groups or AppRole Members from a csv file per job execution.
The job schedule API is an asynchronous call that allows you to export/import Users, Groups and AppRoles from IDCS. Other REST API calls are used in conjunction to to complete the export or import.
The high-level steps to export the data to a file are:
- Start the export job.
- View Job Status and Statistics
- View the report.
- Download the file.
Since this is an asynchronous call; obtaining the details of the report is necessary in order to know when the job is complete. Once complete you can then download the file from storage.
Step 1 – Start the export
REST API: POST {{HOST}}/job/v1/JobSchedules
Body:
{
“schemas”: [“urn:ietf:params:scim:schemas:oracle:idcs:JobSchedule”],
“jobType”: “UserExport”,
“runNow”: true,
“parameters”: [
{
“name”: “exportFormat”,
“value”: “CSV”
}
]
}
In this example we are asking for User data export into a CSV file; you can also ask for ‘GroupExport’ and ‘AppRoleExport’. The response produces an ‘id’ that is needed for the next step.
Step 2 – View Job Status and Statistics
REST API: GET https://{HOST}/job/v1/JobHistories?filter=jobScheduleId eq “<JobSchedule id returned by POST /JobSchedules from step 1>”
This REST call will get the details of the job along with another ‘id’ that will be used in the next step. Also keep in mind that if this is a large export it may take some time to complete. You will need to make sure that the ‘percentage’ value is at 100; if not you will need to keep checking until it is before proceeding to the next step.
“percentage”: 100,
“id”: “05070968be1044089ea90b37399fd011”,
“jobScheduleId”: “f9ccac72-c028-49e1-bdcb-991858d2f034”,
Step 3 – View the report once percentage is 100
REST API: GET https://{HOST}/job/v1/JobReports?filter=historyId eq “<JobHistory id returned by GET /JobHistories from step 2>”
Once the job is completed this step will get you the name of the file to download.
“message”: “fileName”,
“name”: “files/export/201906241928/UserExport_05070968be1044089ea90b37399fd011.csv”,
“schemas”: [
“urn:ietf:params:scim:schemas:oracle:idcs:JobReport”
]
Step 4 – Download the file
REST API: GET https://{HOST}/storage/v1/StorageFiles?filter=fileName eq “<file name returned in step 3>”
Use the file name above to download. In Postman you can just cut and paste the response into a csv file. This file can be used to import the data as described in the next section.
Importing is similar, let’s review:
The high-level steps to export the data to a file are:
-
Upload the csv file
-
Start the import
-
View the details
Step 1 – Upload the file
REST API: GET https://{HOST}/storage/v1/StorageFiles
In this step you need to pass four key/value pairs in the body:
-
File:testUsers.csv
-
isPublic:false
-
fileName:TestUsers.csv
-
contentType:text/csv
The file testUsers.csv is the local file you exported. You can change the name when you upload within the ‘fileName’ attribute. The response will return the path of the file you specified in fileName; this will be used in the next step.
Step 2 -Start the import
REST API: POST https://{HOST}//job/v1/jobSchedule
In this step you need to pass the file location into the job schedule endpoint:
{
“schemas”: [“urn:ietf:params:scim:schemas:oracle:idcs:JobSchedule”],
“jobType”: “UserImport”,
“runNow”: true,
“parameters”: [
{
“name”: “fileLocation”,
“value”: “files/201906242150/TestUsers.csv”
},
{
“name”: “fileType”,
“value”: “csv”
}
]
}
The response will return the ‘id’ of the request.
Step 3 – View the details
REST API: GET https://{HOST}/job/v1/JobHistories?filter=jobScheduleId eq “<JobSchedule id returned by POST /JobSchedules from step 2>”
With the ‘id’ from the previous step you can view the details of this job.
Importing/Exporting can also be done via the IDCS Admin Console:
Pic of admin console
The UI also provides similar details as the REST API and when the job is complete.
Pros
-
csv files can be used to export/import artifacts.
-
Can handle large data sets. Try to keep each data file within 100K.
-
Asynchronous
-
Can also be done via the Admin Console
Cons
Method 2 – Bulk Operations (/admin/v1/Bulk)
The /Bulk API enables clients to send a collection of resource operations in a single request. Since this is a synchronous API, it is recommended for use by programmatic clients. The JSON body of a bulk operation contains a set of HTTP resource operations using of the HTTP methods supported by the API including POST, PUT, PATCH or DELETE. IDCS supports up to 100,000 operations per request. However, since the /Bulk API is a synchronous API, attempting this many operations per Bulk request will likely hit the http timeout of 5 minutes per request. It’s recommended that a single Bulk request not have more than 5,000 to 10,000 operations. Export of JSON that can be easily imported via the /Bulk API can be accomplished by doing a full or filtered search of the resource types to be copied. For example, GET …/admin/v1/Apps will return a list response that includes a JSON response per App.
Bulk operation end-points are used for
CRUD operations for any resource type. There is no concept of exporting and then importing into target system; however, this can be coded into your own framework. The API does not use csv files instead you must construct a JSON file as input. When constructing your JSON payload its recommended that you keep this file relatively small; like 1K, 5K or maybe 10K resources per file. The resources to process are specified as individual operations in the JSON request payload and synchronously returned as a response per operation in the Bulk JSON response. In order to get more users per second you can make concurrent calls to Bulk with different data sets; this can get you the throughput you need. Check out the documentation on how the input data and response files look like.
Pros
- can handle fairly large number of create, update, replace, or delete operations per /Bulk request
- synchronous – returns results per operation in Bulk response
- supports any IDCS resource type
Cons
- may timeout if number of Bulk operations in the request payload is too large
- payload is JSON, not csv file
The resource exporter/importer allow you to export artifacts while maintaining the object GUIDs. When importing, those same GUIDs will be imported as well; essentially performing a clone of the target system. The only caveat is that not all resource types are supported. There is some discovery that needs to be done.
ResourceExporter is limited to exporting a maximum of 40 resources per request so it’s useful for exporting resource types with fewer than 40 resource instances such as Settings, Config, Apps, etc. The ResourceTypes which can be exported using ResourceExporter include any Resource Type whose “dataProviderClass” is “oracle.idaas.provider.jdbc.JdbcProvider”, indicating that the Resource Type is persisted in the IDCS identity store. This information can be obtained by invoking GET …/admin/v1/ResourceTypes.
Let’s look at the flow:
- GET /admin/v1/ResourceTypes?count=200 – Returns the first 200 resource type specific to the target environment.
- POST – /admin/v1/ResourceExporter – This will create a JSON file in IDCS storage.
- GET /storage/v1/Files – Get the resource file from storage
{
“schemas”: [
“urn:ietf:params:scim:api:messages:2.0:ListResponse”
],
“totalResults”: 198,
“Resources”: [
{
In step 1 I ran the resourceType API with count=200. In my case, that value was sufficient since my ‘totalResults’ was 198. You may have tweak the count value to make sure you have the correct total and all the possible resources in your environment.
{
“schemas”: [
“urn:ietf:params:scim:schemas:oracle:idcs:ResourceExporter”
],
“resourceTypes”: [{
“name”: “{{currName}}”
}
]
}
If you imported my modified version of the Postman JSON file you will notice that I created a variable to insert the current resource type ({{currName}}). My goal here was to extract all the resource types from the first step and find out which ones I can export.
{
“schemas”: [
“urn:ietf:params:scim:api:messages:2.0:ListResponse”
],
“totalResults”: 40,
“Resources”: [
{
To import :
- POST /storage/v1/Files – Upload the resource file into storage
- POST – /admin/v1/ResourceImport – This will update IDCS with the data from the upload in step 1.
Pros
Cons
Method 4 – SCIM Connector
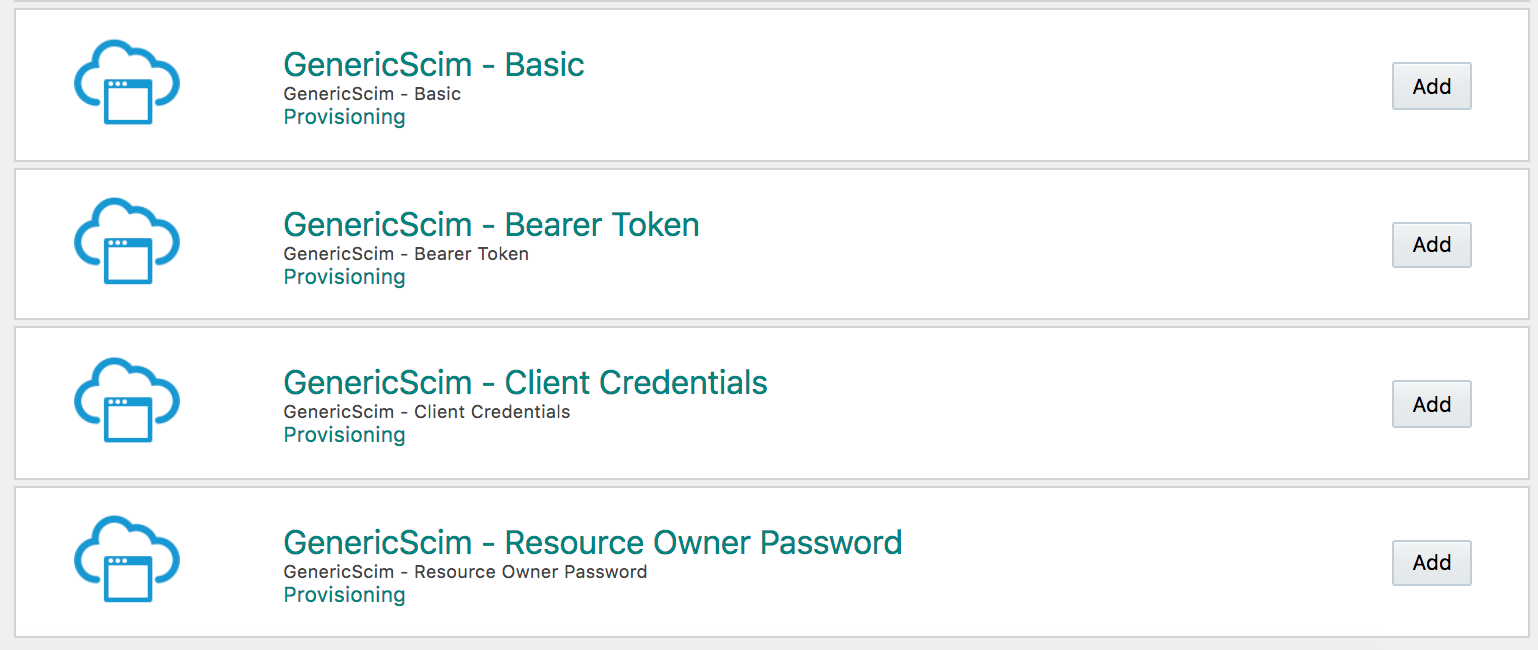
Recently we introduced the SCIM connector. Now you have the ability to create custom applications that are SCIM compliant to migrate their users/groups etc. Since IDCS is also SCIM compliant you can migrate or synchronize artifacts between two IDCS instances. This is especially helpful if you have a ‘multi-stripe’ environment and you want to migrate users from a test environment to production.
Below is a screen shot of the possible templates you can select:
For more information about this new feature check out these links:
Pros:
- Good for keeping users in sync with an authoritative source.
- Quick setup.
Cons:
Conclusion
Depending on your requirements you should select the method that best fits your needs. The job scheduler API is the method I see used in most cases; where an administrator can use the UI in lieu of REST calls. For larger deployments (in the millions of users) and where performance is crucial, the ‘Bulk’ API is your best choice. Remember in this case the REST calls only excepts JSON as POST data; many customer have written their own framework to do some kind of conversion to JSON. Also keep in mind that the ‘Bulk’ API does not export artifacts. Here again customers can write code within their framework to extract the artifacts. The resource exported is only used in specific use case, where a clone is required for the artifacts. More discovery is needed to find out the resources that are supported. This method is used very sparingly and has limitations on the number of exported entries.