Introduction
This post will describe how you can save long lived sessions when connecting to compute nodes. There are two types of connections to your backend hosts; a ‘Managed SSH session’ and ‘SSH port forwarding sessions’. I will be discussing how you can save your sesions to compute nodes using the ‘Managed SSH sessions’.
A ‘Managed SSH session’ supports a maximum time-to-live of 180 minutes ( 3 hours) and is the default value. This means when connecting to a compute node via an SSH session you will have 180 minutes before the session times out. This may not be enough time for some sessions (e.g. patching environments) or maybe your organization requires that each session must not exceed 60 minutes. In either case, I will show you a technique to save your sessions in case of timeout or even exiting the session prematurely.
Network/Bastion Setup
I’m not going to get into details on how to set up the bastion host, however here are the high level steps to setup a bastion host connecting to a private compute node. For more details on setting up a bastion, check out the documentation here.
-
Create a Virtual Cloud Network (VCN).
-
Created a private subnet within the VCN.
-
Create a Service Gateway (SG) within the VCN.
-
Create the compute node/instance using the private subnet created in step 2..
-
The default route table for that private subnet should contain a Service Gateway rule using the SG created in step 3.
-
Create Bastion service.
-
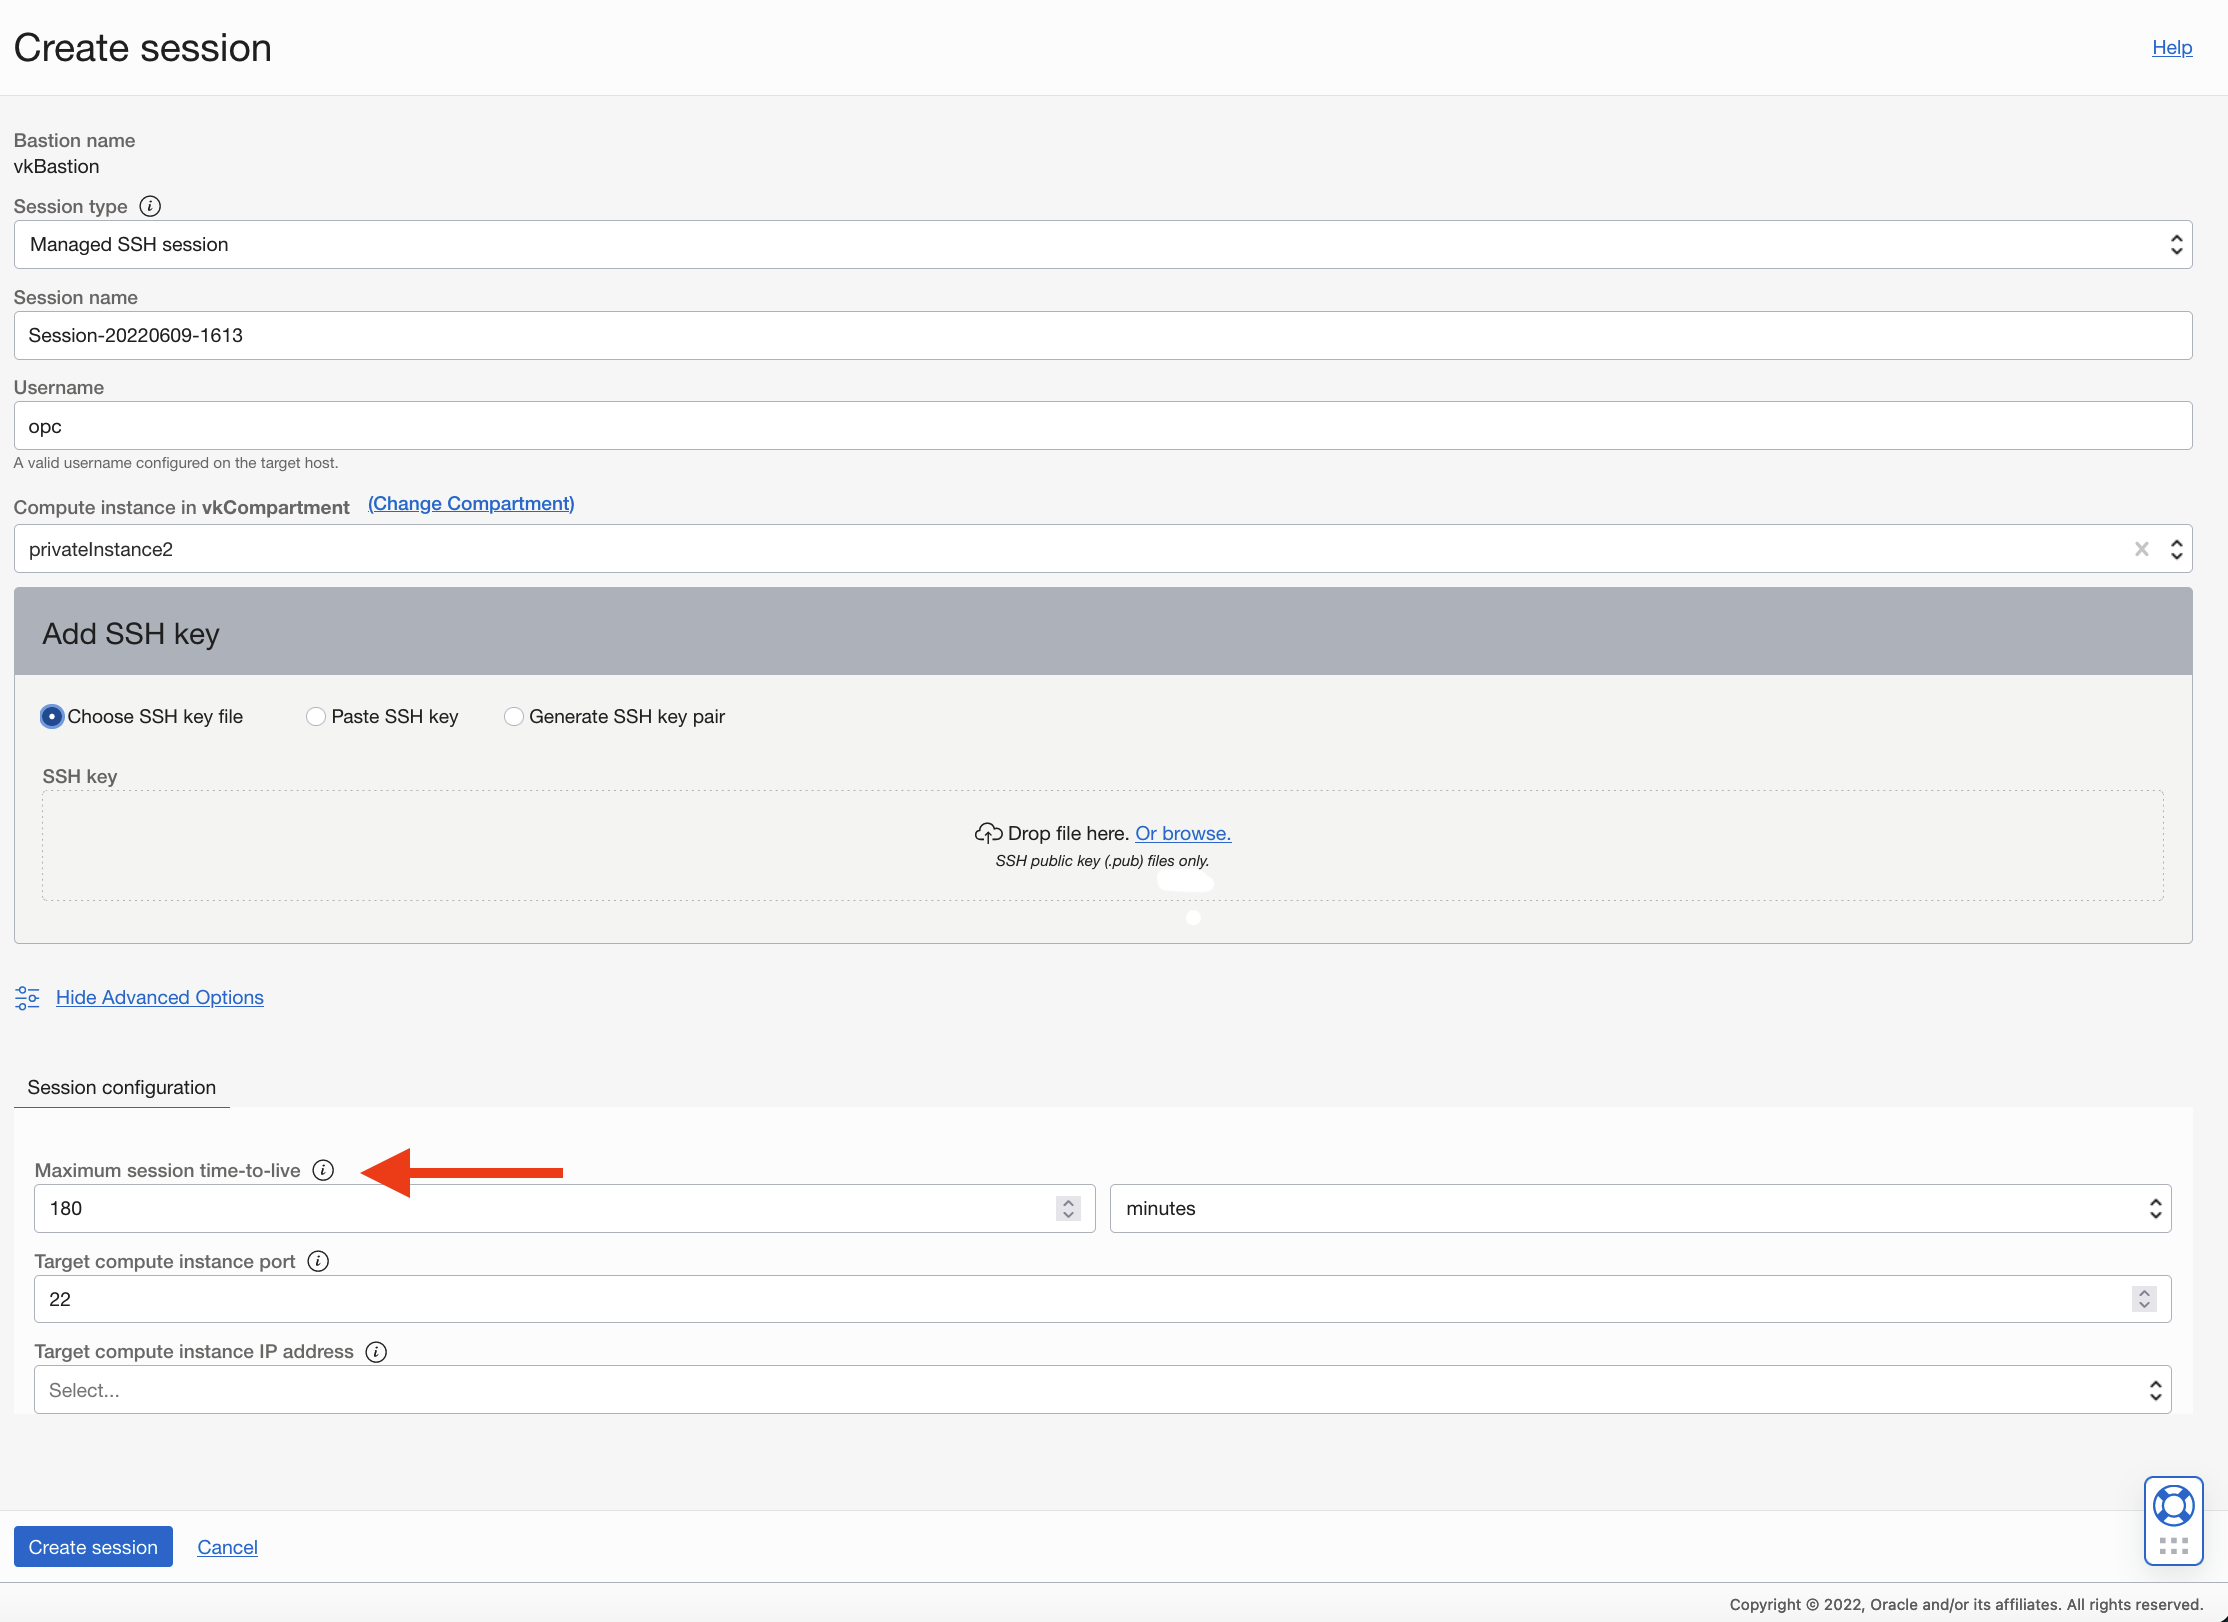
Create a Managed SSH session to the compute node. During this step you can configure the maximum time-to-live of the session. This parameter can be found under ‘Show Advance Options’. The maximum time-to-live value can also be set when creating the bastion (Step 6); setting it here means that all created sessions will adhere to this new maximum value. The default and maximum value is ®180 minutes.
At this point you should be able to connect to your private compute node using an SSH command. The Bastion service provides you an SSH command for every session you create. You can copy the SSH command from the console like so:

The SSH command requires you to paste in the <privateKey> as noted. You should now be able to connect to your host in a terminal window. For example:
ssh -i <privateKey> -o ProxyCommand="ssh -i <privateKey> -W %h:%p -p 22 ocid1.bastionsession.oc1.iad...@host.bastion.us-ashburn-1.oci.oraclecloud.com" -p 22 opc@10.0.x.x
NOTE: Cpompute nodes are not the only private resource you can connect to. Bastions sessions are also a great way to secure other private resources like databases systems and Autonomous Database (ADB). Click onthe links above to learn more.
Compute Node setup
Now that you have connected to your instance we need to configure the instance so that we can save a session in case it times out or you exit the shell. So how do we do this? We are going to use a standard unix command call ‘tmux’ to save our sessions.
In my setup, I happen to use OEL version 8.x. In order to install ‘tmux’, I recommend you use the DNF package installer. DNF is the successor to YUM on many Linux platforms including OEL. Here is a good tutorial on DNF for OEL 8.x.
NOTE: If using OEL 7.x for your instance use the ‘screen’, command instead.
Here is a good tutorial on using the ‘tmux‘ command.
For convenience, here are the key ‘tmux’ commands you will need to execute:
-
Install ‘tmux’
-
sudo dnf install -y tmux
-
-
Create a default session
-
tmux
-
-
List session
-
tmux ls
-
-
Attach the default session
-
tmux attach -t 0
-
Before you can attach your session, the session needs to be detached. To detach a tmux session. you use Ctrl+b, and then the d key. Then using the attach command re-attaches the session.
NOTE: Keep in mind that ‘tmux’ sessions do not survive reboots. If you reboot your compute node the sessions are lost.
Testing
Let’s test this out!
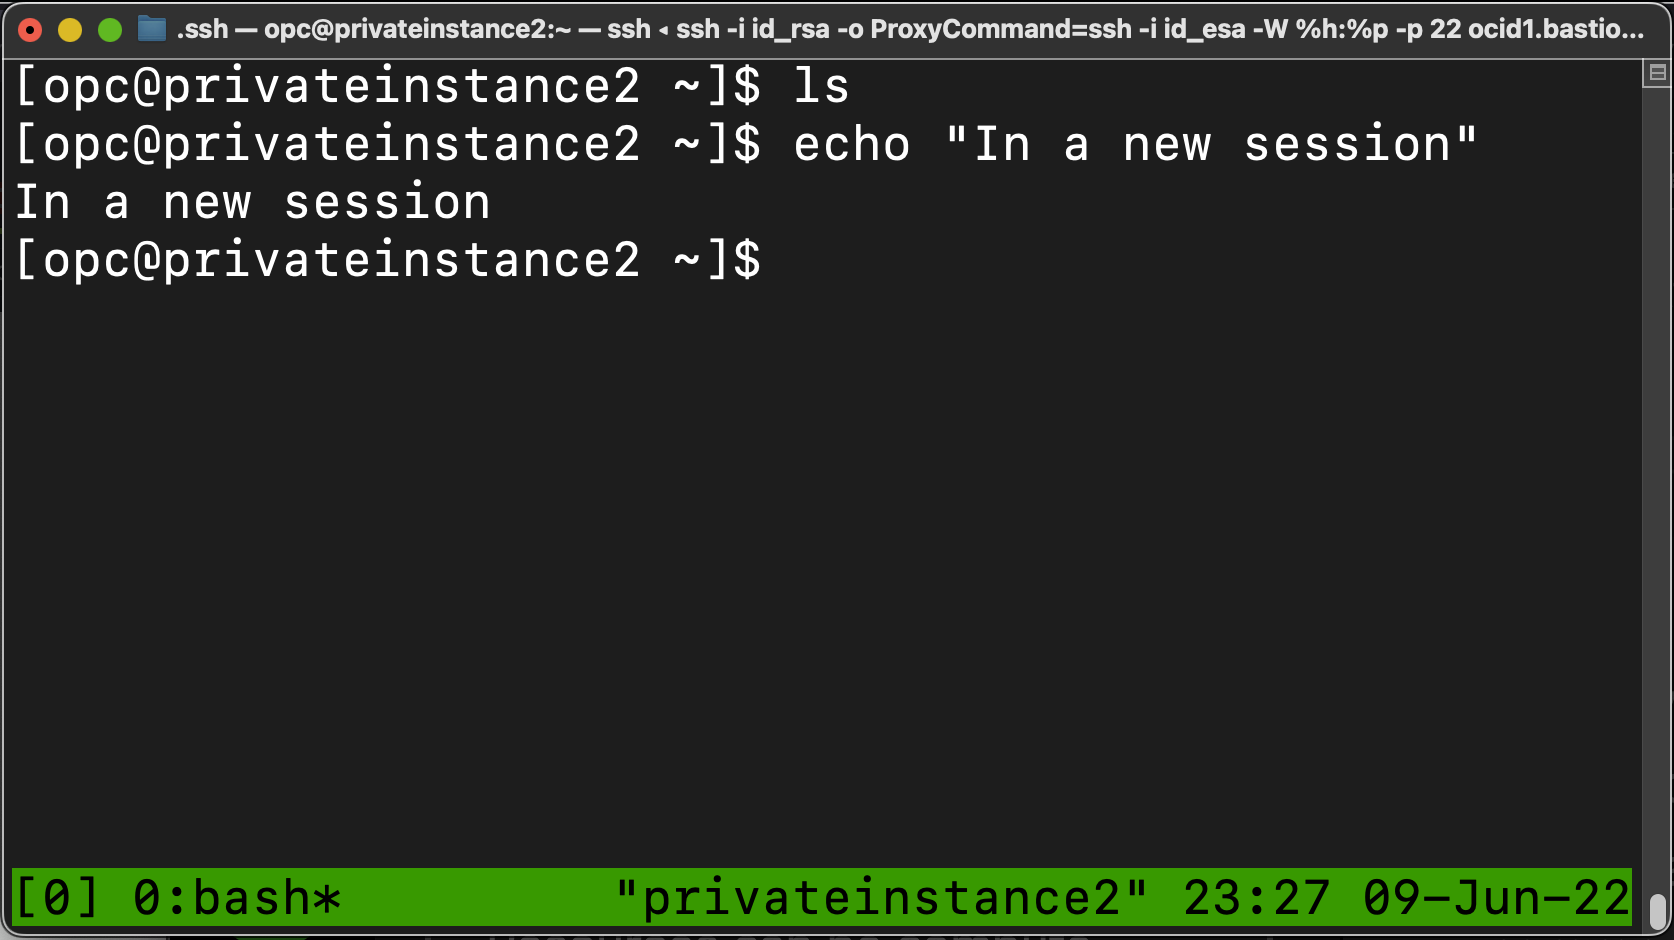
After installing, I ran the ‘tmux’ command to create session 0. You. will see a green line at the bottom of your terminal window. Here is my session:
Once the ‘Managed SSH session’ times out, create a new one and try to access the instance again. Once connectted you will need to attach the session by running the command ‘tmux attach -t 0’ and you should see your session again!