Introduction
In today’s data-driven world, securing your data science environment is just as important as building intelligent models. Oracle Cloud Infrastructure (OCI) offers a powerful Data Science service that enables teams to build, train, and deploy models at scale. By default, notebook sessions can access the internet, which may not meet the security needs of all organizations.
To address this, OCI provides the ability to launch notebook sessions using a private endpoint, allowing you to run your notebooks in a private subnet, isolated from public internet access.
In this blog, I’ll walk you through the process of configuring a private endpoint for your OCI Data Science notebook session, helping you create a more secure and controlled environment for your machine learning workloads.
Prerequisites
Before you can start using Data Science, your tenancy admin should set up the OCI networking components (VCN, subnet, NAT gateway,etc.), dynamic group, and policies.
For more information, check this link out!
Note: The quickest way to configure your tenancy for Data Science is to use OCI Resource Manager, which handles your prerequisites with just a few clicks.
Agenda
- Create a Data Science Project and Private Endpoint
- Create a Data Science Public Notebook Session and verify the connection
- Create a Data Science Private Notebook Session and verify the connection from OCI Jump Host
- Securely Access Data Science Private Notebook Session from External Network Over VPN
- Conclusion
Create a Data Science Project and Private Endpoint
Let’s first take a quick look at what a Data Science Project and Notebook Session are before we create them.
A Project in OCI Data Science helps you organize and manage your machine learning workflows. It acts as a container for all related assets, like notebooks, models, and datasets.
A Notebook Session provides a managed JupyterLab environment with the necessary compute resources where you can write code, explore data, and build your ML models.
When you create a notebook session, you can select CPUs or GPUs, the compute shape, and the amount of storage without any manual provisioning.
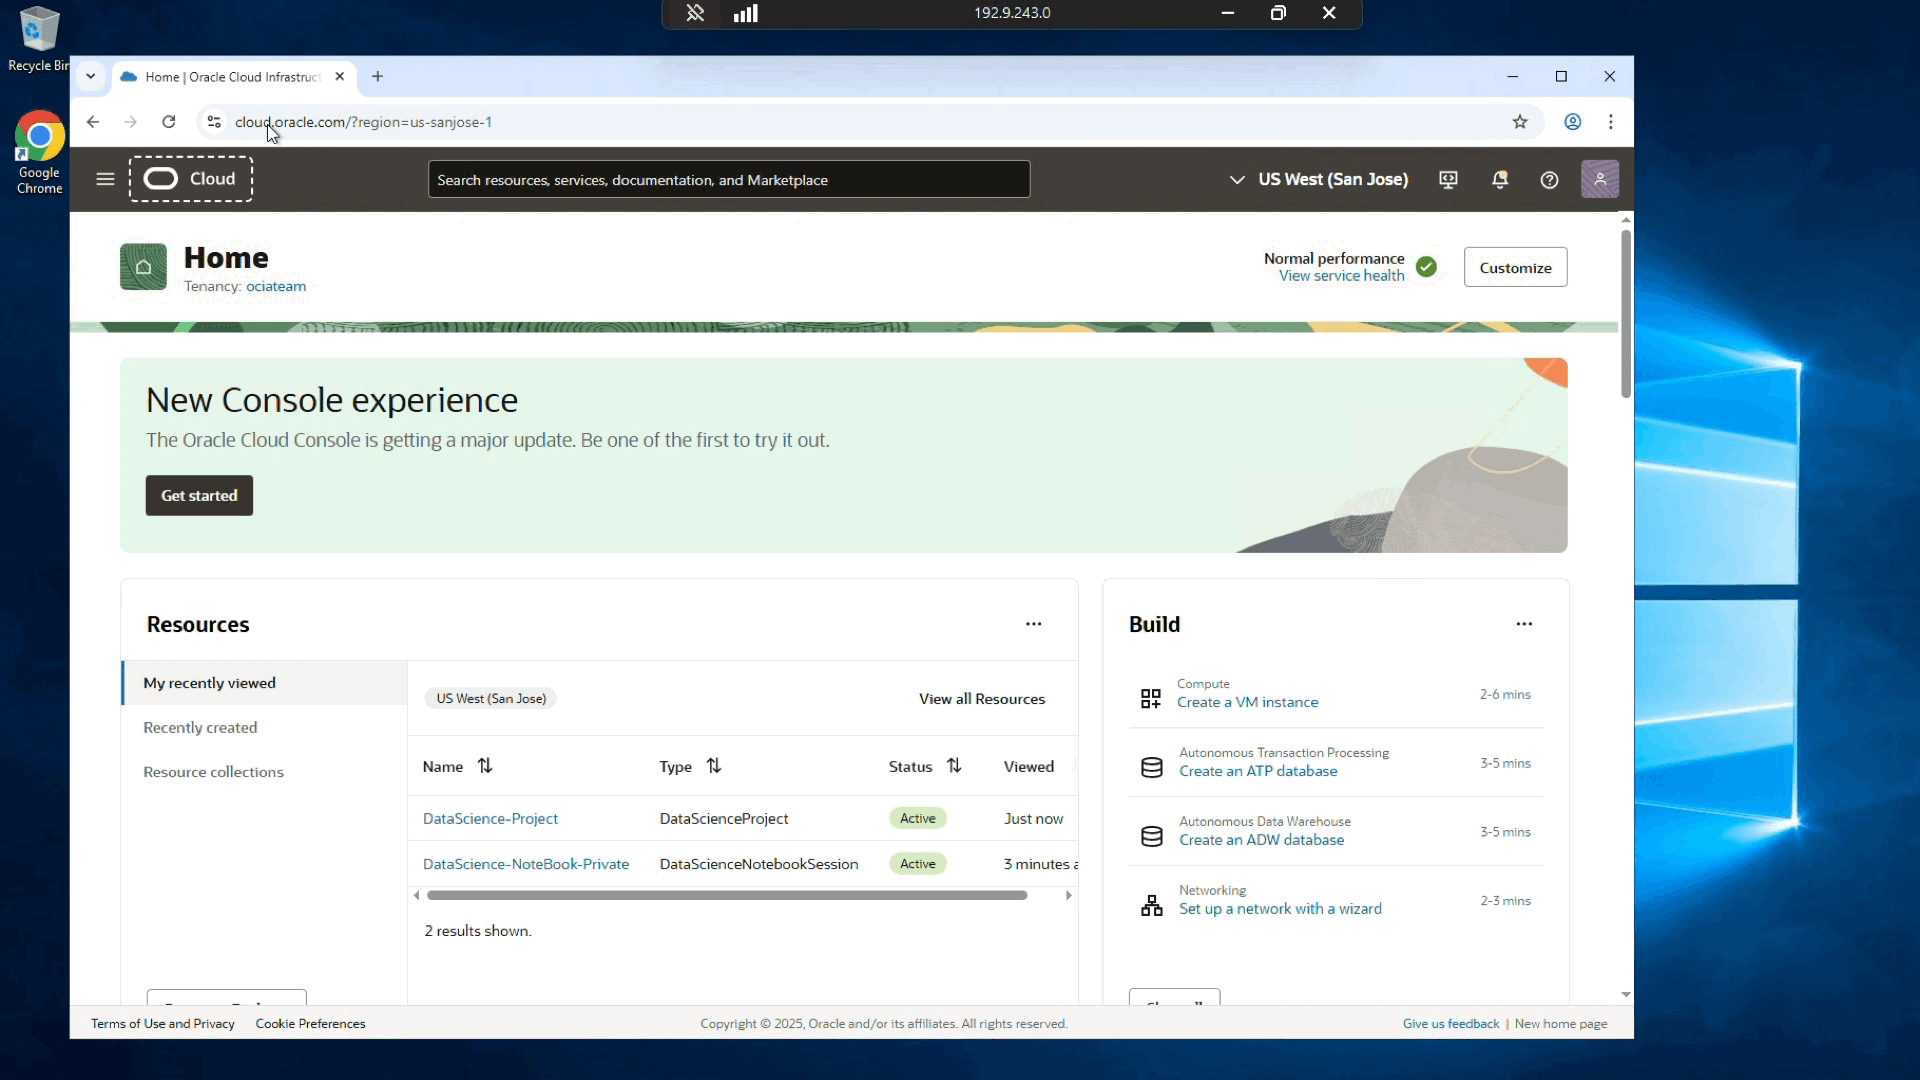
Now that we know what a project and notebook session are, let’s log in to the OCI console and start creating them. In this walkthrough, I will create a Date Science project and Private Endpoint.
Note: Data Science is hosted in all regions where OCI is available. For my blog, I chose US West (San Jose) region.
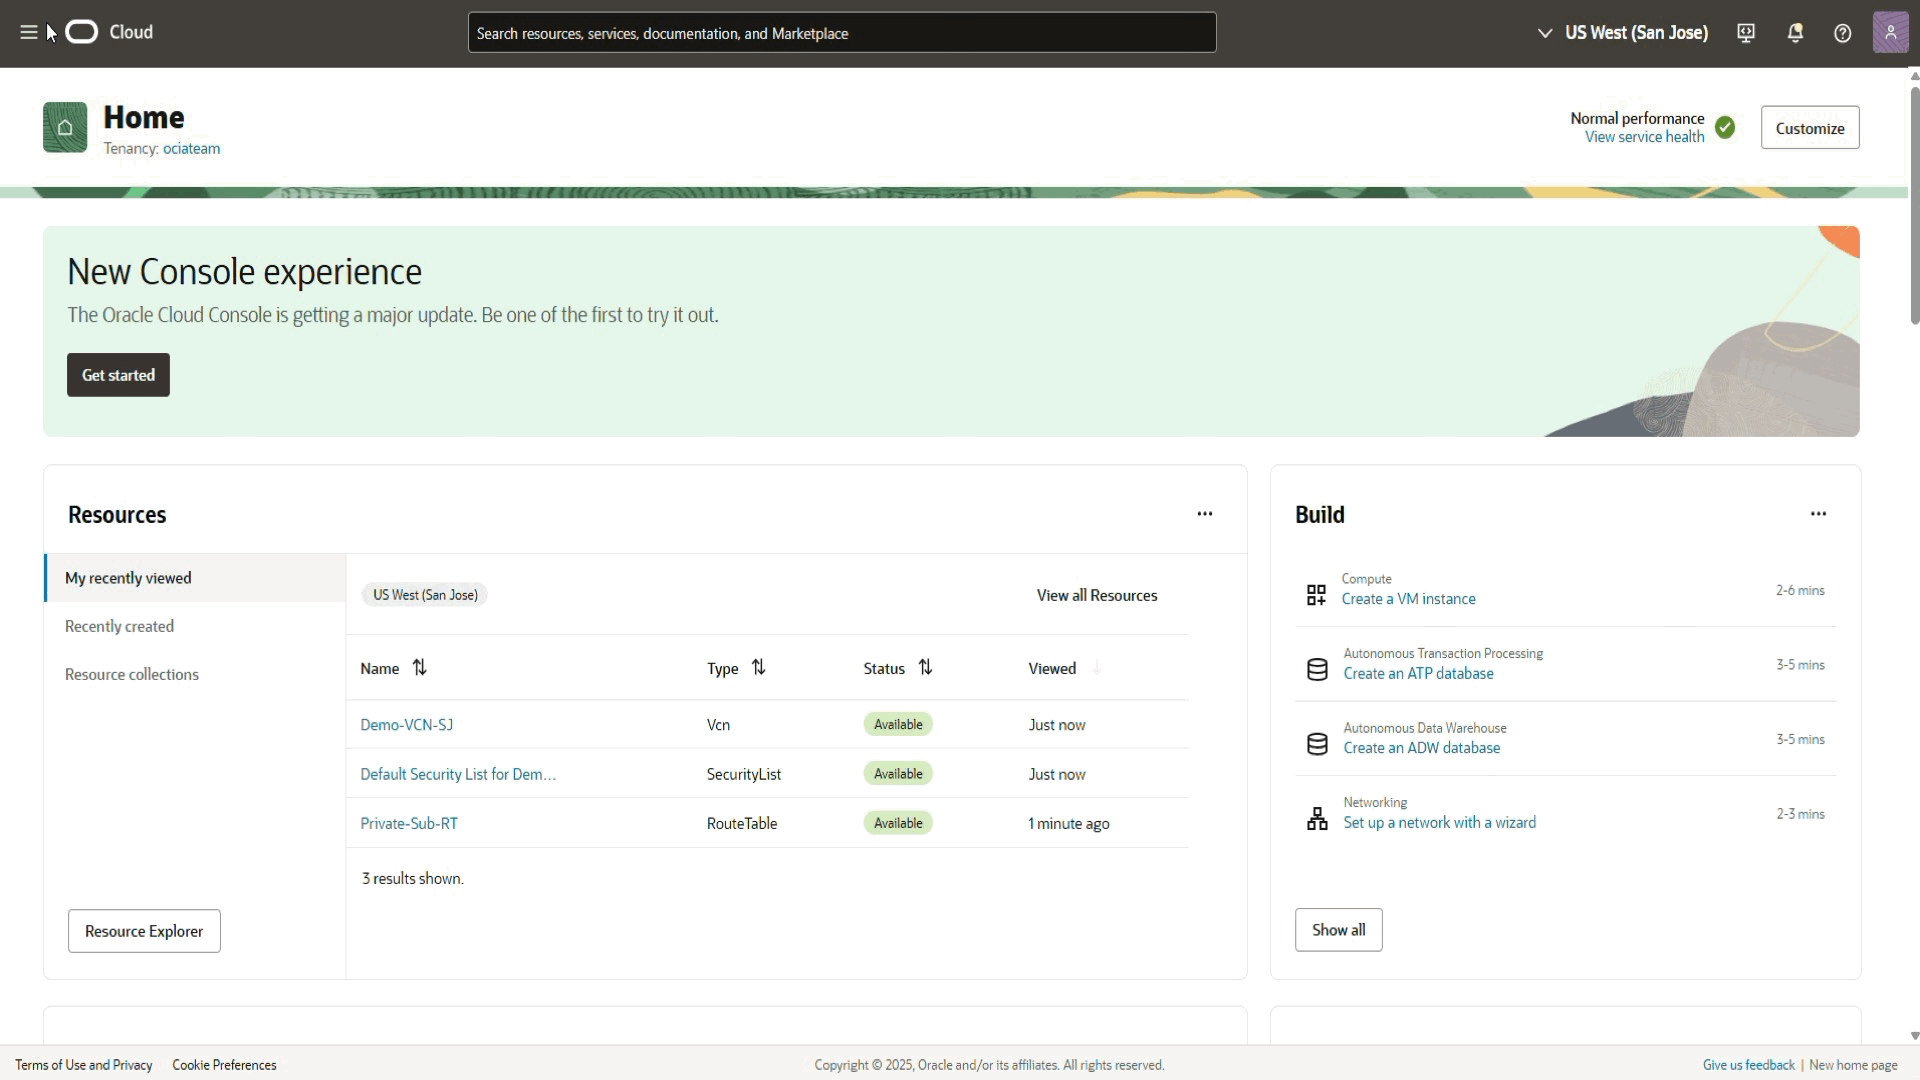
From the OCI home page, click on hamburger menu, navigate to Analytics & AI >Machine Learning> Data Science.
Check the screen record below.
As you saw above, we created Project and Private Endpoint to enable secure access within VCN. We’ll use that PE in a last step to create a Notebook Session with private access.
Create a Data Science Public Notebook Session
Navigate to your newly created project and within this project, create a new notebook session with default networking with default egress to the internet.
The creation process will take a few minutes. After your notebook session provisioned, simply click on Open button (in Notebook session details page), and you should reach to the JupyterLab environment.
Note: When you select default networking with public endpoint, the workload will attach by using a secondary VNIC to a preconfigured service managed VCN, and subnet.
If you need access only to the public internet and OCI services, we recommend using this option. It doesn’t require you to create networking resources or write policies for networking permissions.
Check the screen record below.

Create a Data Science Private Notebook Session and verify the connection from OCI Jump Host
From the project details page, select Create notebook session. Enter a unique name for your notebook session, select an instance type (Optional step), enter the block storage size to use (Default value is 100 GB), and in networking resources configuration section, select Custom networking with Private endpoint and select the VCN, subnet, and earlier created Private endpoint that you want to use for the notebook session or job!
Keep in your mind, notebook session with private endpoint can be access via VCN resources, and any private target outside of OCI if there is a proper connectivity available. (Like Site-to-site VPN, Fast Connect, and Azure/GCP Interconnect).
Check the screen record below.

As you noticed above, the notebook session isn’t accessible publicly and we got “This site can’t be reached” message from the browser.
To address this issue, we need to connect through the resources like jump host (Windows VM) created inside the same VCN with Data Science private notebook session, or any private target outside of OCI with proper connectivity to the mentioned VCN above. (For instance, from On-Premises or other CSP like AWS, Azure, GCP, etc. through VPN or FastConnect to OCI.
I created a public Windows VM and log in to the OCI from my virtual machine.
Check the screen record below.
Here you go!
“Welcome to the AI Solutions” message confirms our environment is up and running securely within our VCN.
Securely Access Data Science Private Notebook Session from External Network Over VPN
In this part of my blog, I focus on how to securely access OCI private notebook session from a virtual machine hosted in AWS, using a site-to-site VPN between the two clouds.
To start, let’s confirm that the VPN tunnel between AWS and OCI is up and running, and I have a Windows VM deployed in AWS. I use this machine as a jump host to test connectivity to the OCI Data Science private notebook session.
Note: I don’t cover how to configure site-to-site VPN between AWS and OCI in this blog. For more info, please check my AWS-OCI VPN blog here.
Check the screen record below.

Now let’s log in to the OCI from Windows VM in AWS and test the connection.

As you saw above, when I initially attempted to open the private notebook session from the Windows VM browser, I got a “This site can’t be reached” error. This is expected, because OCI’s private endpoints use private DNS names that are not resolvable from external networks like AWS unless DNS is configured appropriately.
To resolve the private endpoint URL from AWS, you have two options, update the hosts file on the Windows VM or configure DNS forwarding rule in OCI.
For my blog, I manually mapped the private endpoint’s IP address to its private FQDN in the VM’s host file.
Now that we’re inside the notebook session, we can begin installing Conda packages, connecting to data sources, and running experiments. Whether you’re training machine learning models, exploring datasets, or deploying AI pipelines, your workspace is ready to go.
Conclusion
Configuring a private endpoint for your OCI Data Science notebook sessions is a simple yet powerful way to enhance security and maintain control over your network boundaries. With this setup, your notebooks can run entirely within a private network and minimizing exposure while still enabling access to essential service like Object Storage through a service gateway.
I hope you enjoyed it!