Introduction
This post shows how you could use the docker image created in Part 2 and make it highly available and scalable by running it on OKE. I aim to show the exact steps and a sample manifest file that helps to deploy the custom login docker image to OKE.
Please refer to Part 1: Running IDCS Custom Login Widget on OKE: Overview to understand the overall process.
and Part 2 : To get your docker image ready.
What you will need :
1) OCI tenancy and user account with permissions : 1) To access OCIR repository 2) Manage OKE cluster
2) The Kubernetes command-line tool kubectl and oci cli installed on your developer machine or you may use OCI cloud shell
3) The custom login docker image created in Part 2
4) Confidential Sign-In Application created in IDCS –
The custom login widget requires IDCS_CLIENT_ID and IDCS_CLIENT_CREDENTIALS to invoke IDCS APIs.
Ensure you have registered a confidential application by following the steps available in the custom login app tutorial.
Steps:
- Create a new OKE Cluster with at least 2 nodes – Once you create a new cluster, follow steps from the “quick start” section to access your cluster with kubectl.
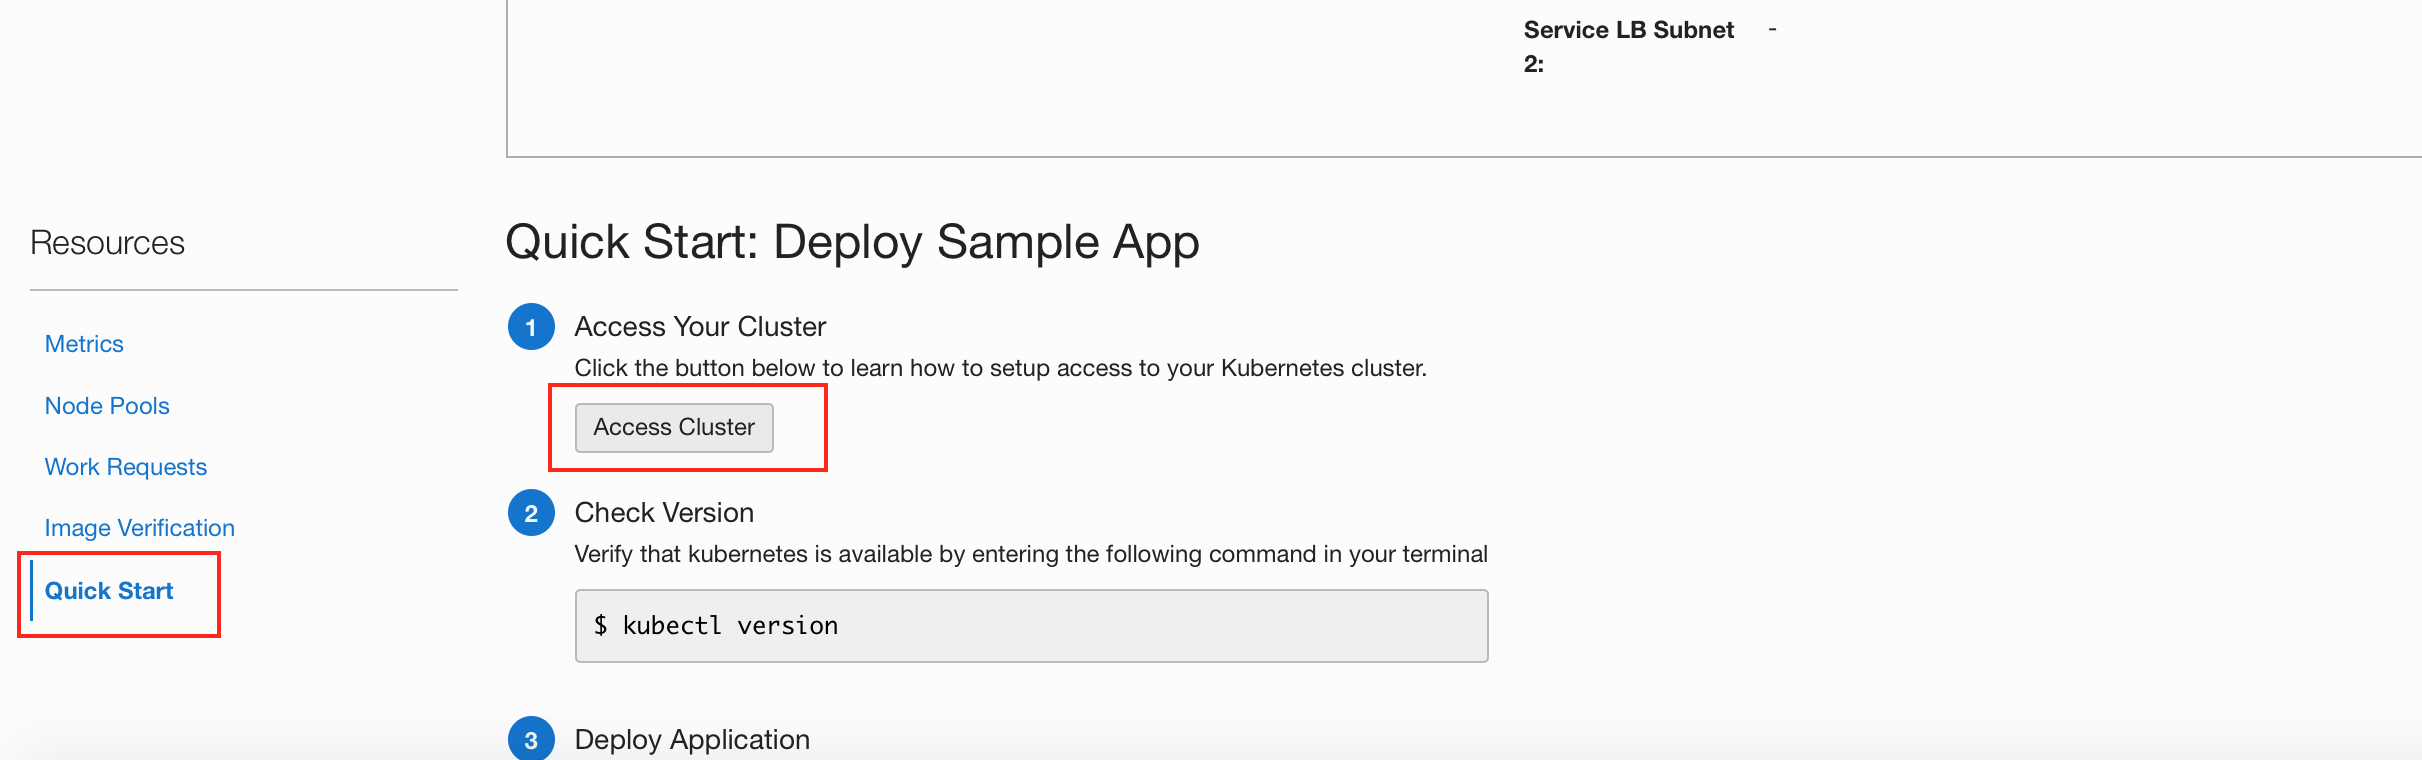
- Ensure you can access the new cluster using kubectl.

- Create Kubernetes Secrets for making all the configuration parameters available to your OKE cluster.
A. IDCS configuration parameters
$ kubectl create secret generic idcs_config --from-literal=url=https://idcs-<instanceid>.identity.oraclecloud.com --from-literal=client-id=<client_id_of_sign_in_app> --from-literal=client-secret=<client_secret_of_sign_in_app>
B. OCI registry token
$ kubectl create secret docker-registry ocirsecret
--docker-server=<region-key>.ocir.io --docker-username='<tenancy-namespace>/<oci-username>' --docker-password='<oci-auth-token>' --docker-email='<email-address>'
C. Load Balancer service SSL Key and Certificate
This is required for setting up HTTPS endpoint for accessing the login widget via load balancer.
Always recommended to setup the Load balancer service with SSL port apart from development and or quick testing purpose.
Create a new key pair for your load balancer service and then a kubernetes secret to make it available to your OKE cluster.
$ kubectl create secret tls ssl-certificate-secret --key your.key --cert your.crt
4. Create a Keubernetes deployment/manifest/YAML file
The file contains a pod spec for the login app and a service spec for the load balancer.
The configuration parameters like OCIR token and IDCS configuration are passed as the environment variables and the values are picked up from the keubernetes secrets created in step 3.
The login app docker container image path should be the OCIR path to the image.
customlogin.yaml
apiVersion: v1
kind: Pod
metadata:
name: login-app
labels:
app: customlogin
spec:
containers:
– name: idcslogin
image: iad.ocir.io/<yourtenancy>/idcslogin:latest
imagePullPolicy: Always
ports:
– name: httpport
containerPort: 3000
protocol: TCP
env:
– name: IDCS_URL
valueFrom:
secretKeyRef:
name: idcs-config
key: url
– name: IDCS_CLIENT_ID
valueFrom:
secretKeyRef:
name: idcs-config
key: client-id
– name: IDCS_CLIENT_SECRET
valueFrom:
secretKeyRef:
name: idcs-config
key: client-secret
imagePullSecrets:
– name: ocirsecret
—
apiVersion: v1
kind: Service
metadata:
name: loginlb
annotations:
service.beta.kubernetes.io/oci-load-balancer-ssl-ports: “443”
service.beta.kubernetes.io/oci-load-balancer-tls-secret: ssl-certificate-secret
labels:
app: loginlb
spec:
selector:
app: customlogin
type: LoadBalancer
ports:
– name: http
port: 80
protocol: TCP
targetPort: 3000
– name: https
port: 443
protocol: TCP
targetPort: 3000
5. Deploy the login widget pod and the load balancer service to your OKE cluster
$ kubectl apply -f ./customlogin.yaml
$ kubectl get all

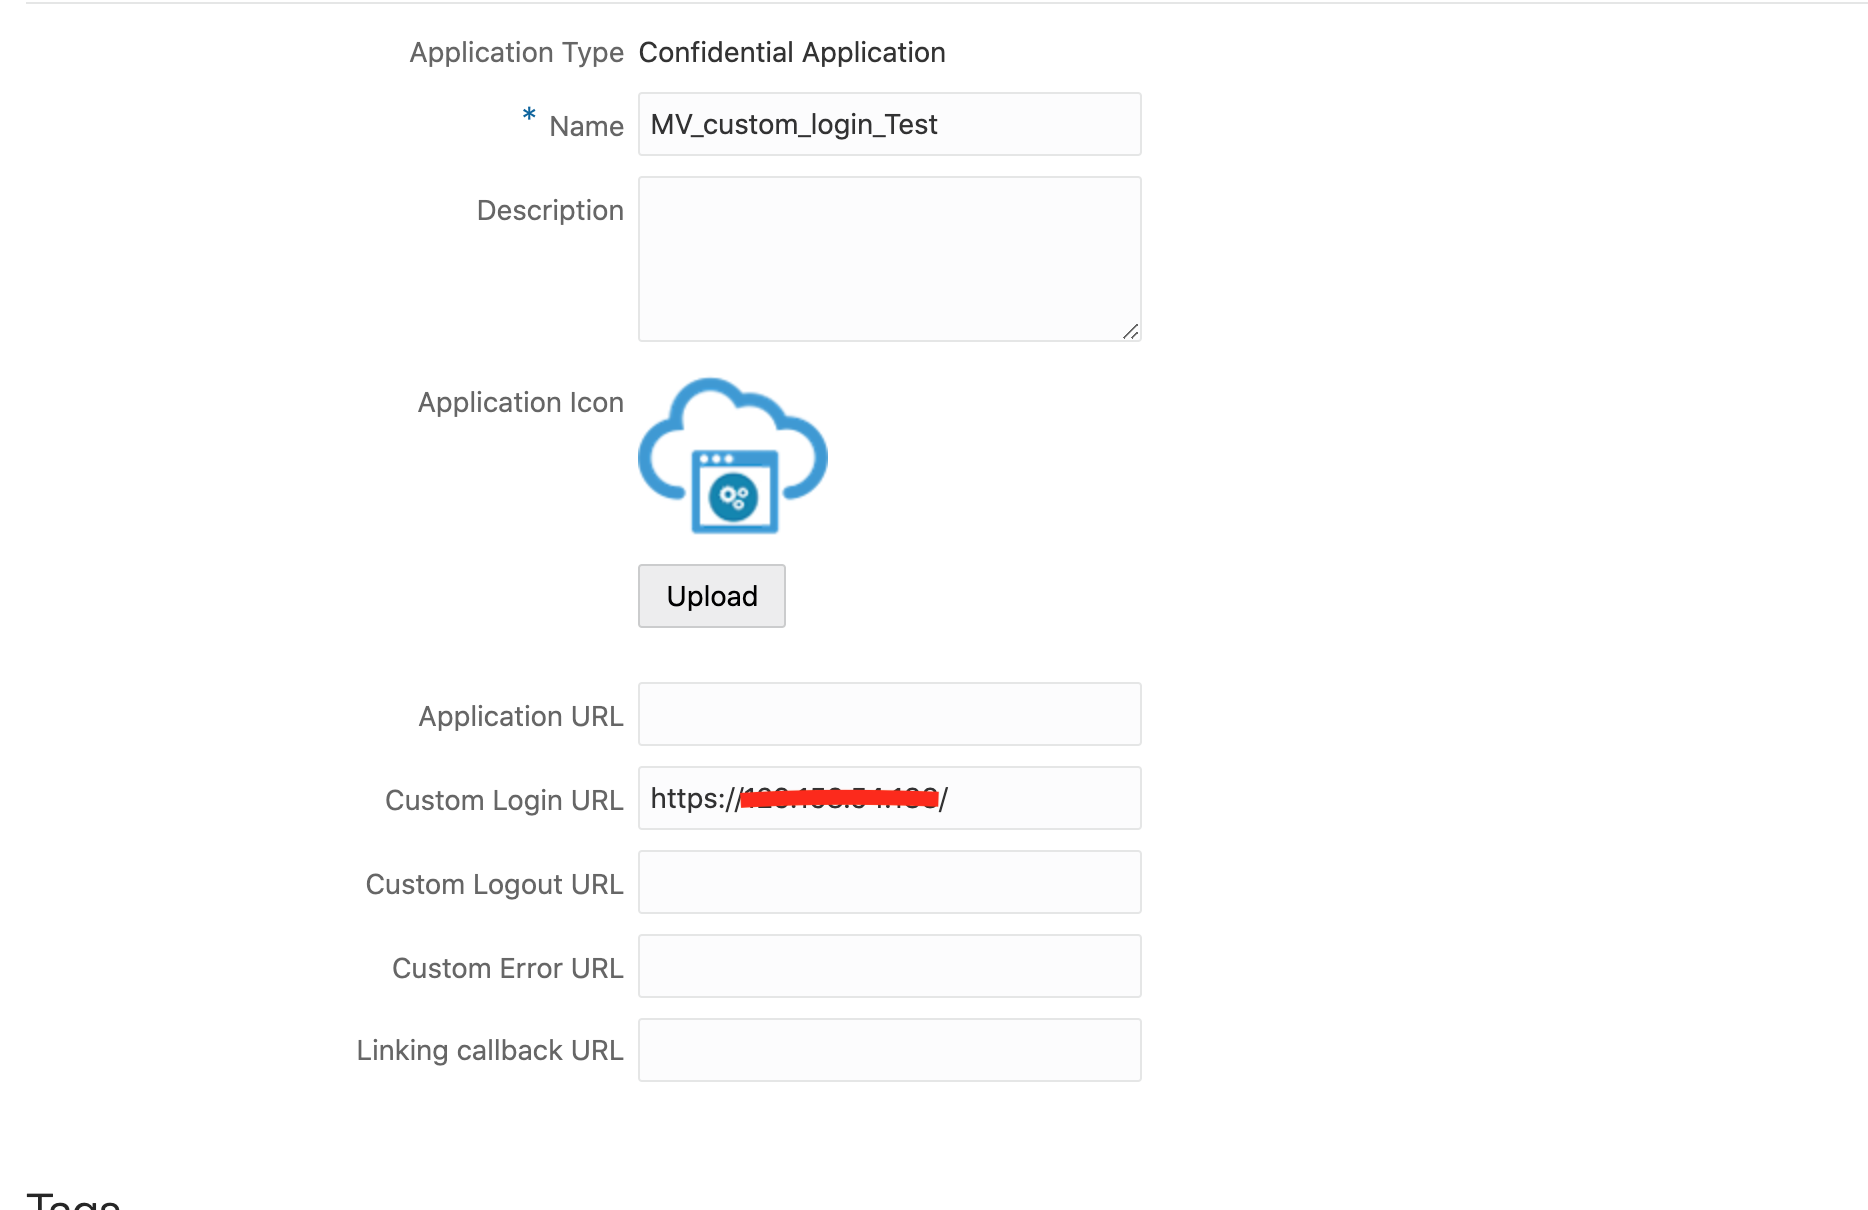
5. Update the sample IDCS application to use the newly deployed custom login load balancer URL and Test.
“Custom Login URL” should point to the load balancer URL. The URL could either have the Load balancer public IP for testing purpose or the FQDN as per your DNS entry.
Access the sample application and you should be taken to the custom login widget.
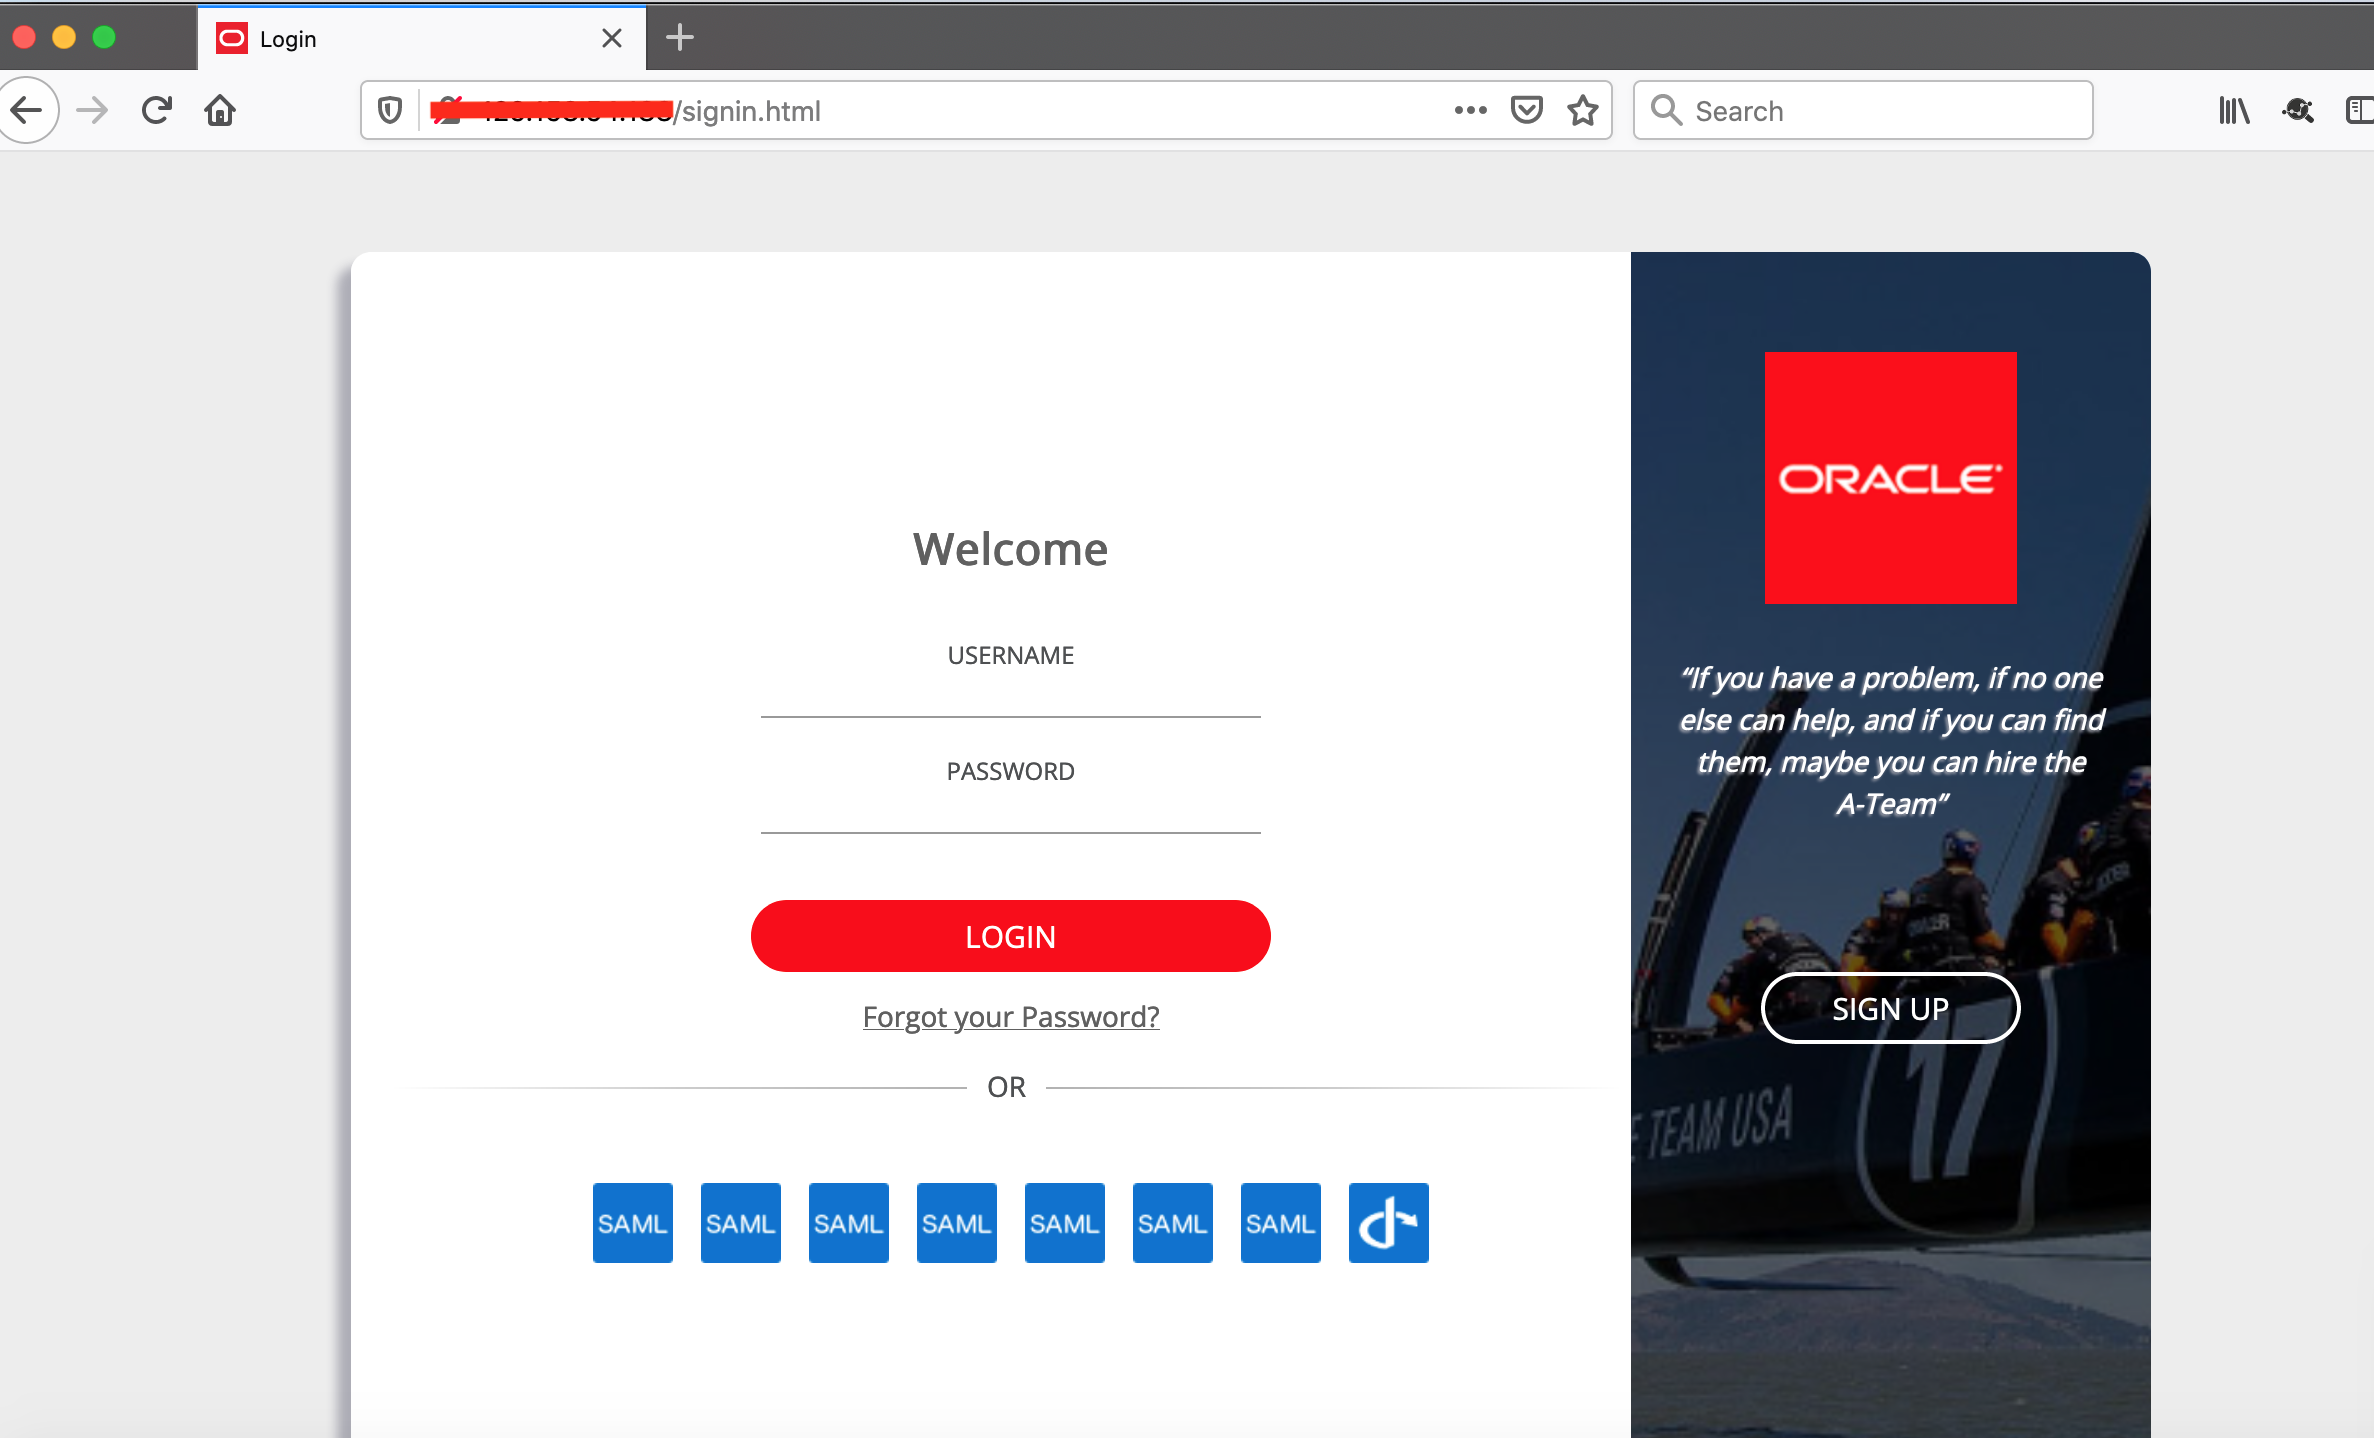
Provide your IDCS user credentials to complete this flow and you should be taken to the application.
Summary
This post concludes the 3 part series showing how to deploy IDCS custom login widget on Oracle Kubernetes Engine.